Let's Play Jagged Alliance Back In Action + Combat Evolved Mod, Ironman.
http://boards.jaggedalliance.com/index.php?/topic/1845-mod-combat-evolved-released/
1) Drassen Airport
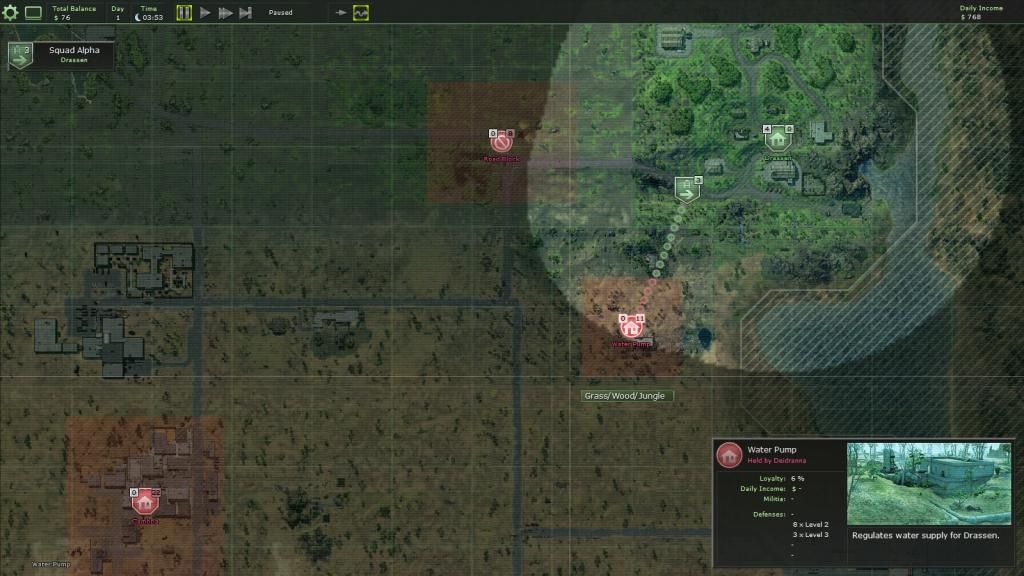
2) Drassen and Water Pump Station
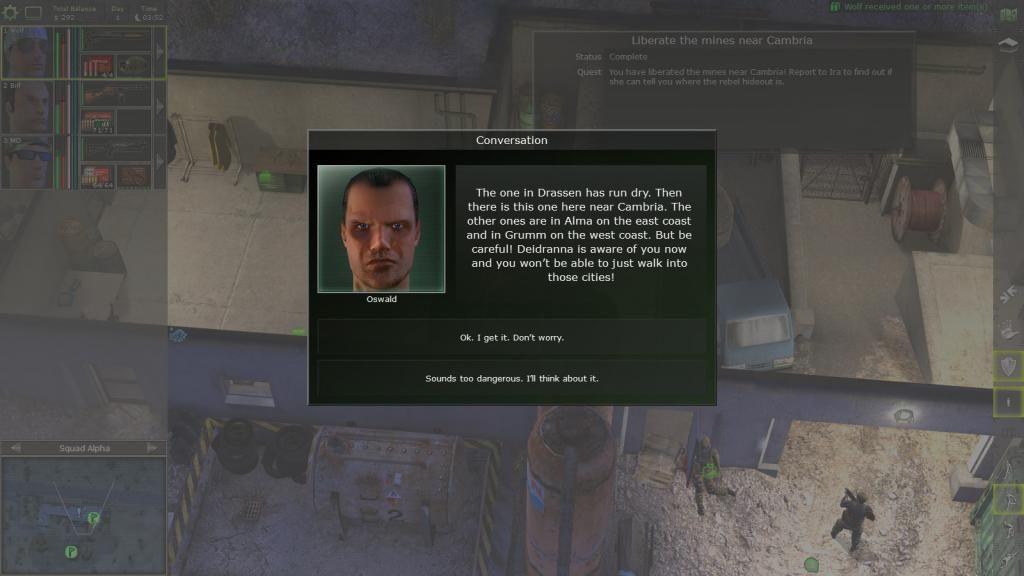
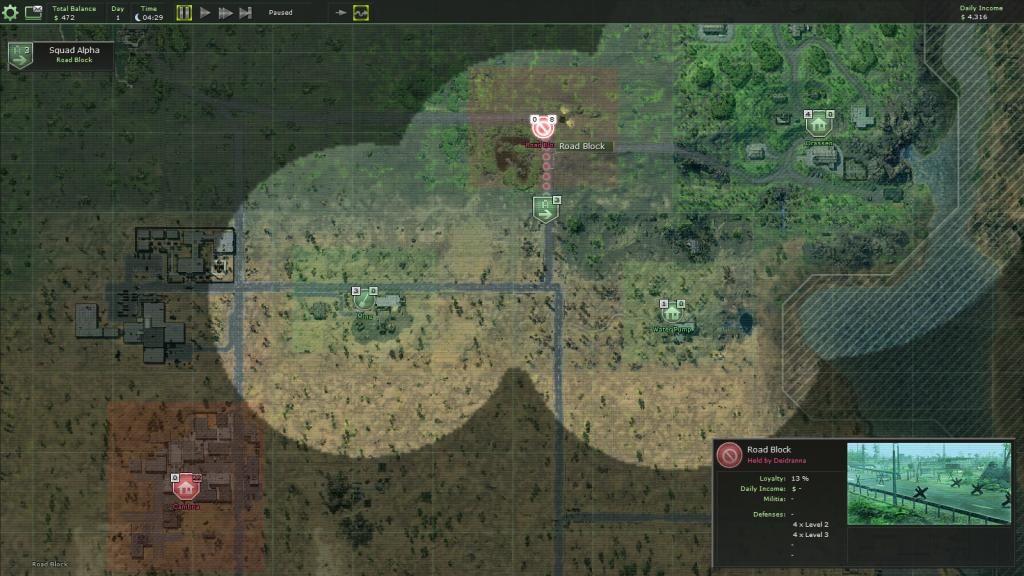
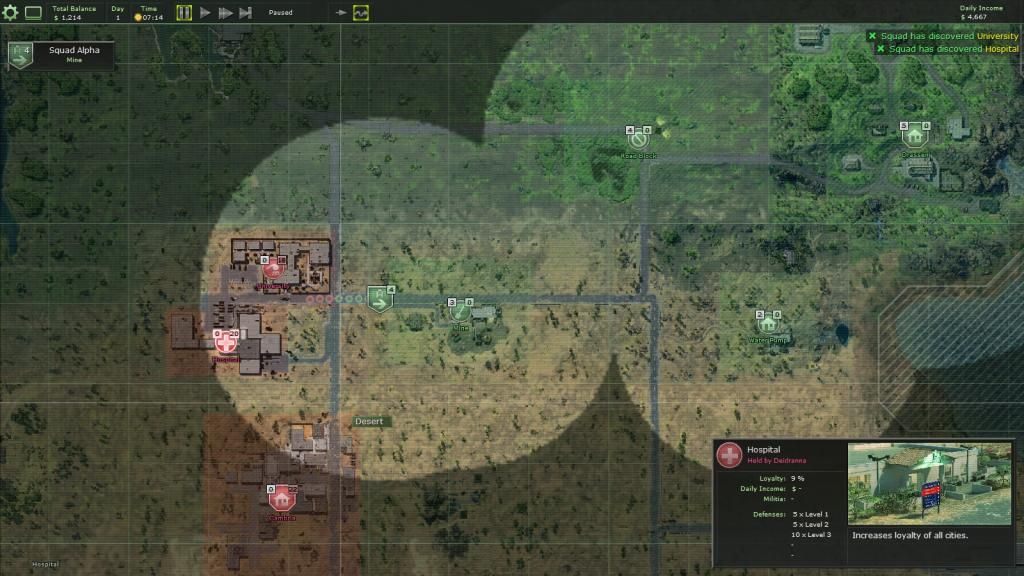
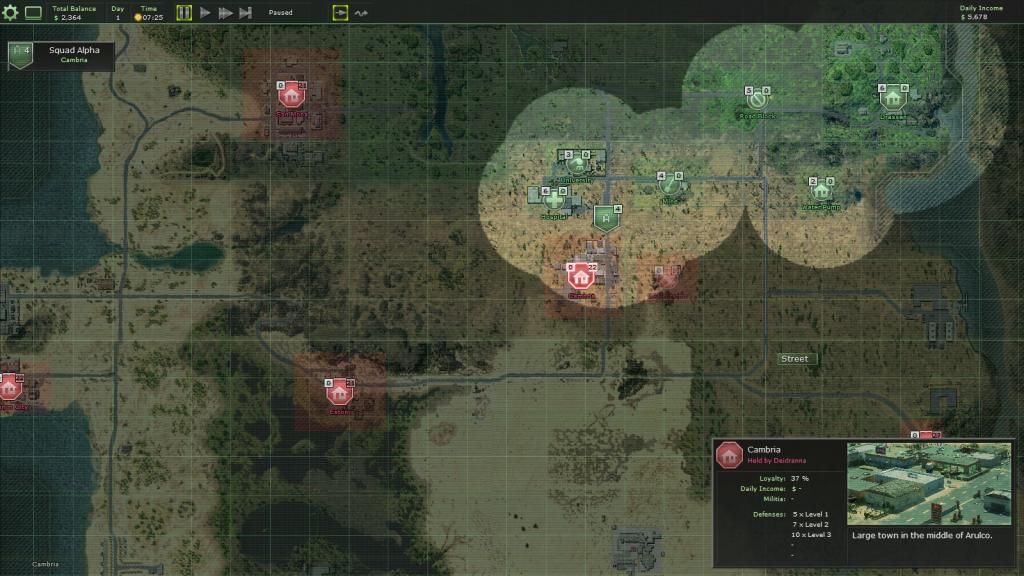
3) Cambria mine, Roadblock and Cambria Hospital
4) Cambria University, Cambria
5) Hicks Farm, Rebel Hideout, San Mona, Greenhouse Farm
6) Road Block, Crashed Truck, Hideout, Dumped Containers, Estoni
7) Hideout, Junk Yard, Cambria SAM Site
8) Alma
9) Alma Prison, Road Block, Balime Slums, Yet Another Road Block
10) Stakeout Point, Supply Depot, Hideout, Yet Another Road Block, Yet Another Hideout
11) Road Block, Grumm
12) Beach Promenade, Supermarket, Alma Barracks and Docks, South-Eastern SAM Site
13) Tixa Prison
14) Laboratory, Gas Station
15) Meduna SAM Site, Meduna Airport
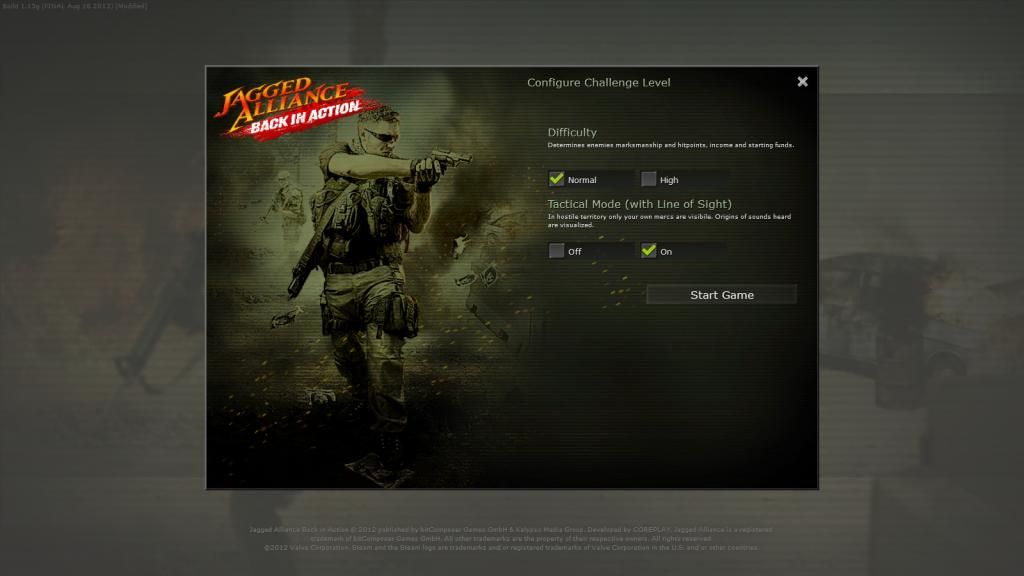
Never played this mod before, I heard about people dying at the start due to mod difficulty so I'll go with normal since I'm playing ironman.
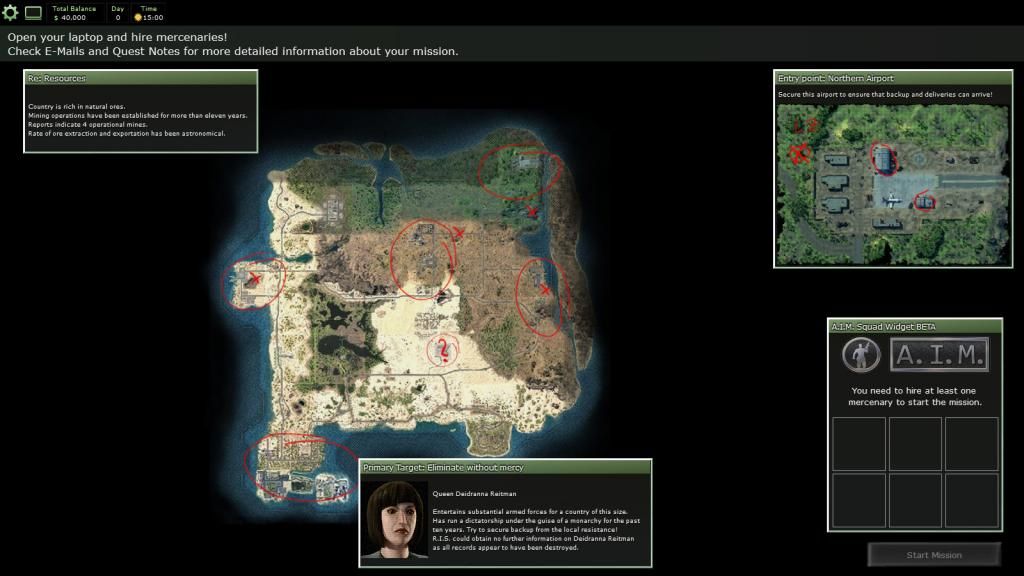
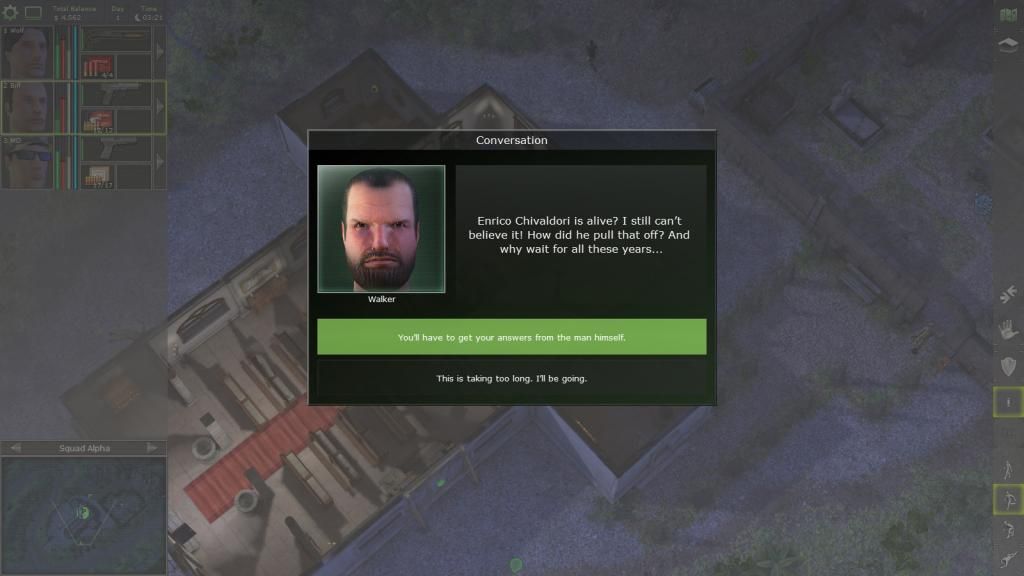
We are hired to kill the evil queen Deidranna of Alruco.
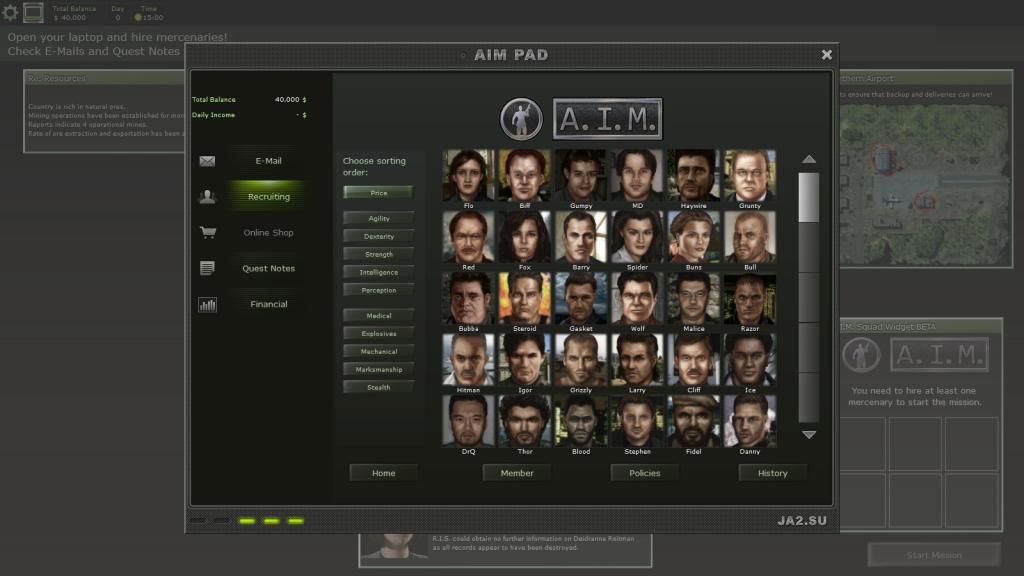
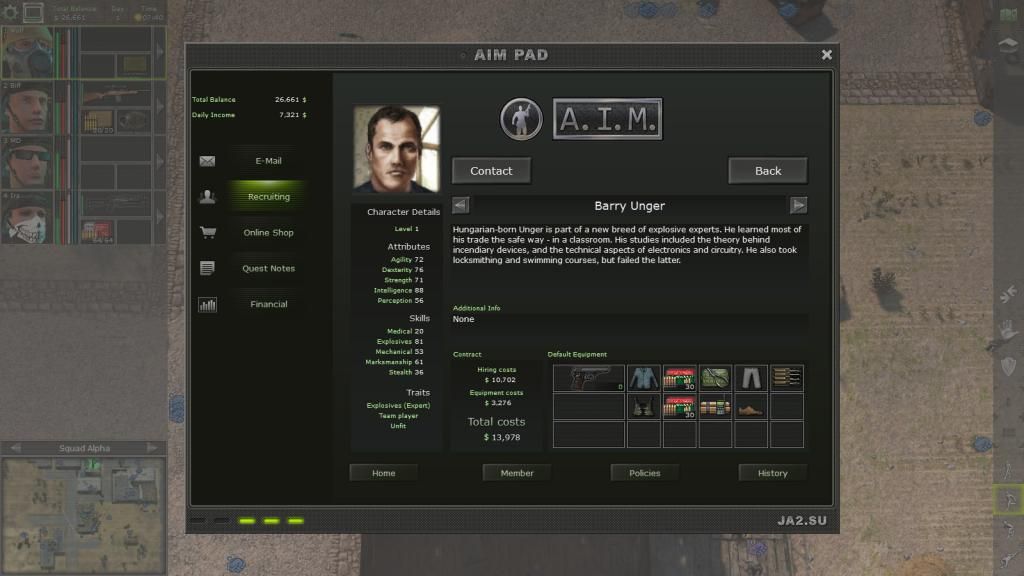
Time to recruit some mercenaries.
CE uses Jagged Alliance 2 portraits and includes the mercenaries from MERC.
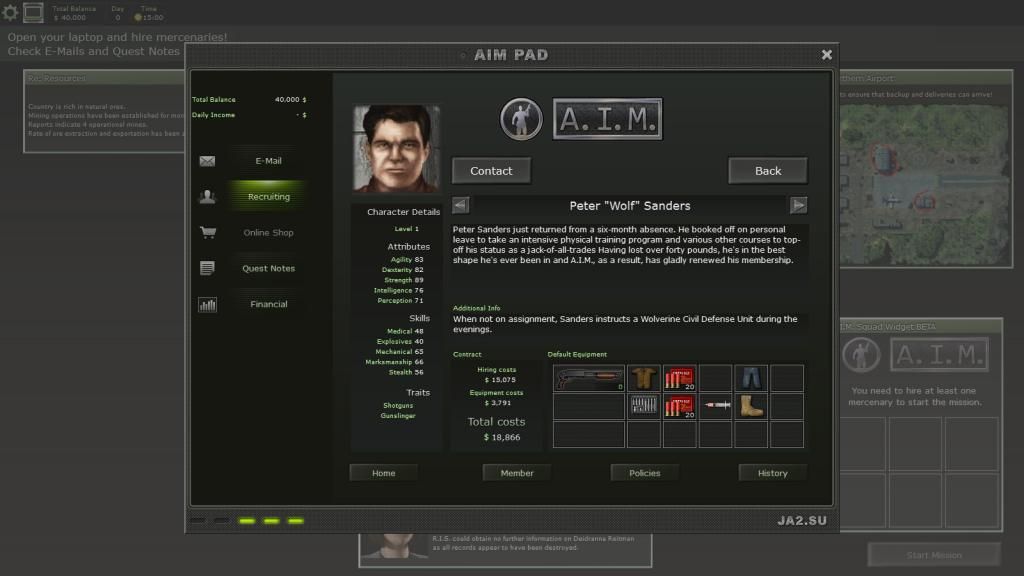
Wolf is one of the best, he's gonna be our mechanic.
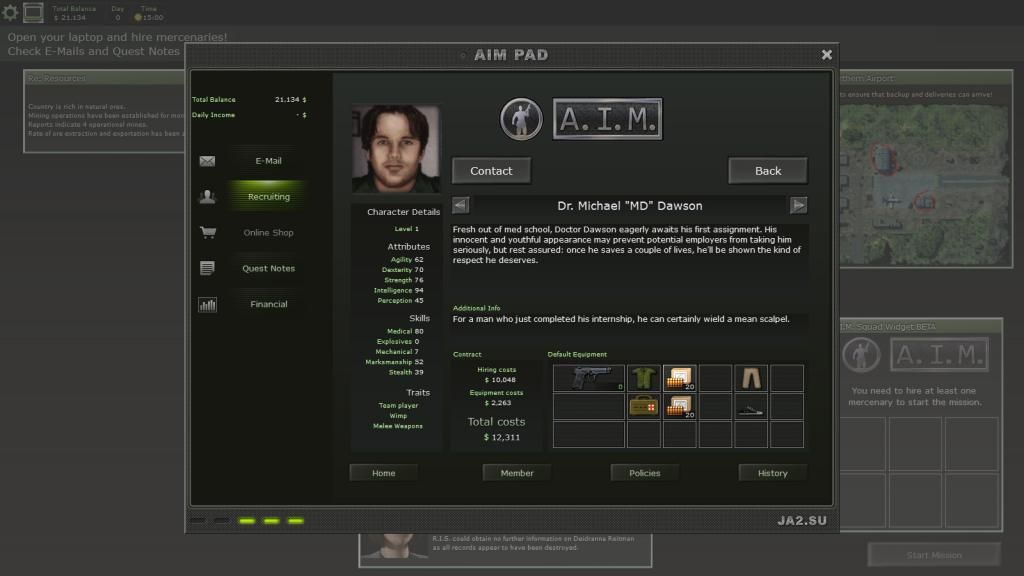
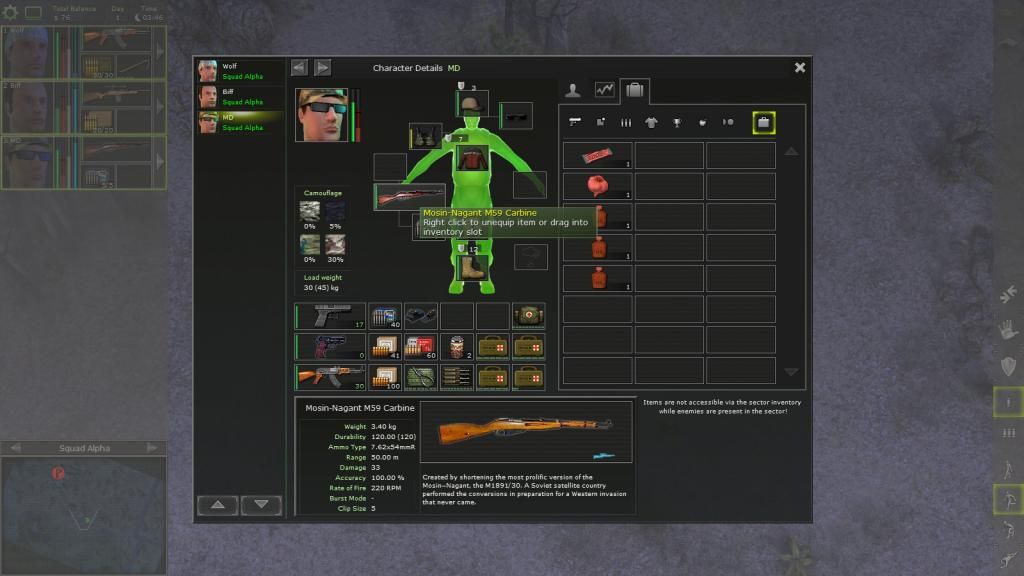
MD as the medic.
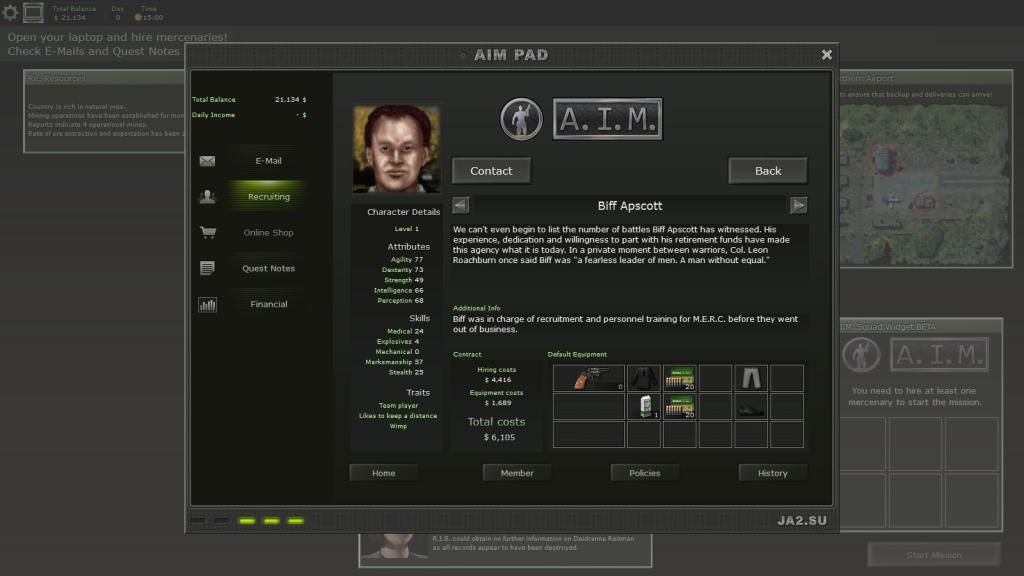
Biff because we don't have enough money left.
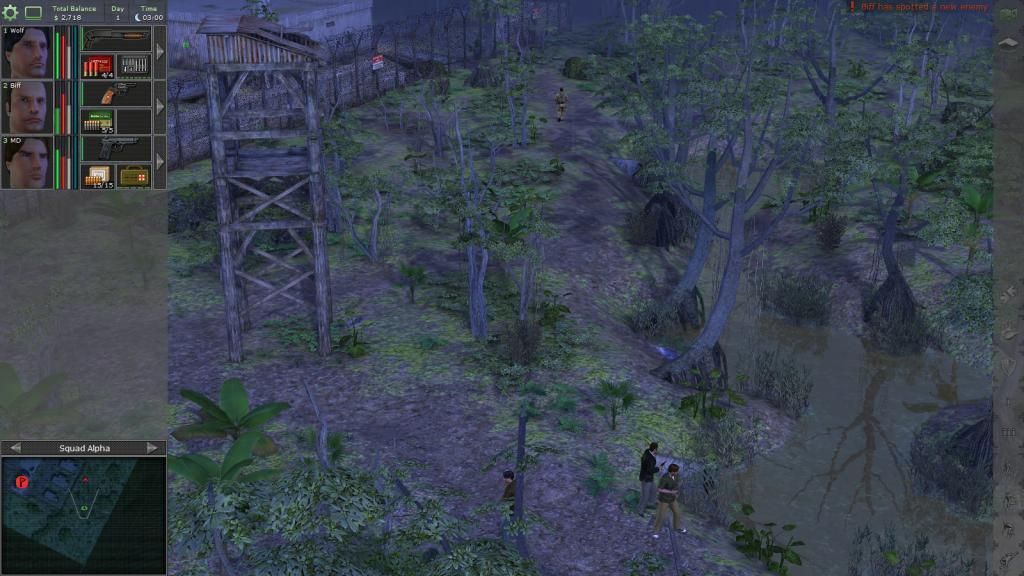
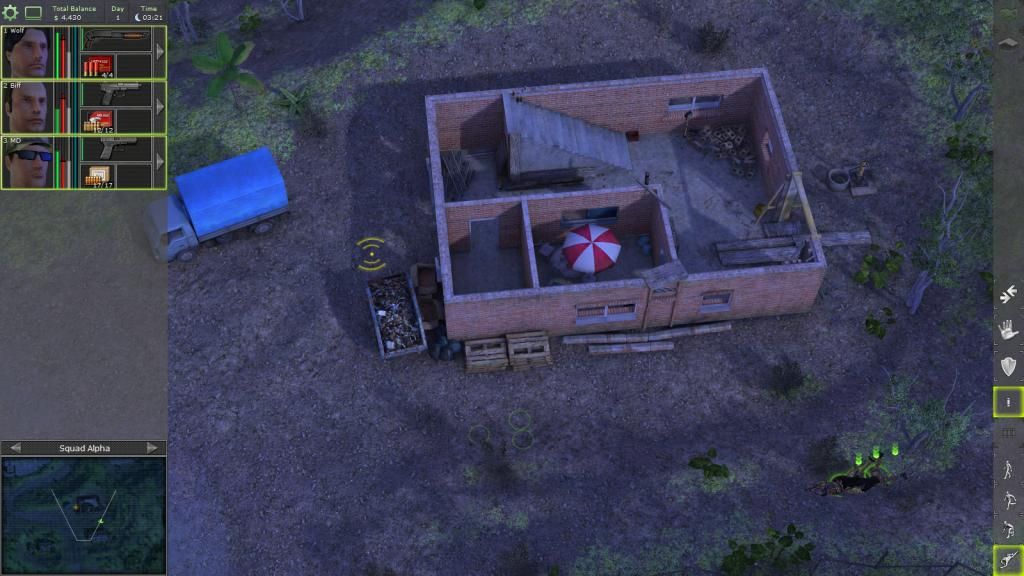
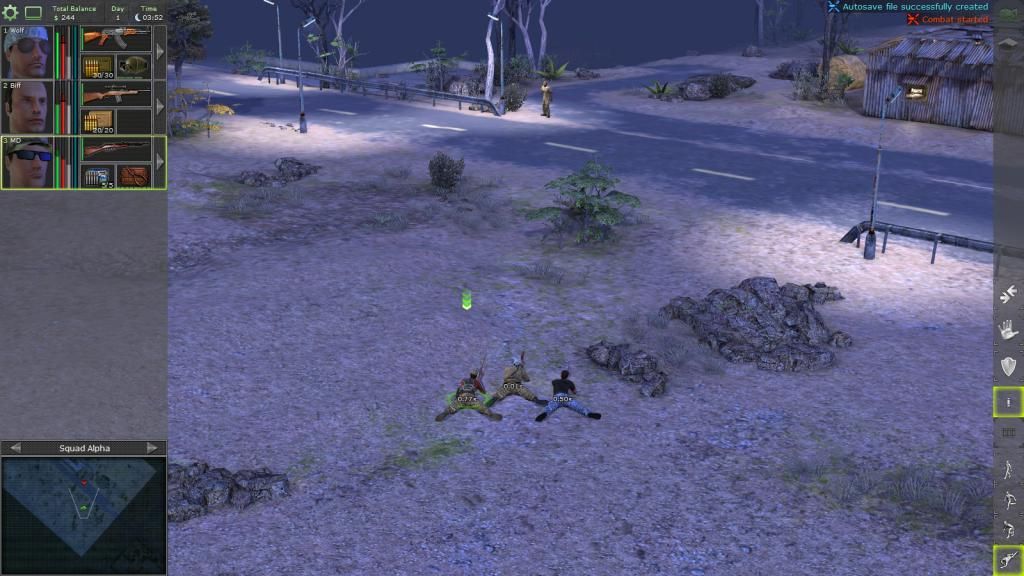
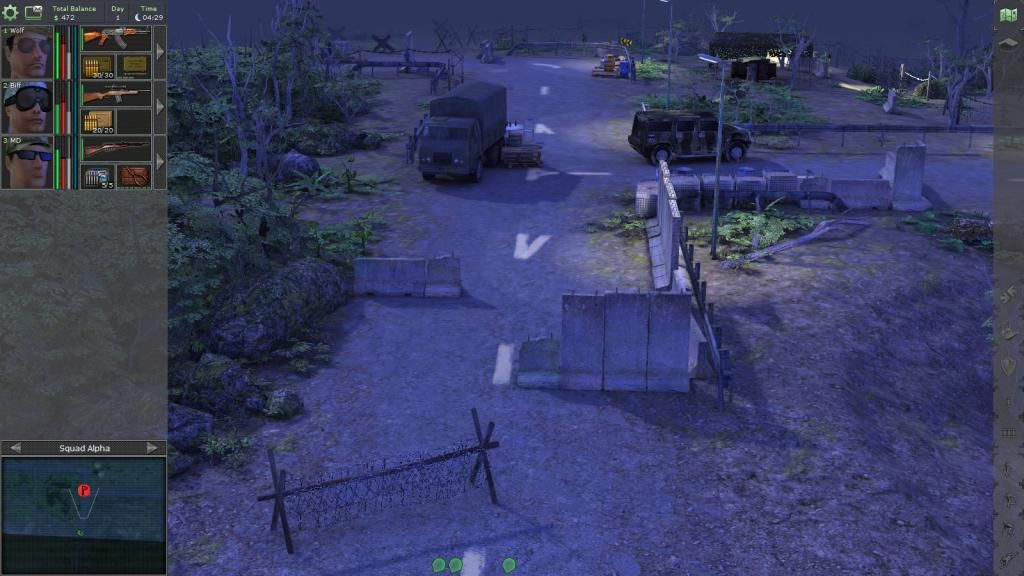
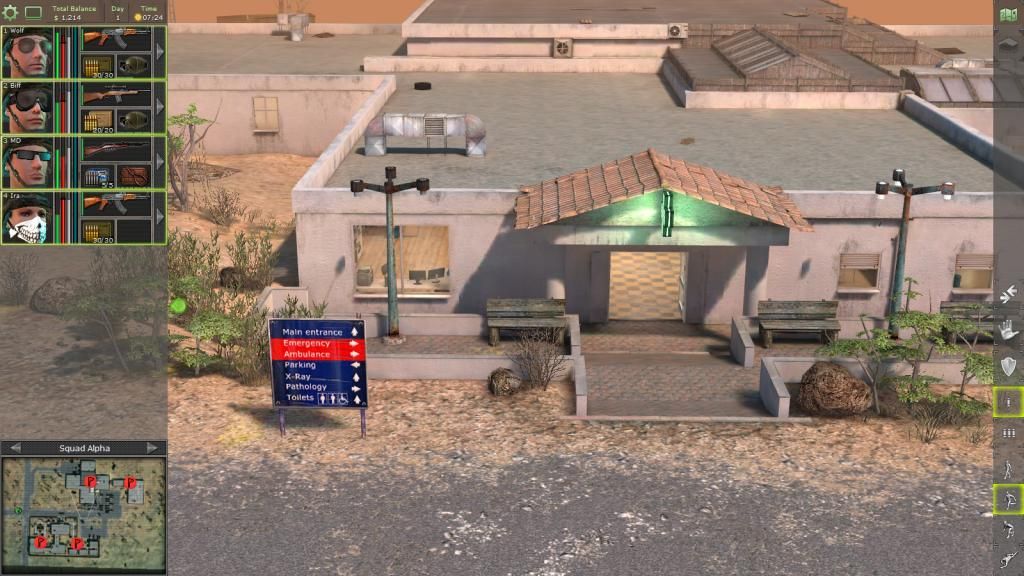
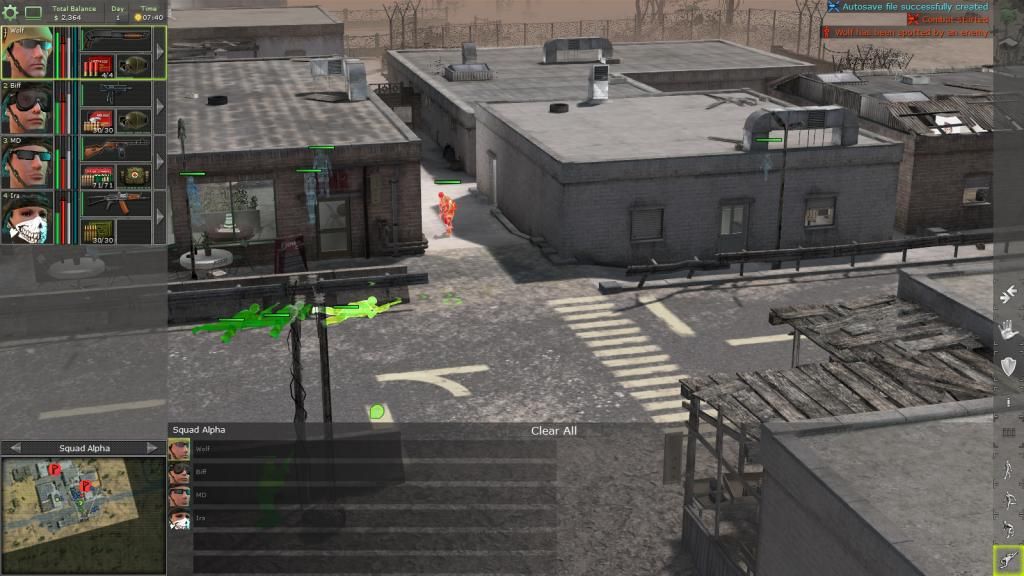
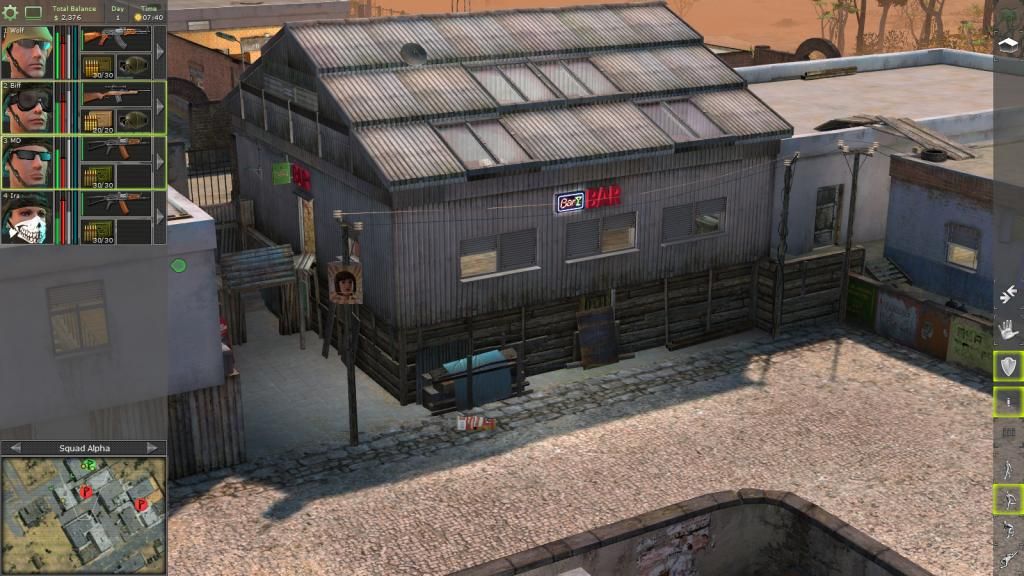
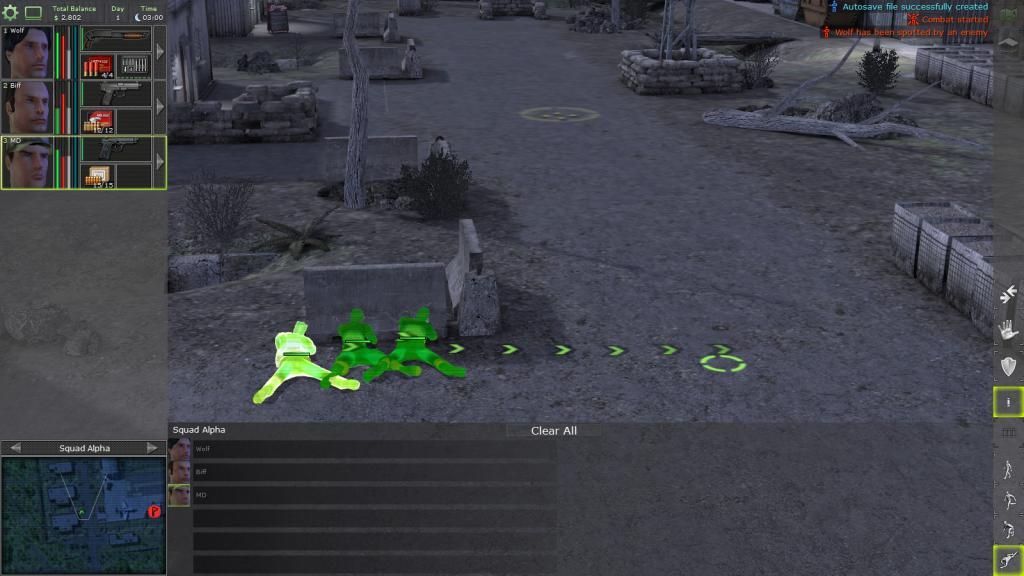
Start off outside Drassen Airport with an enemy soldier patrolling nearby.
We wait for him to come close and ambush him.
Another enemy appear to our left, he heard our shooting and runs towards us.
Killing the first enemy we wait for the other, he disappears from our sight but we can hear him.
He comes into view of our guns. Bang!
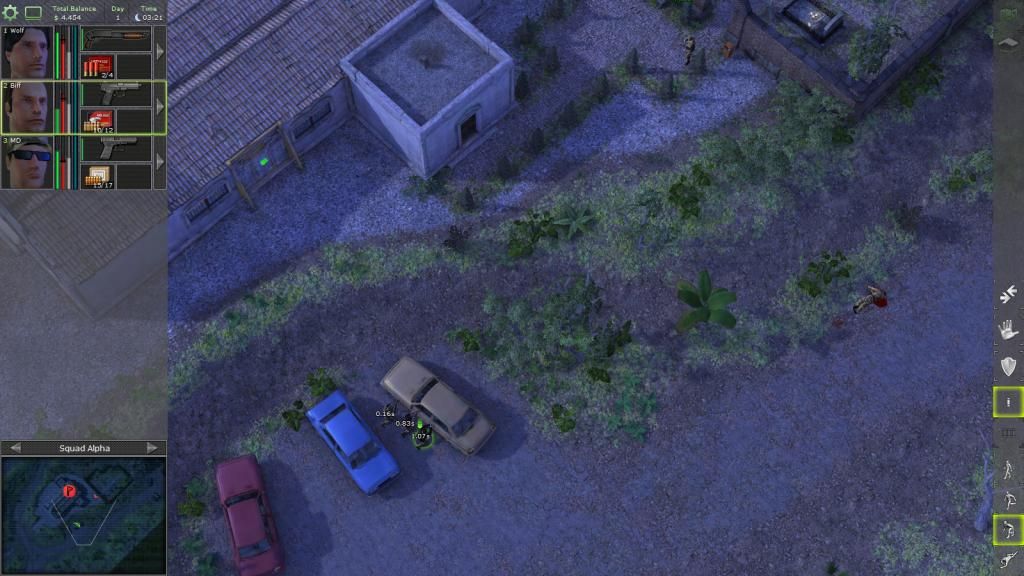
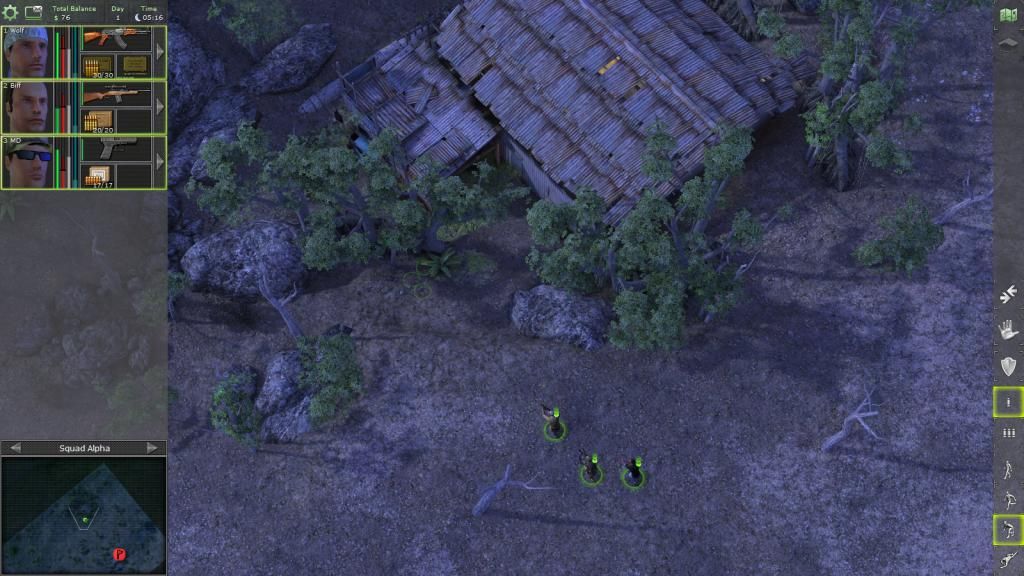
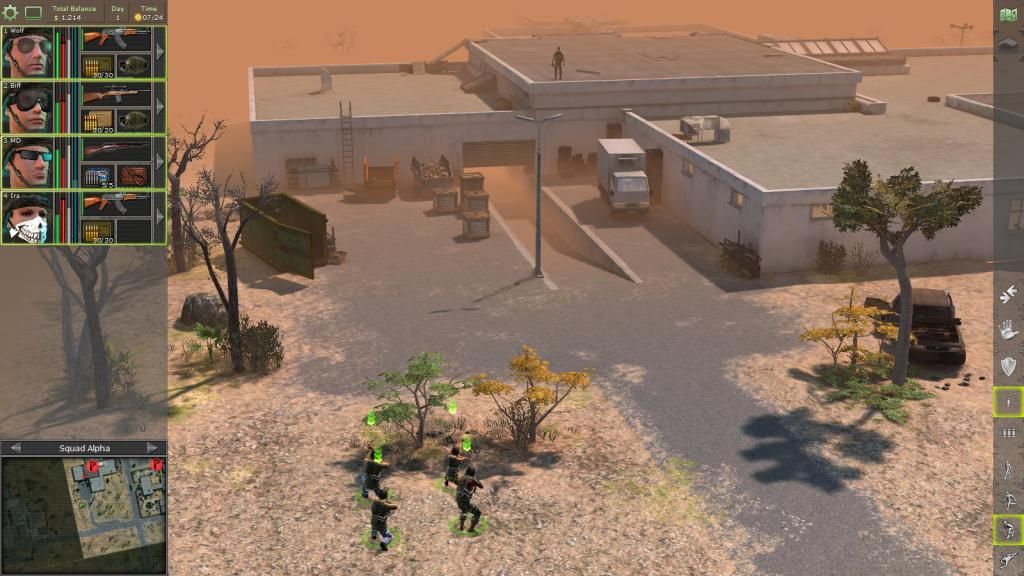
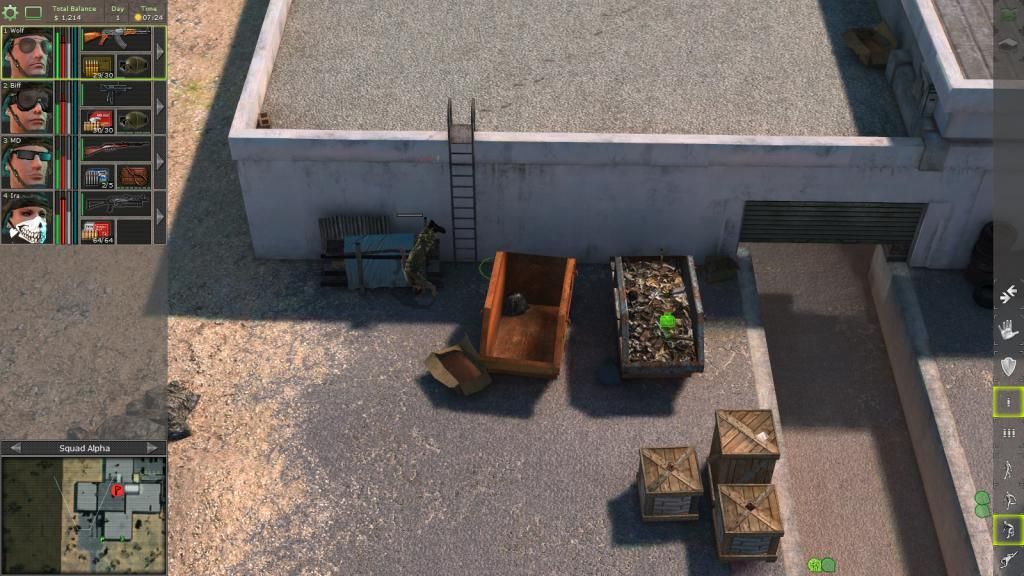
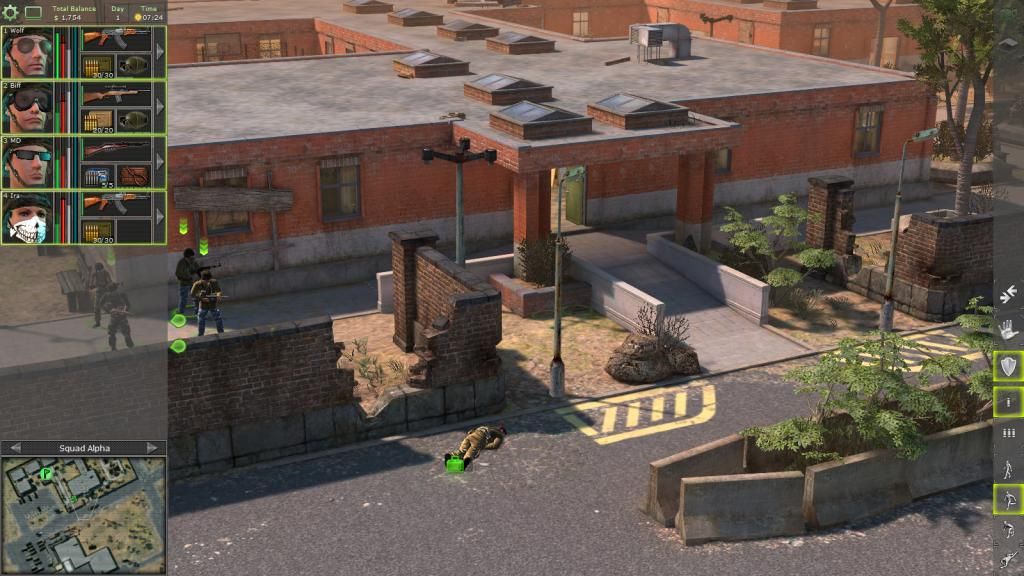
Sneaking into a hole in the fence, no wirecutters in this game.
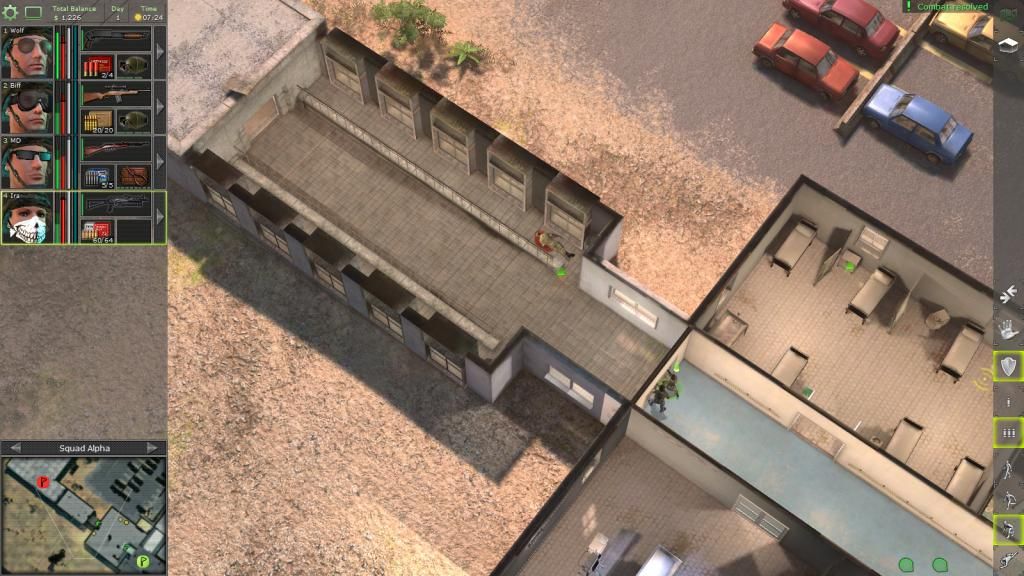
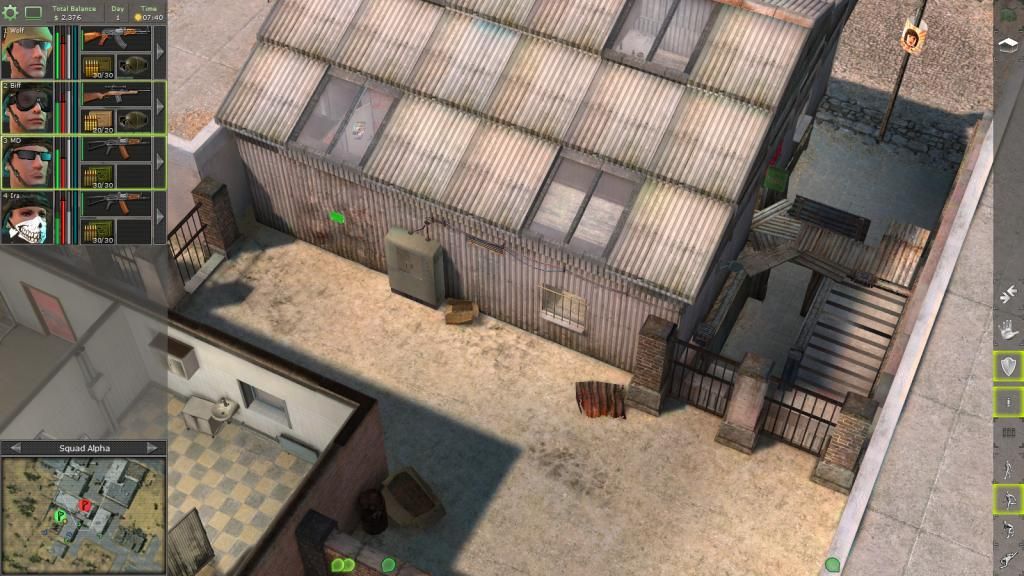
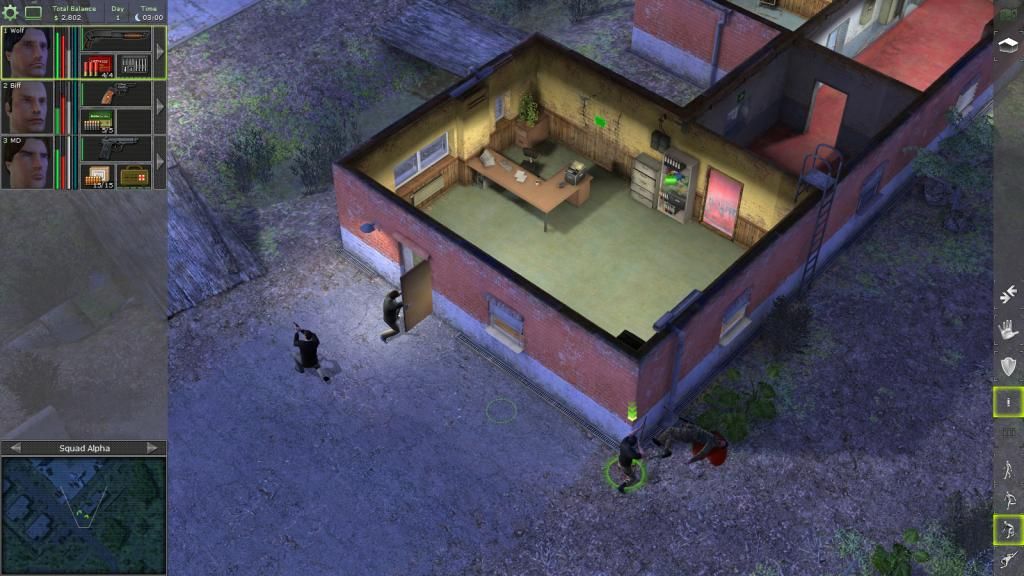
One of the buildings has some armour.
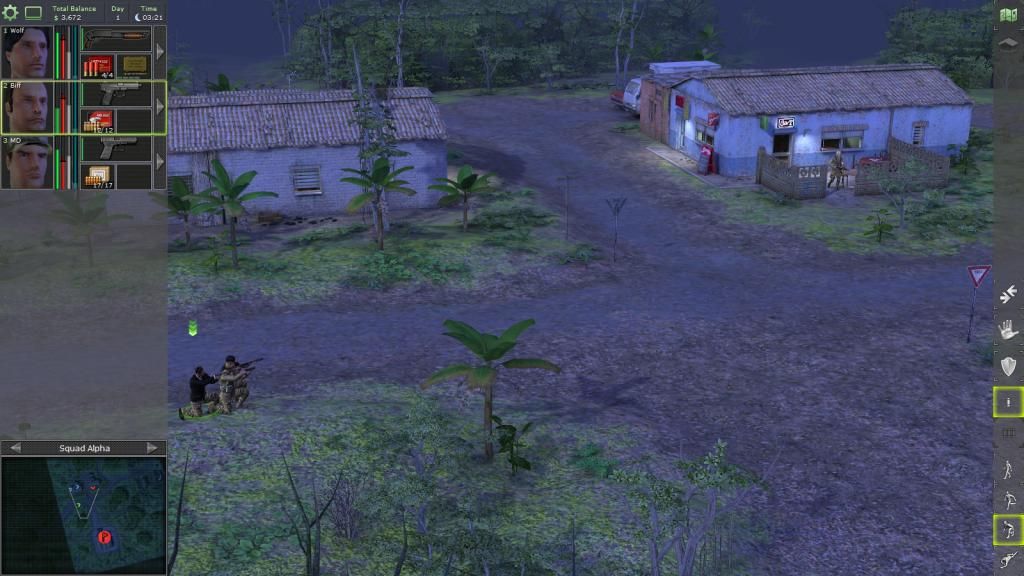
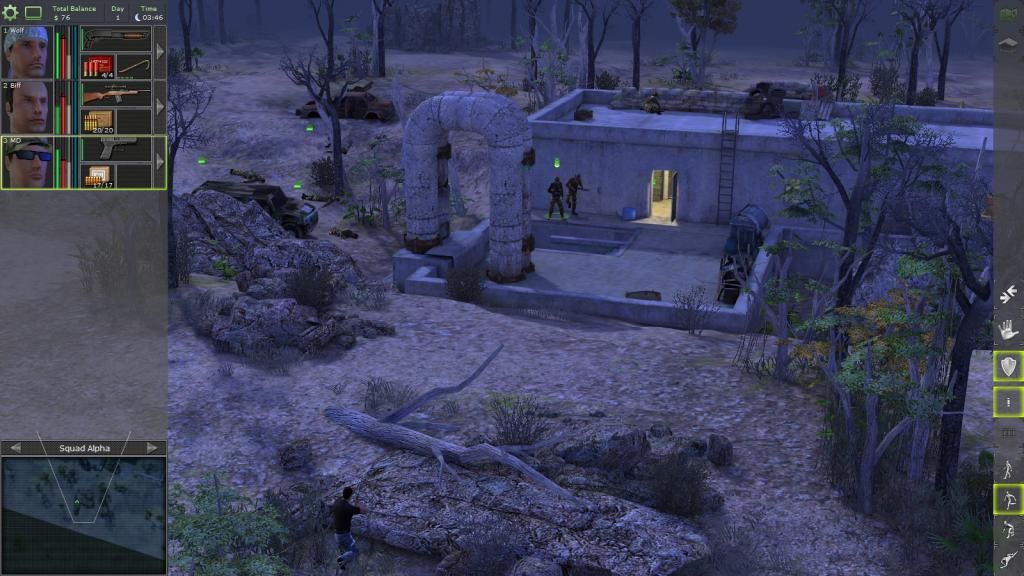
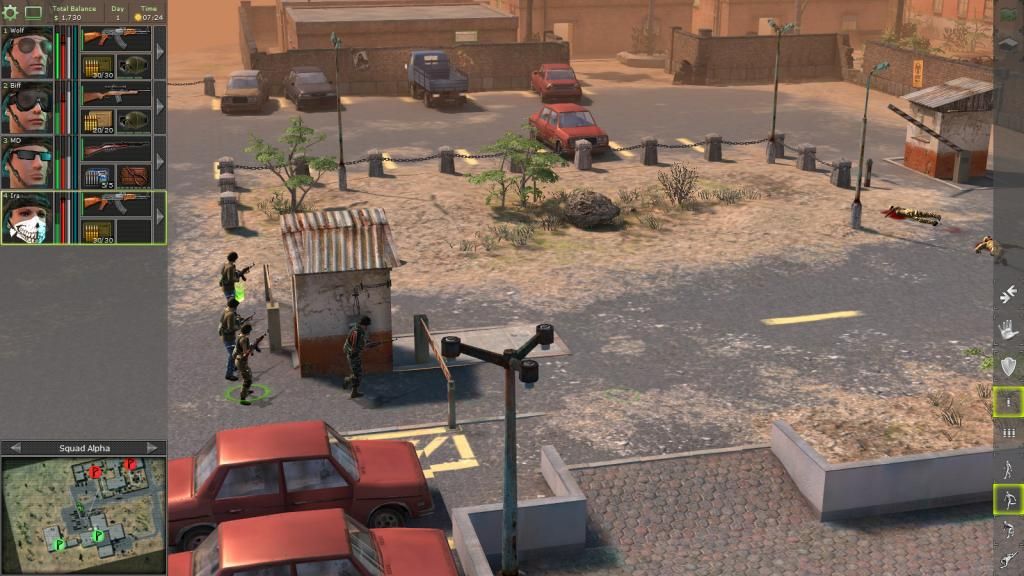
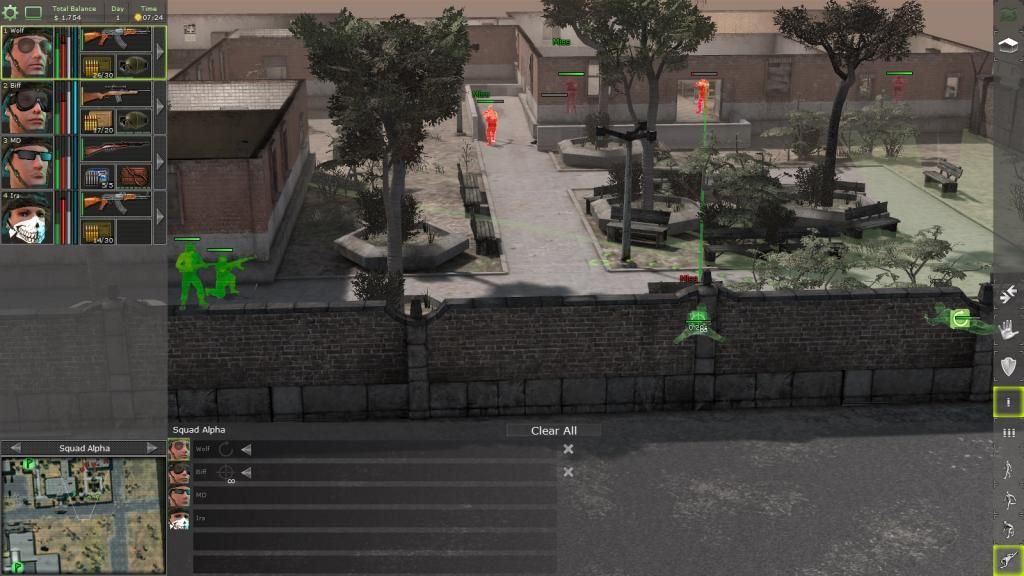
Sneaking south we spot a guard at the entrance of the airport.
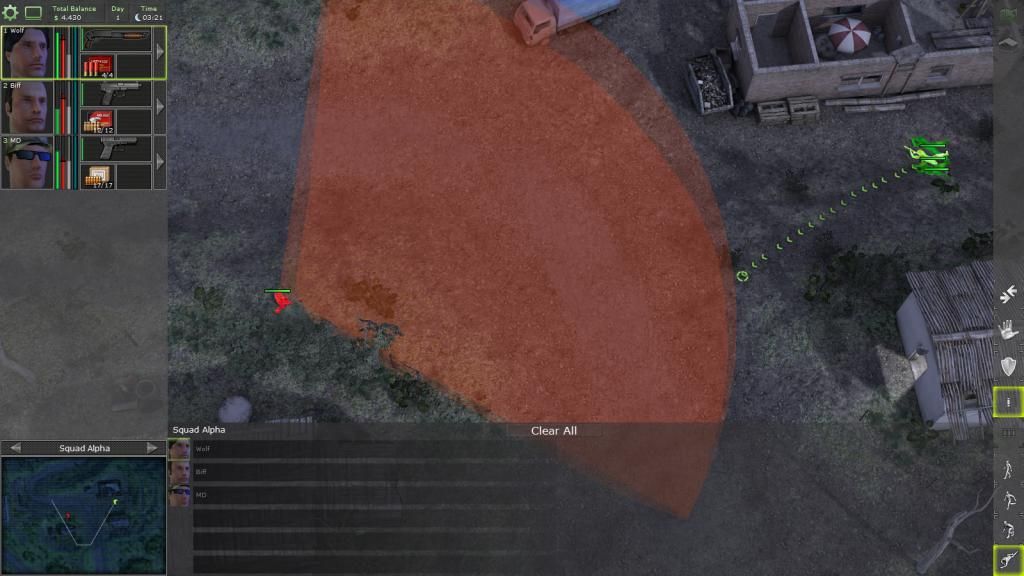
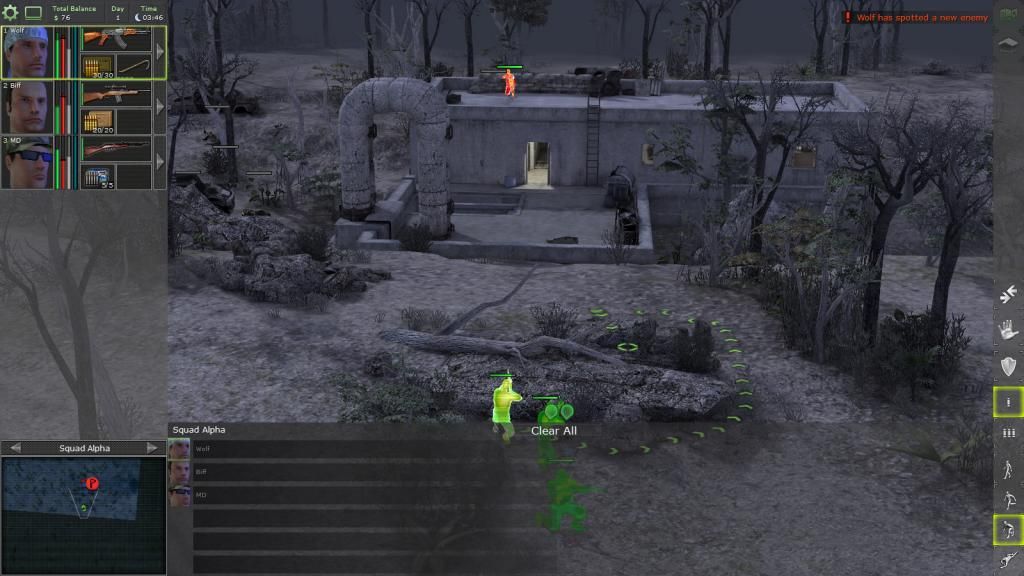
Spot another baddie patrolling one of the buildings.
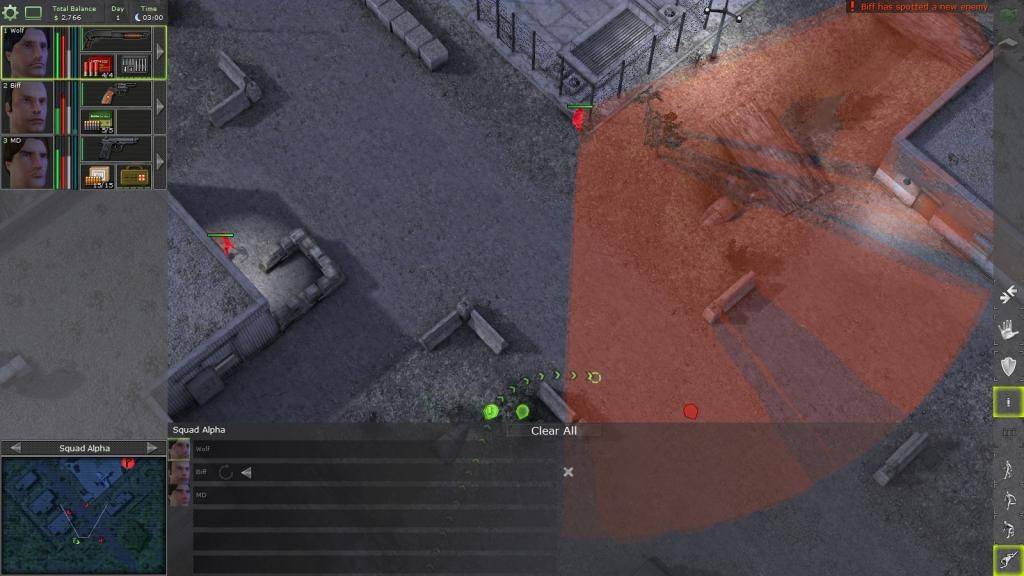
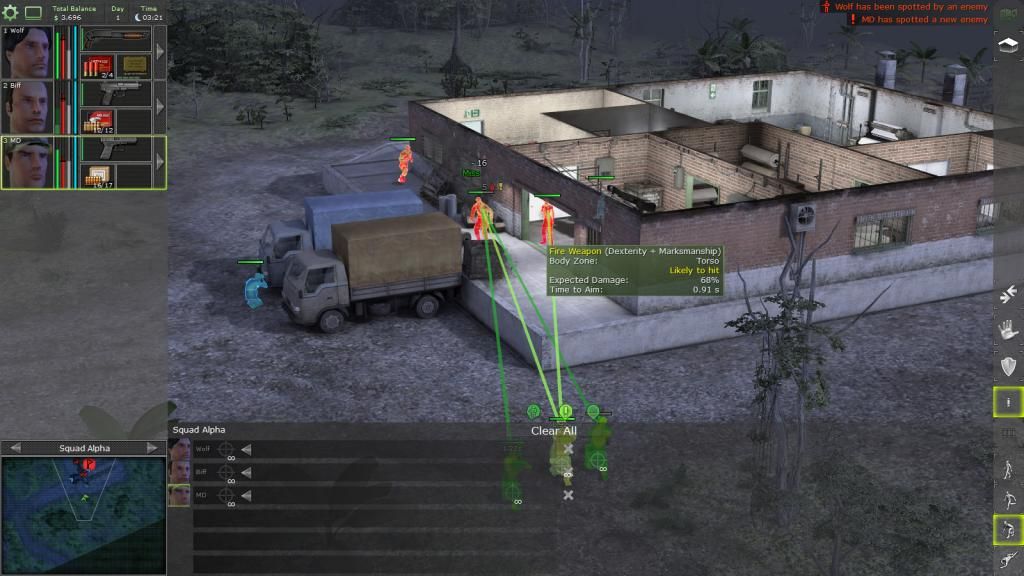
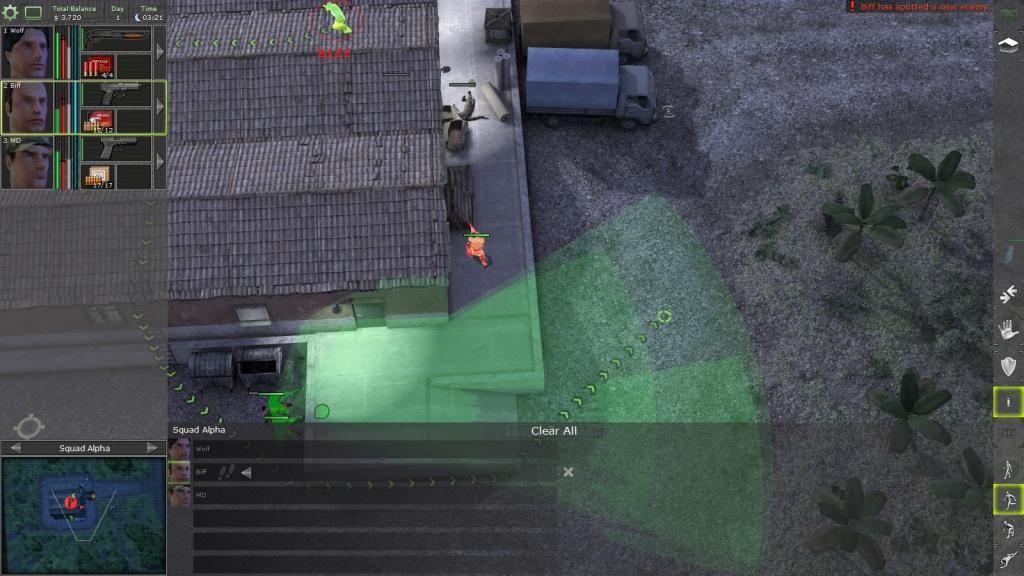
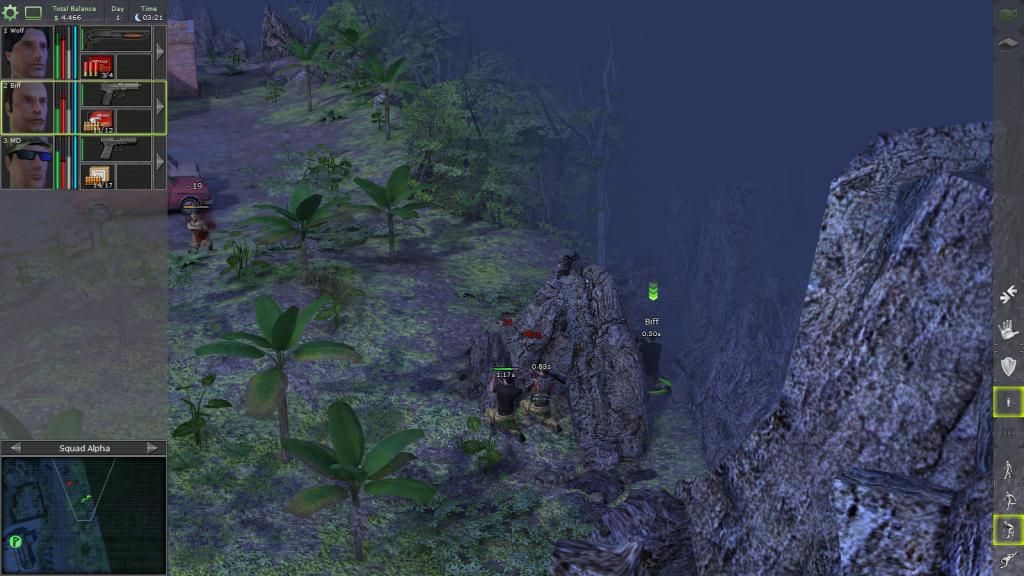
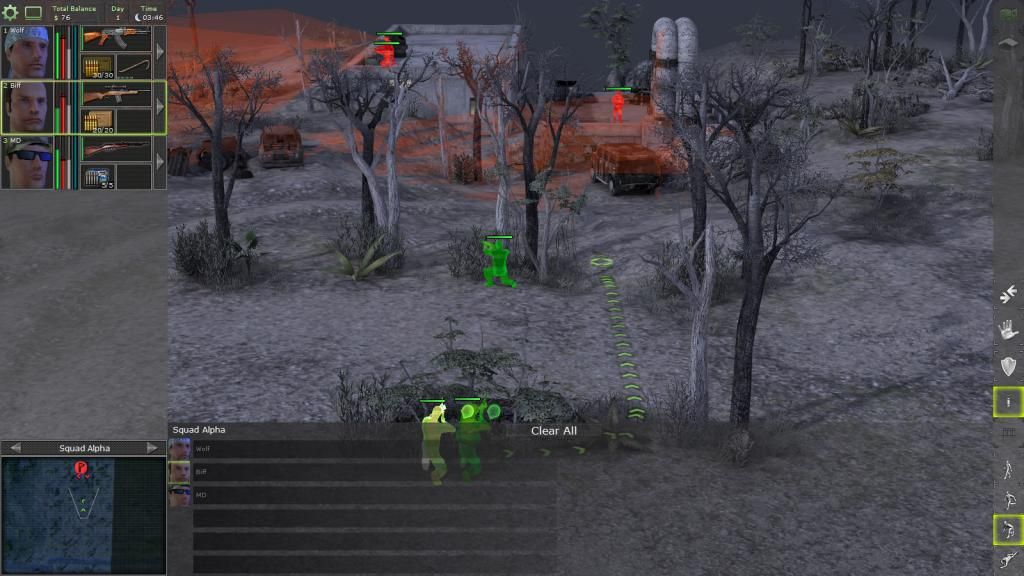
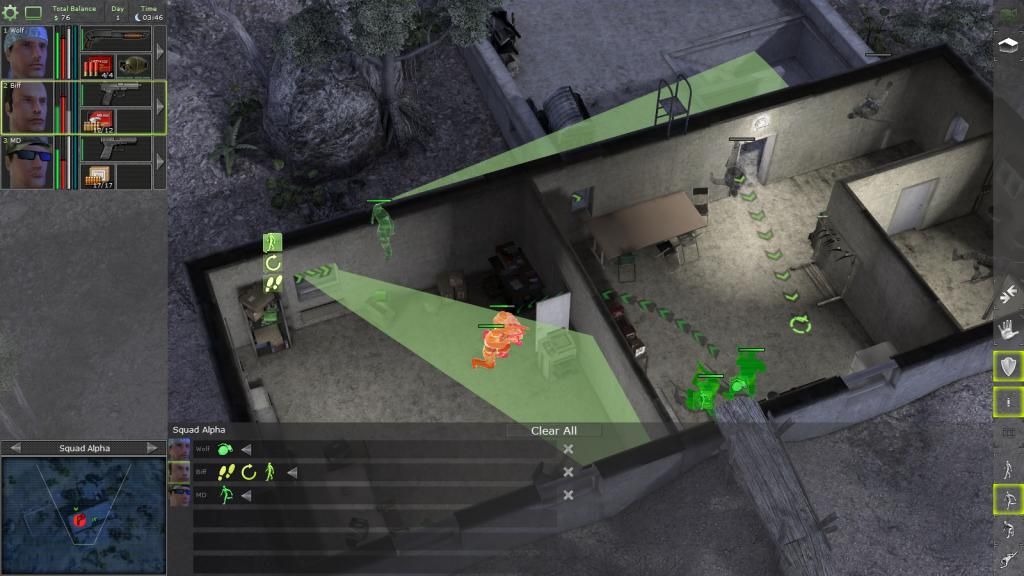
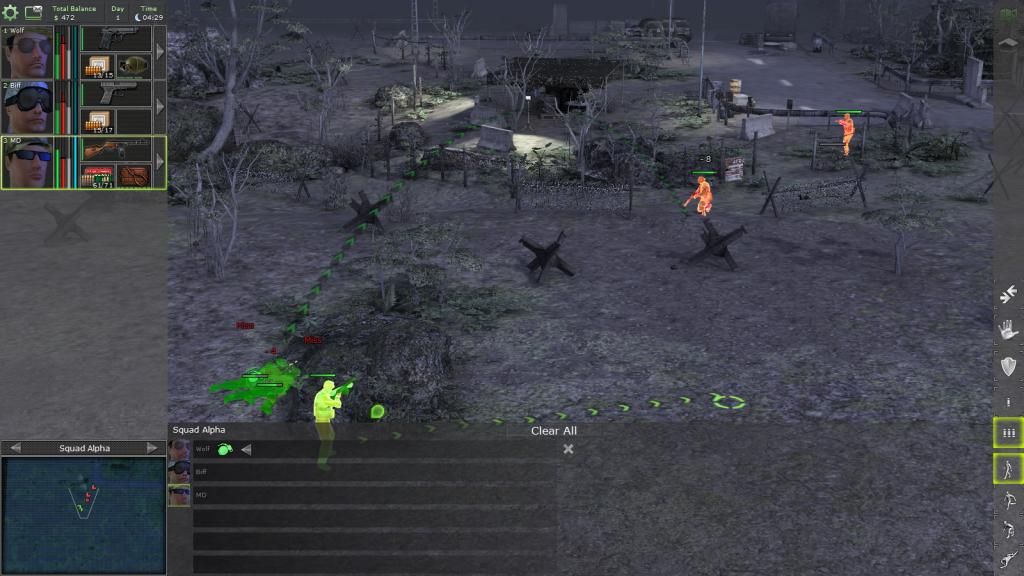
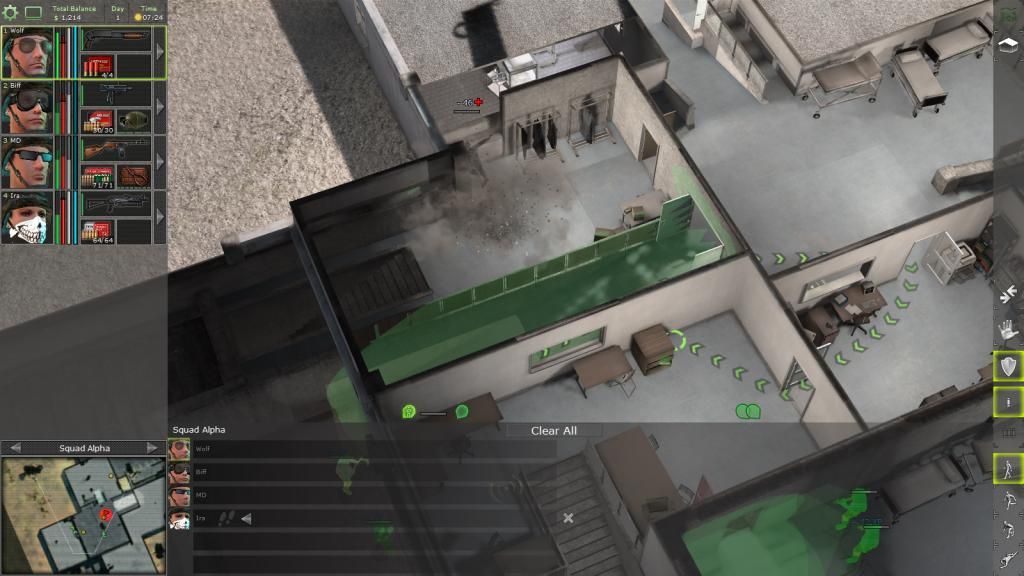
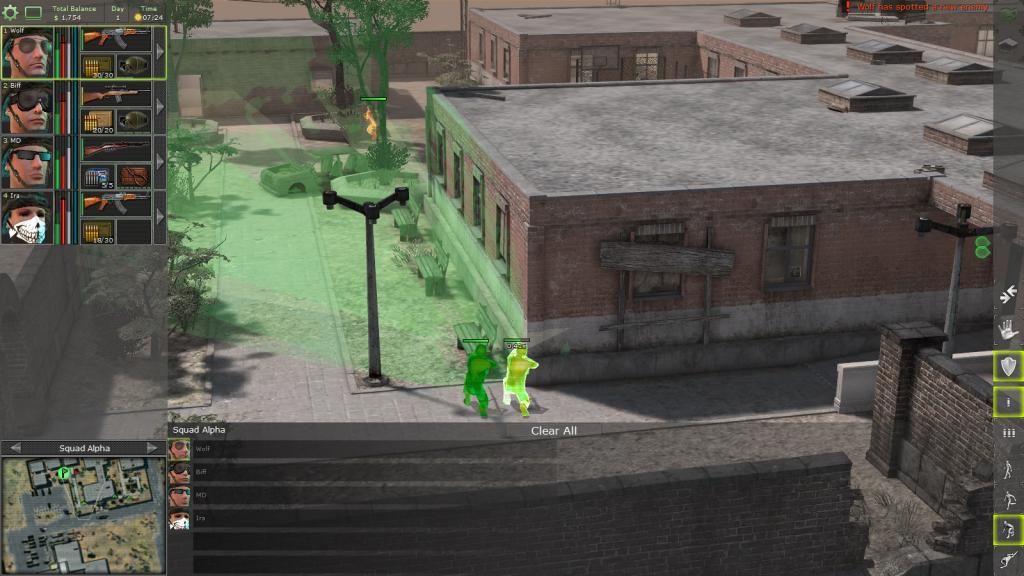
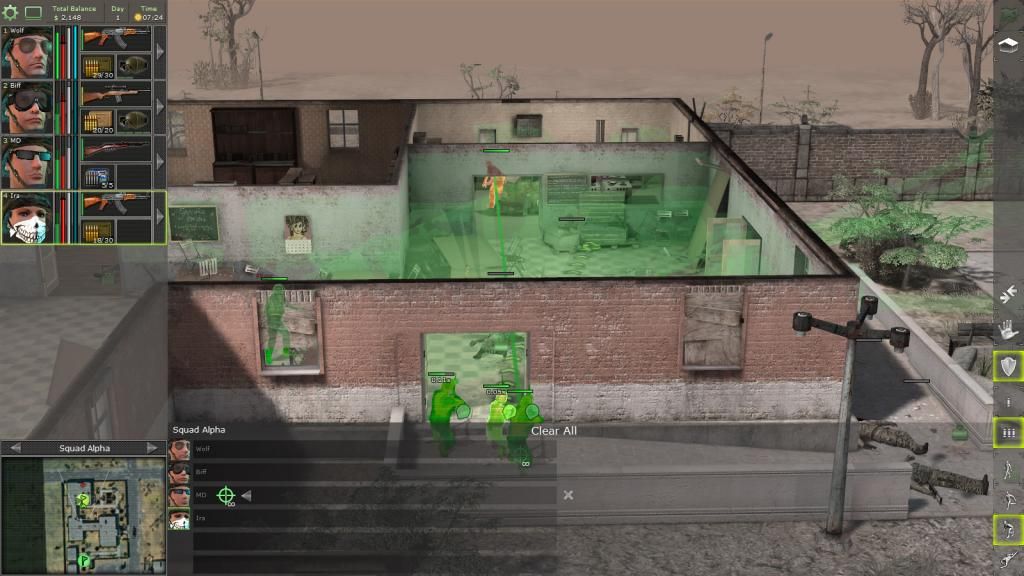
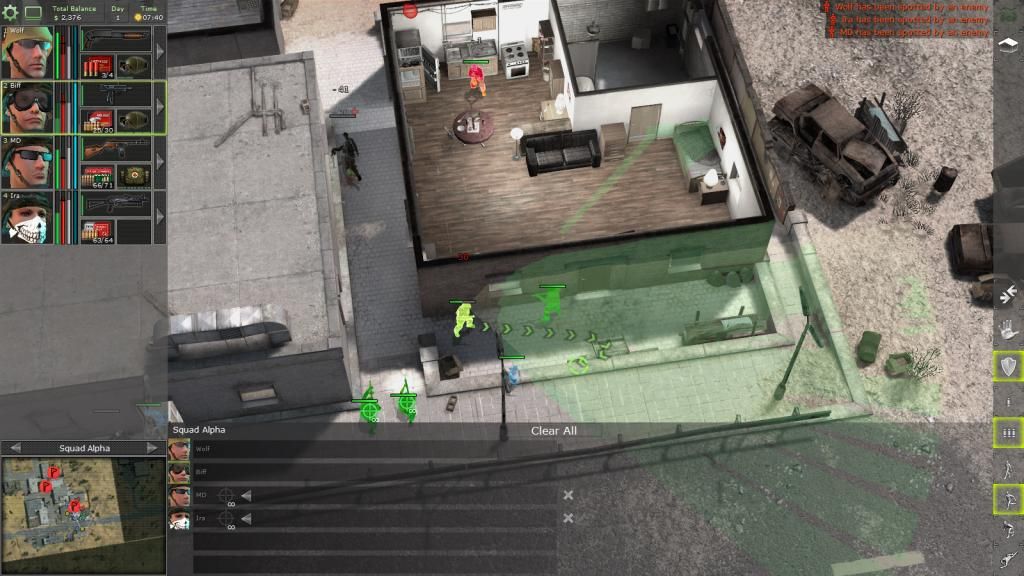
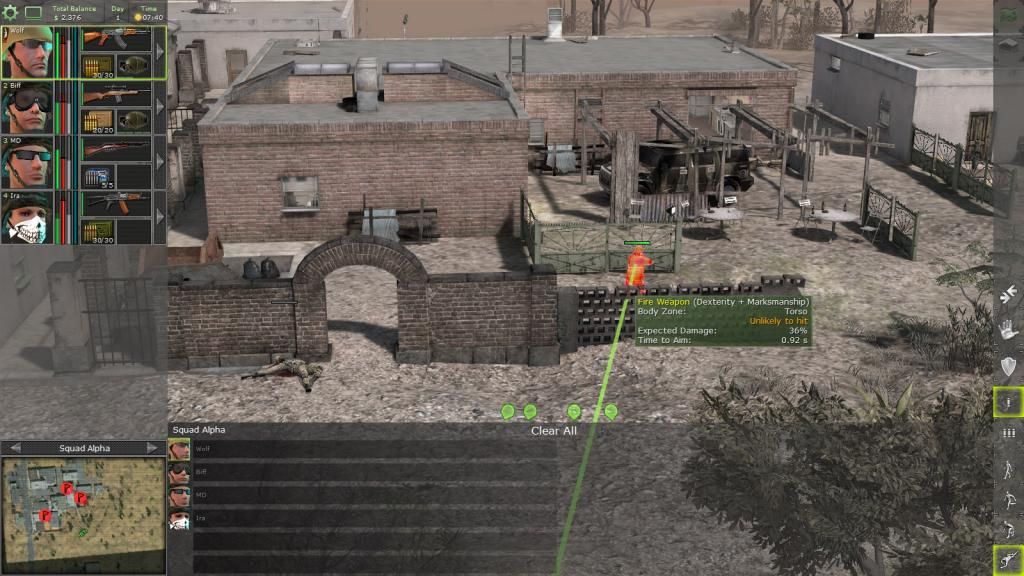
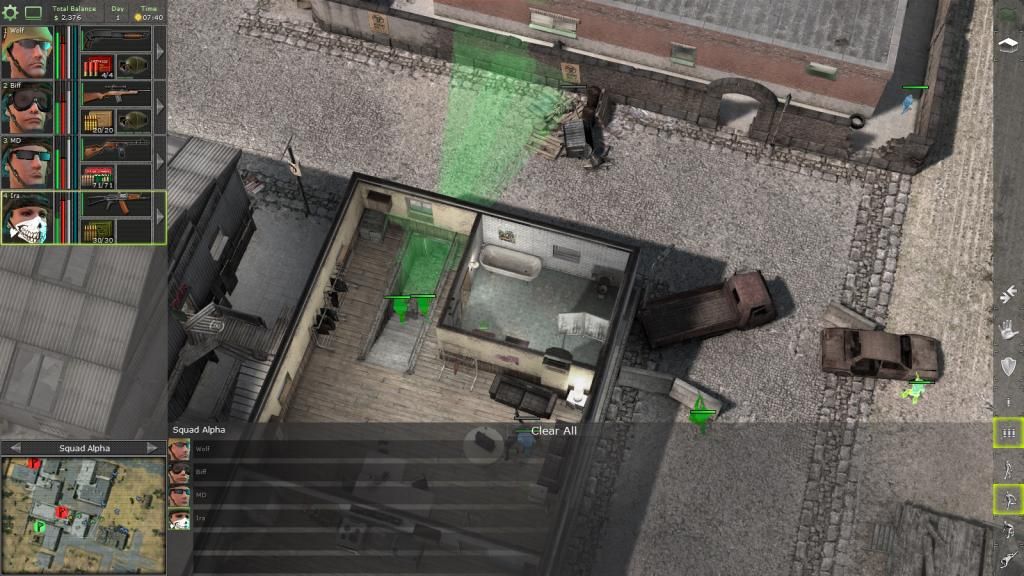
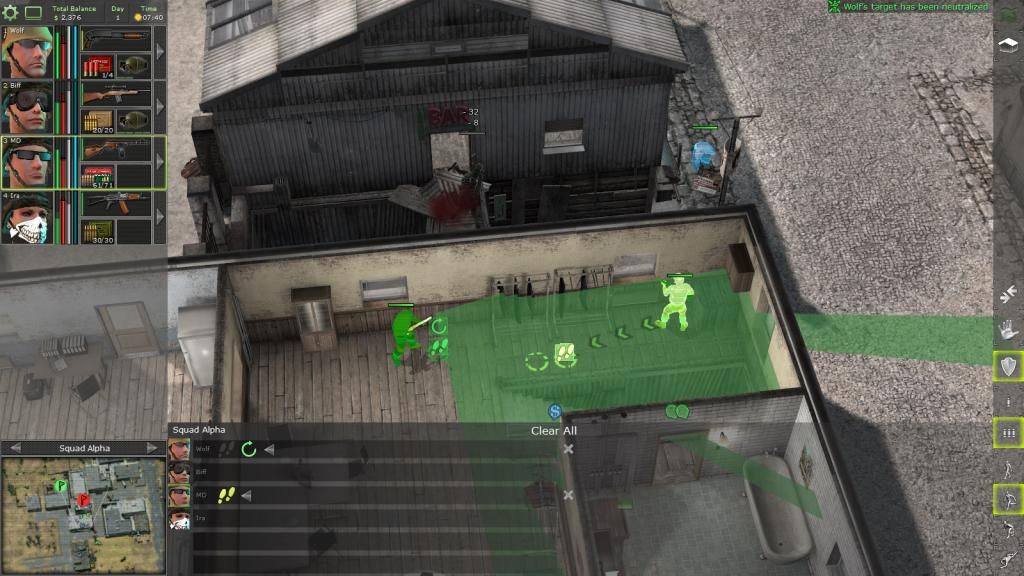
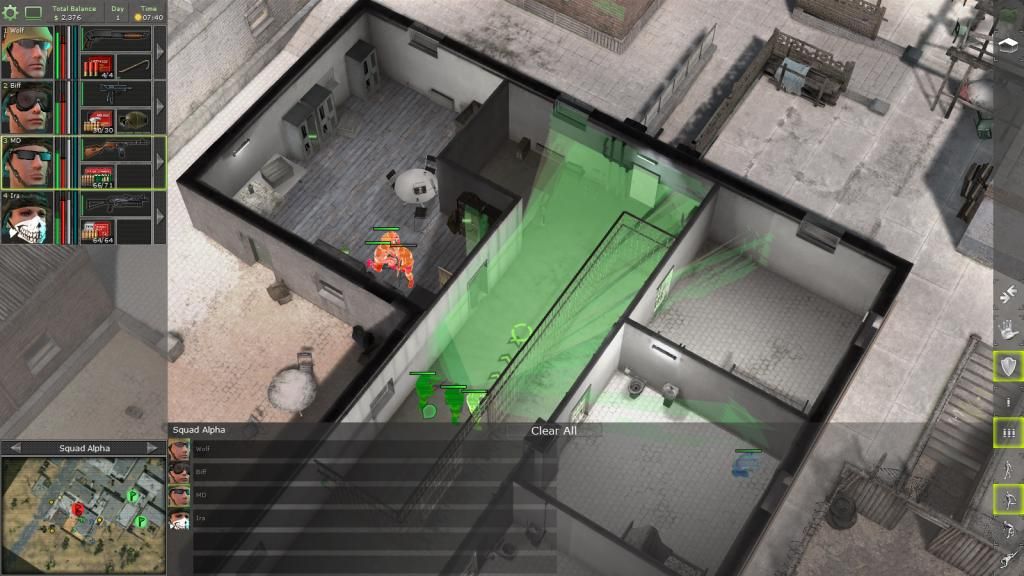
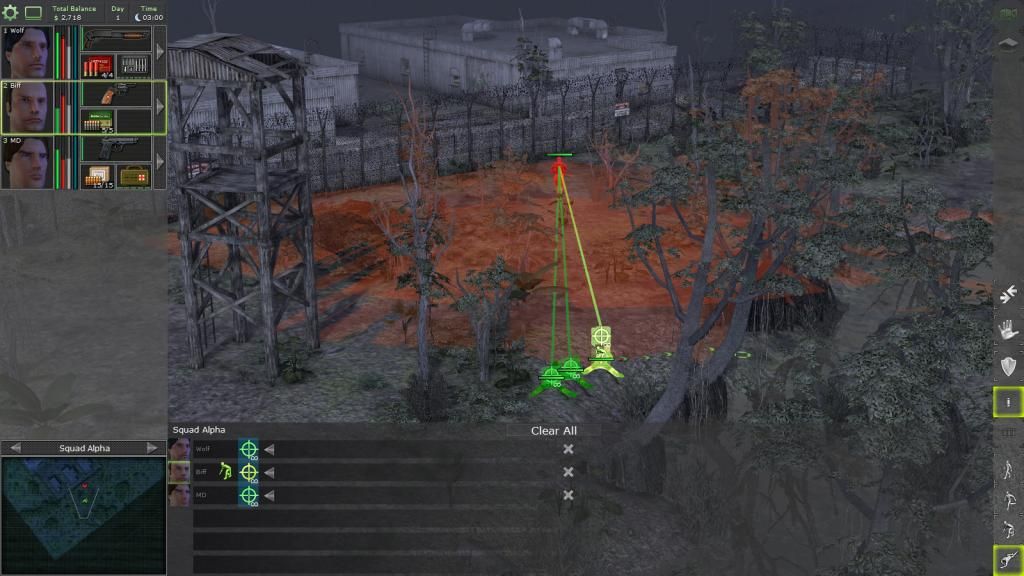
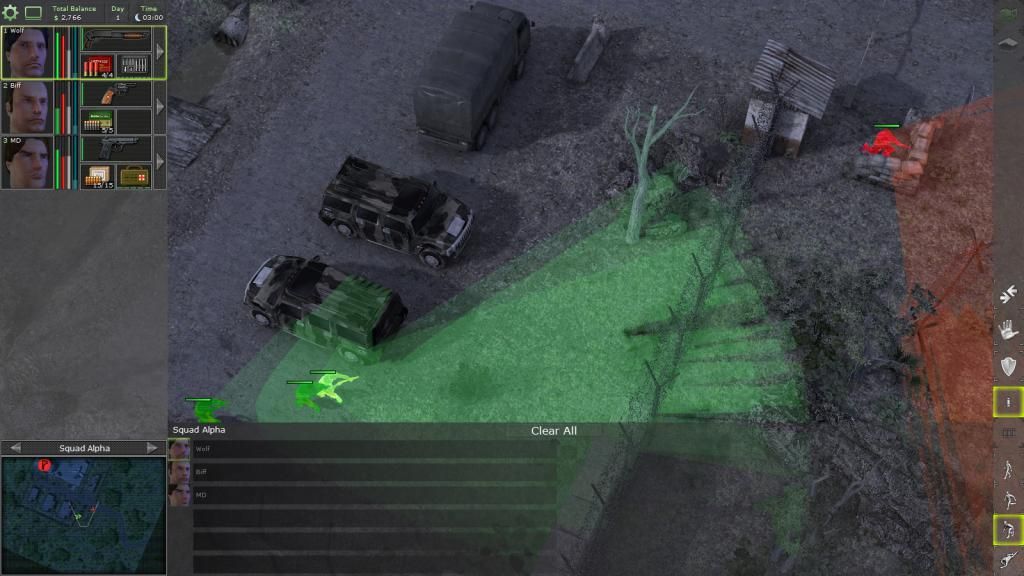
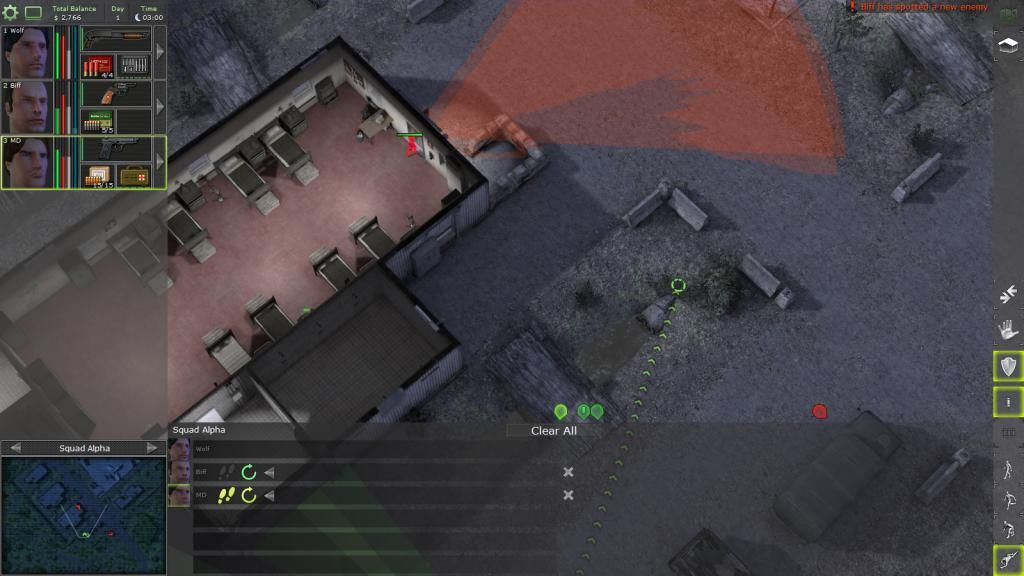
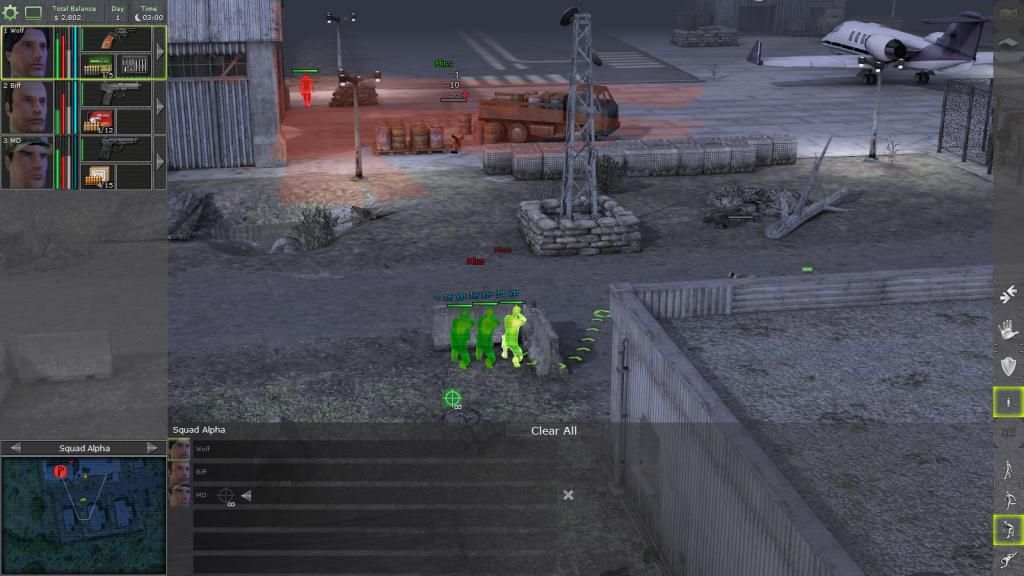
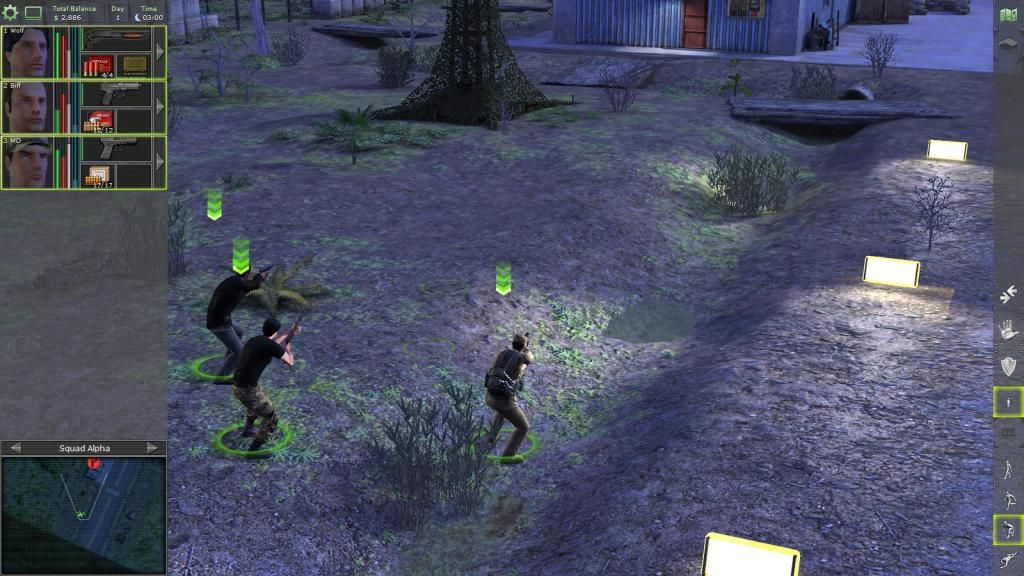
And another. The red zone is the field of vision of the enemy, it only appears if they are unalerted and it is restricted to 55% of their normal view distance.
And another baddie appears from behind a building.
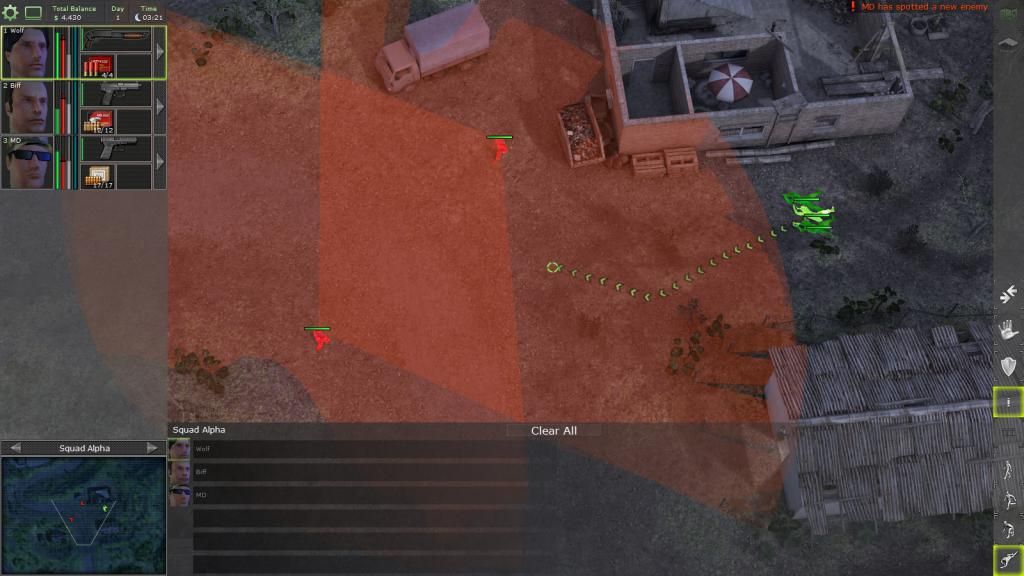
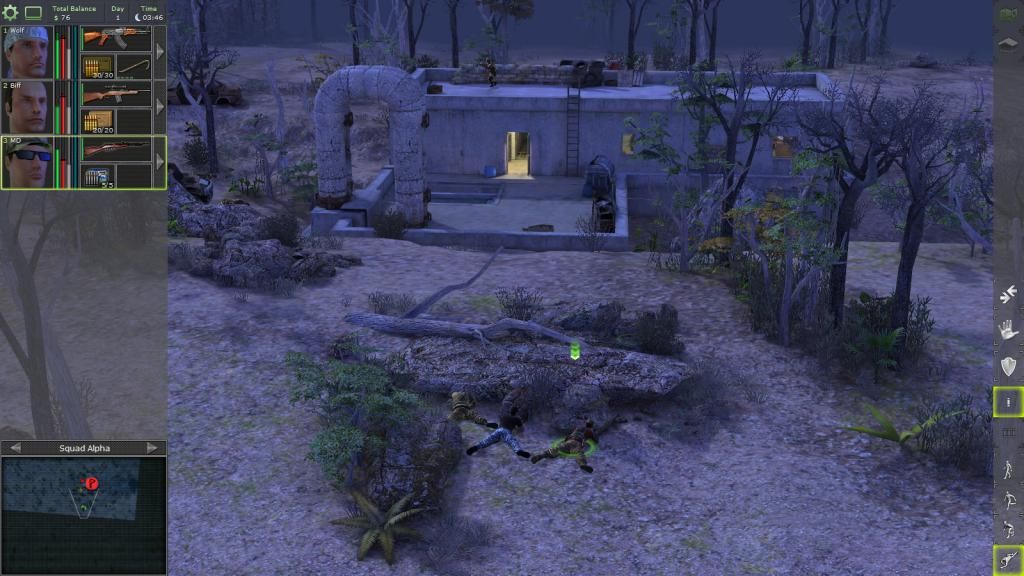
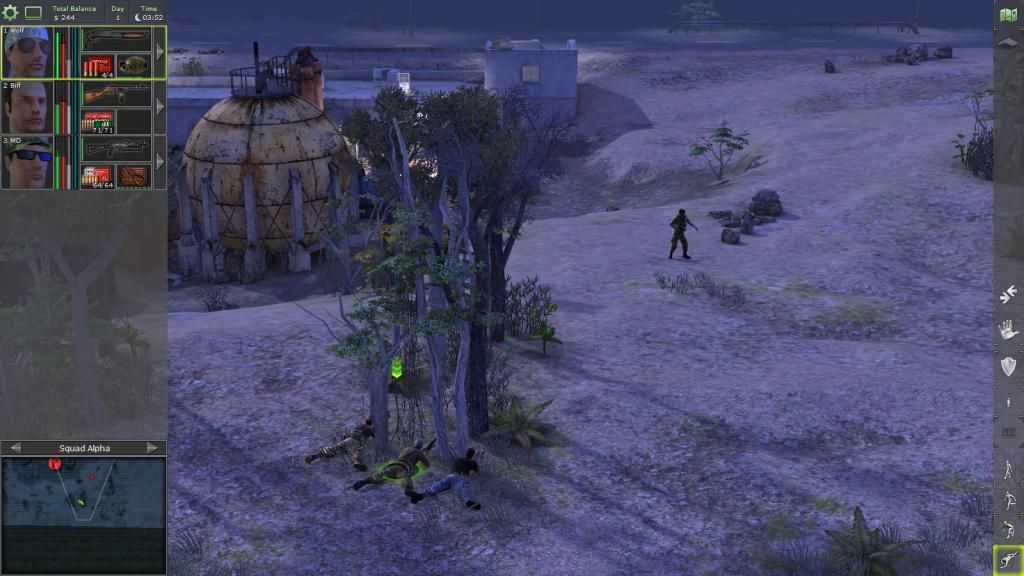
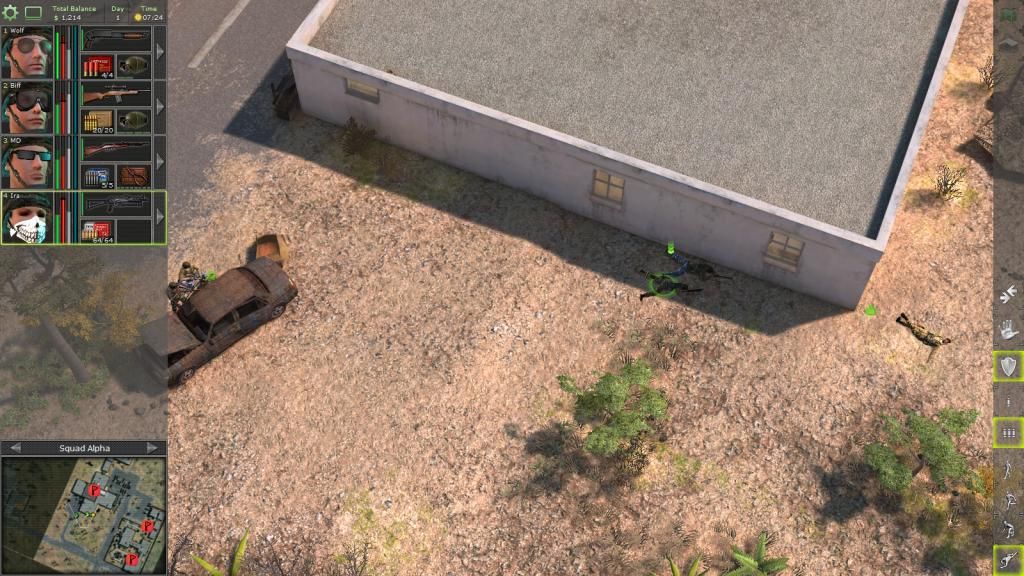
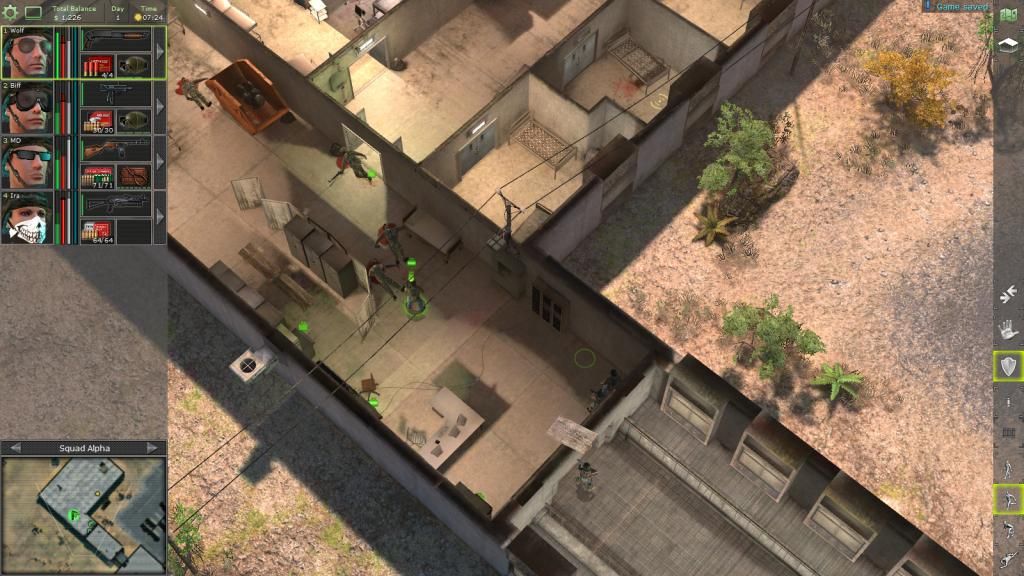
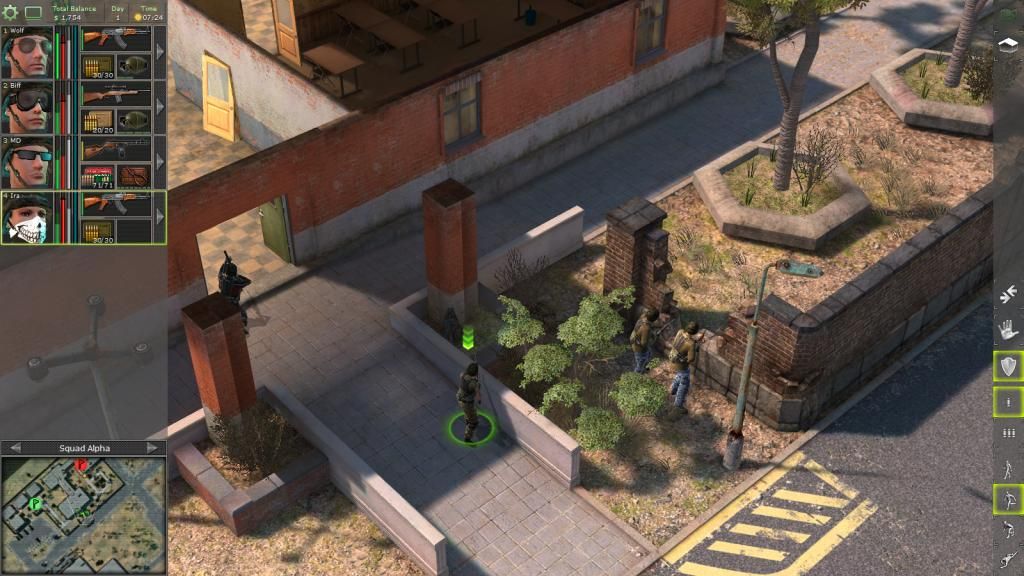
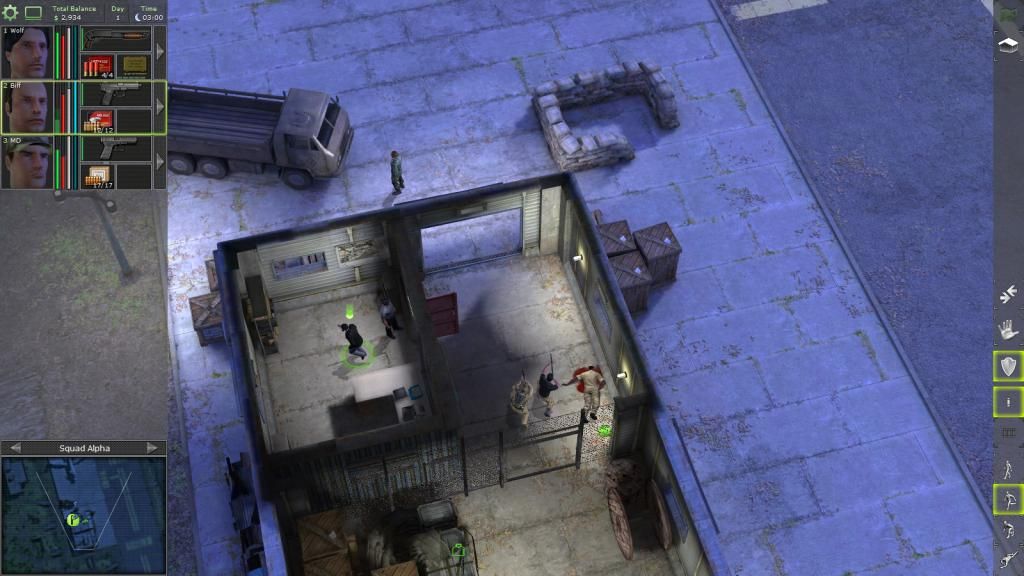
We waited until the patrolling guards leave then started crawling to do a sneak attack on one of the two nearby guards. The Guard to our right is blocked by the guardhouse.
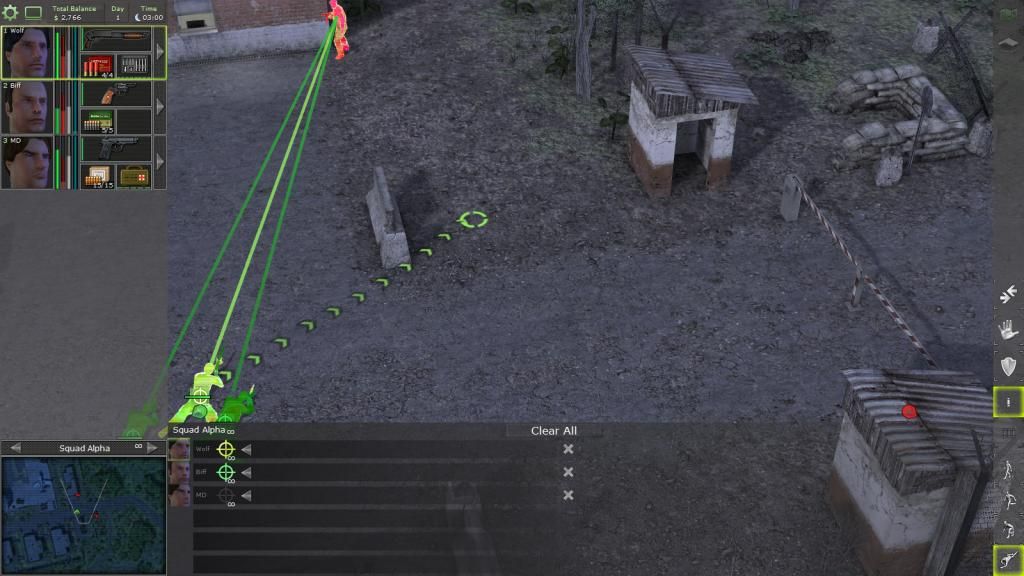
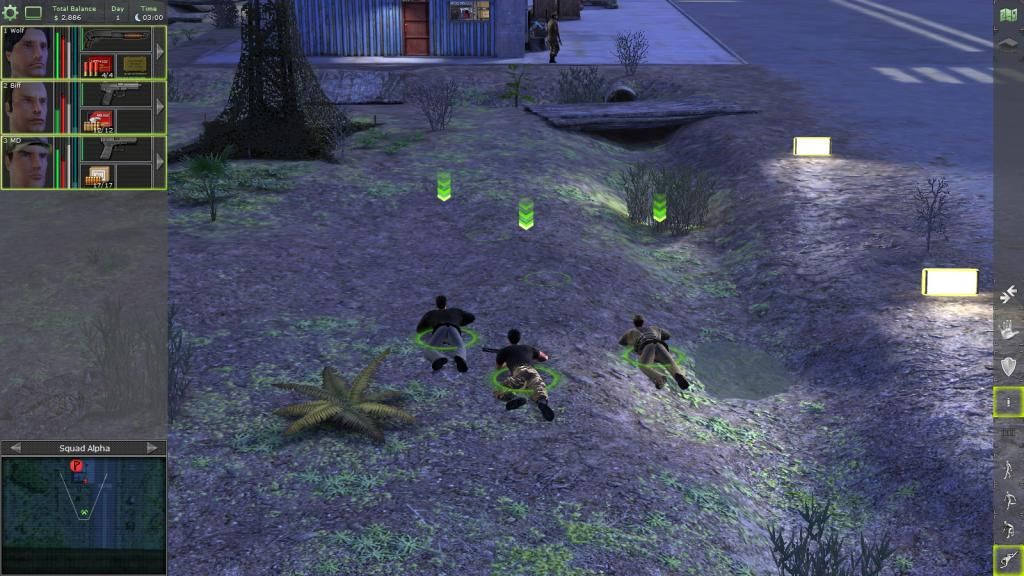
He heard us! The three of us have poor stealth. Time to shoot!
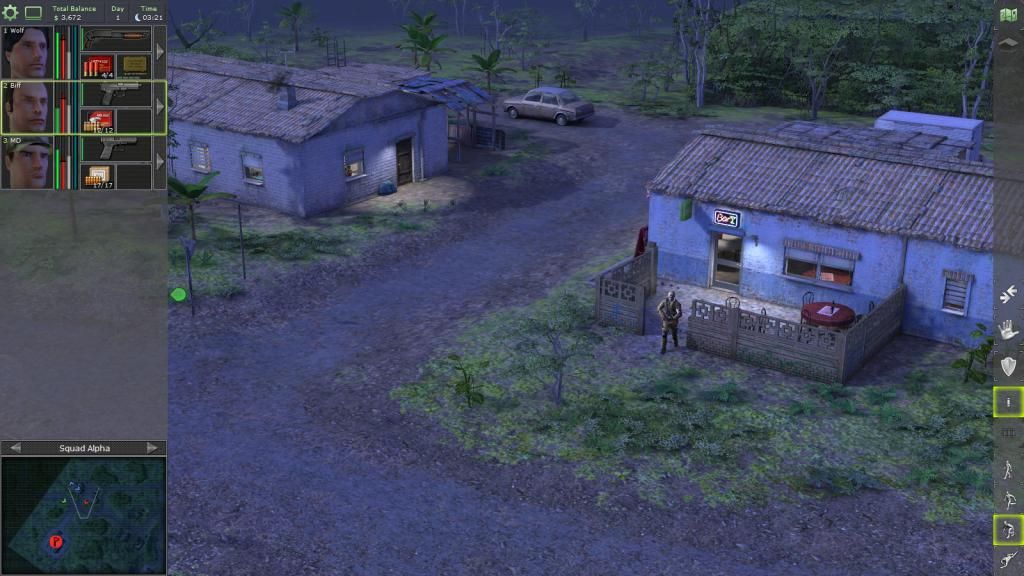
After killing him, we turn on the guard at the entrance and kill him.
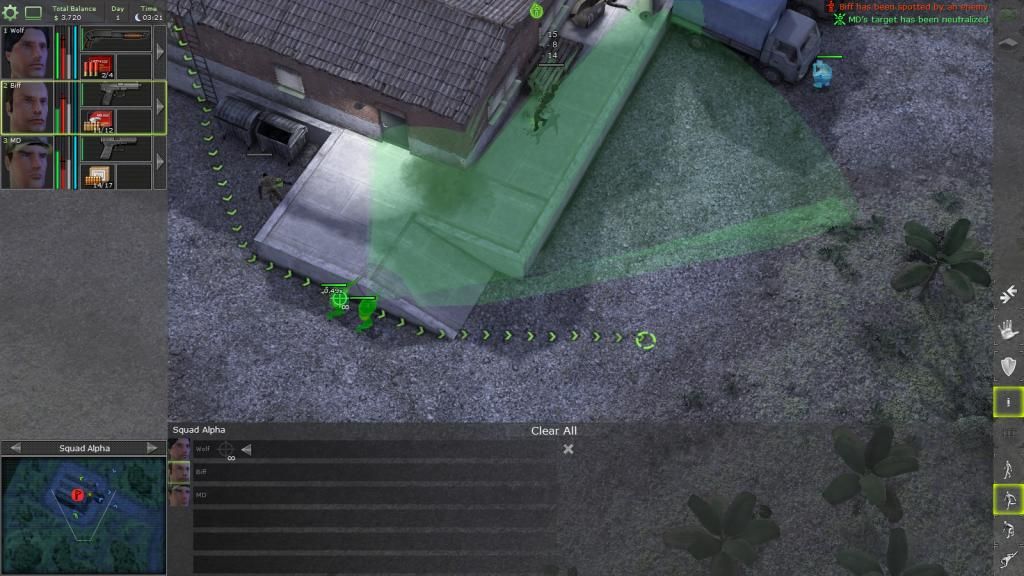
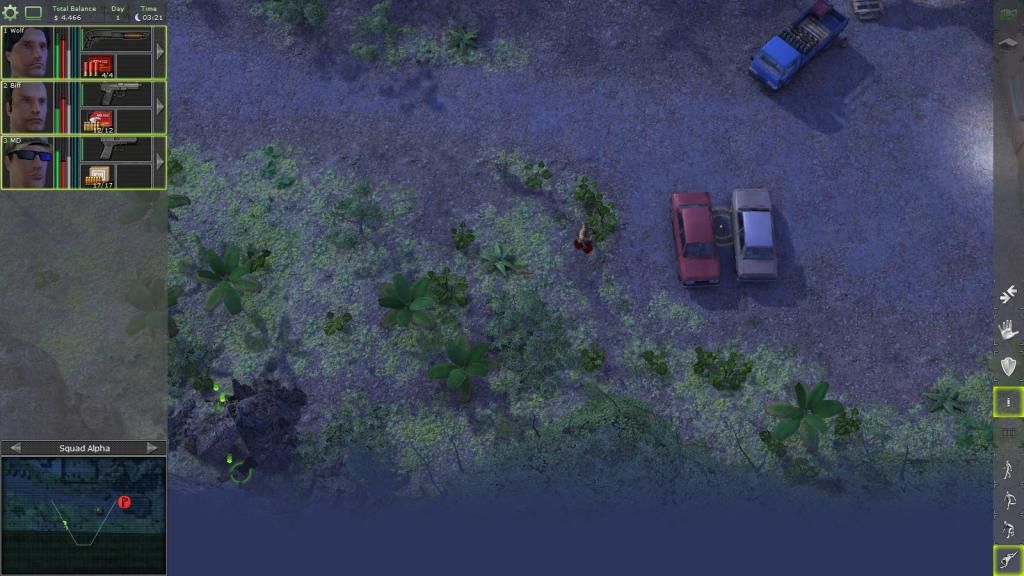
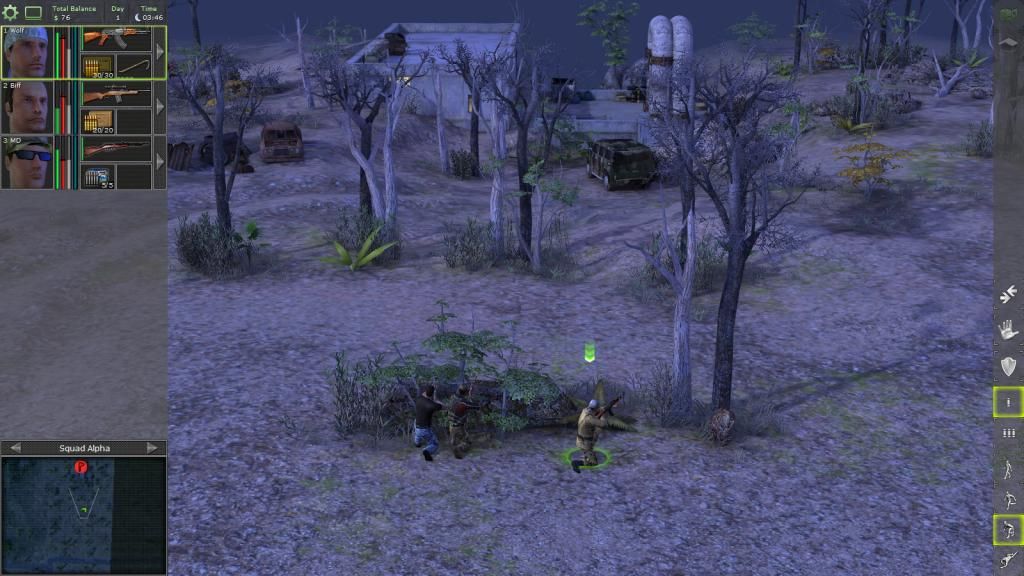
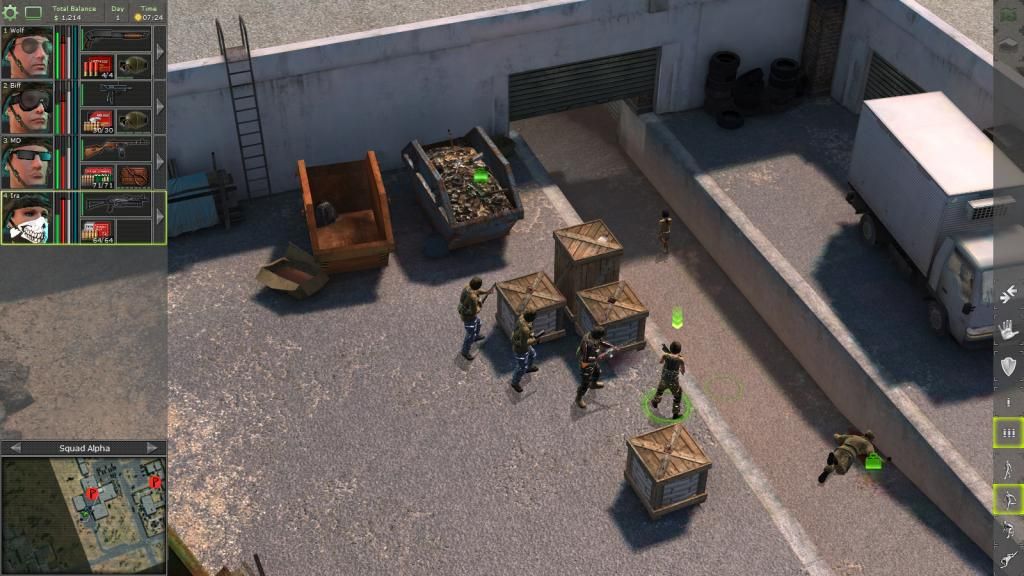
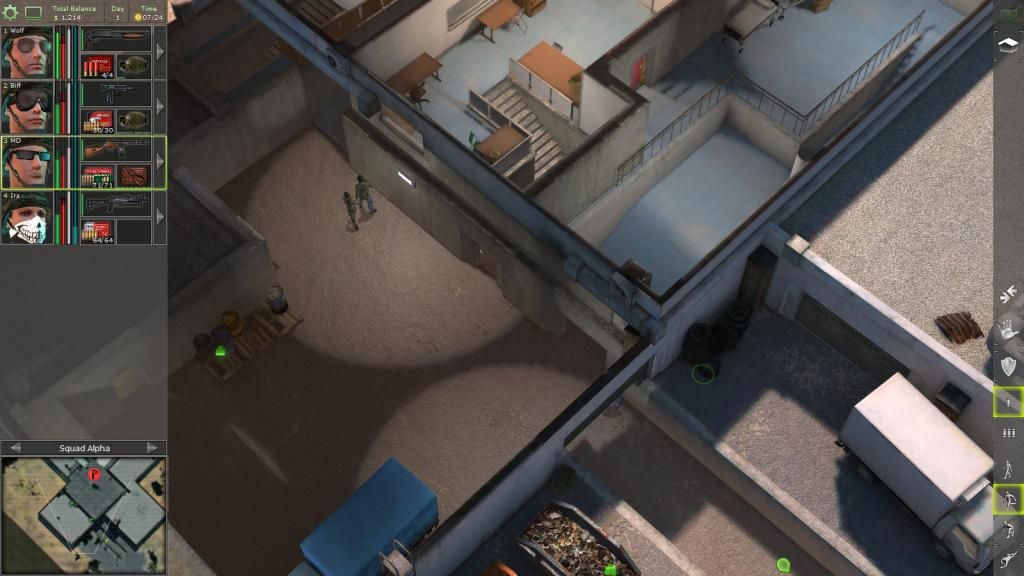
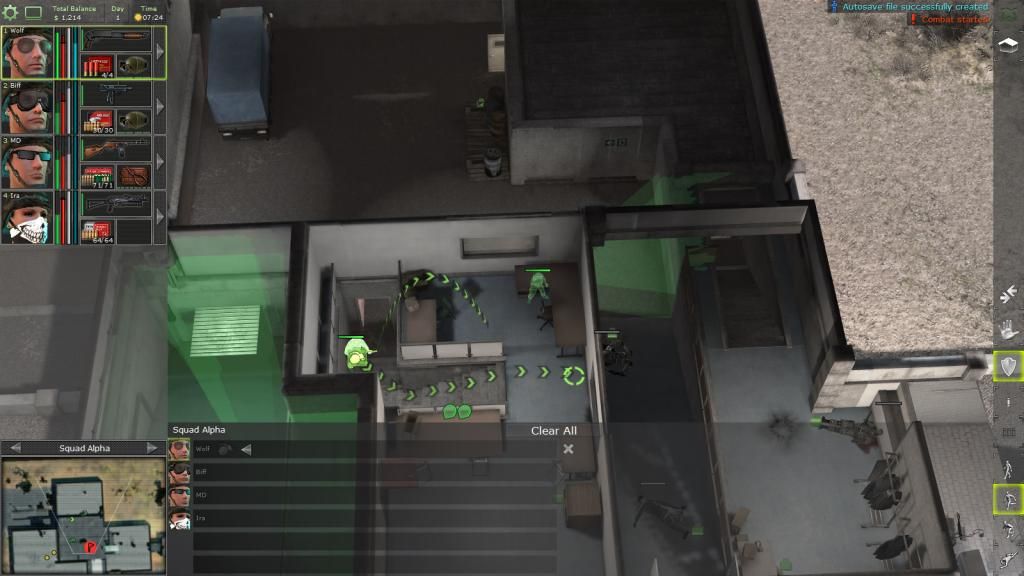
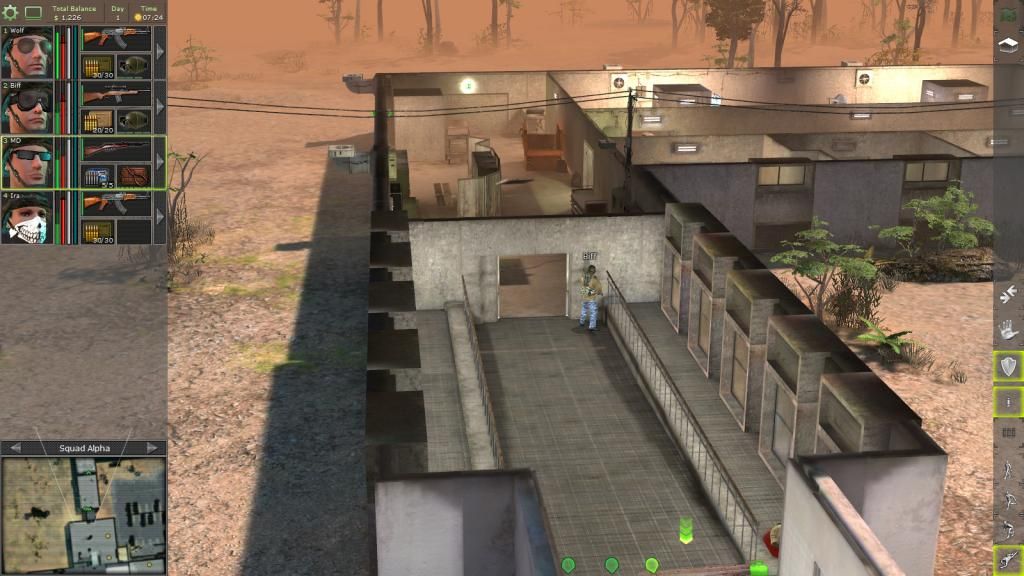
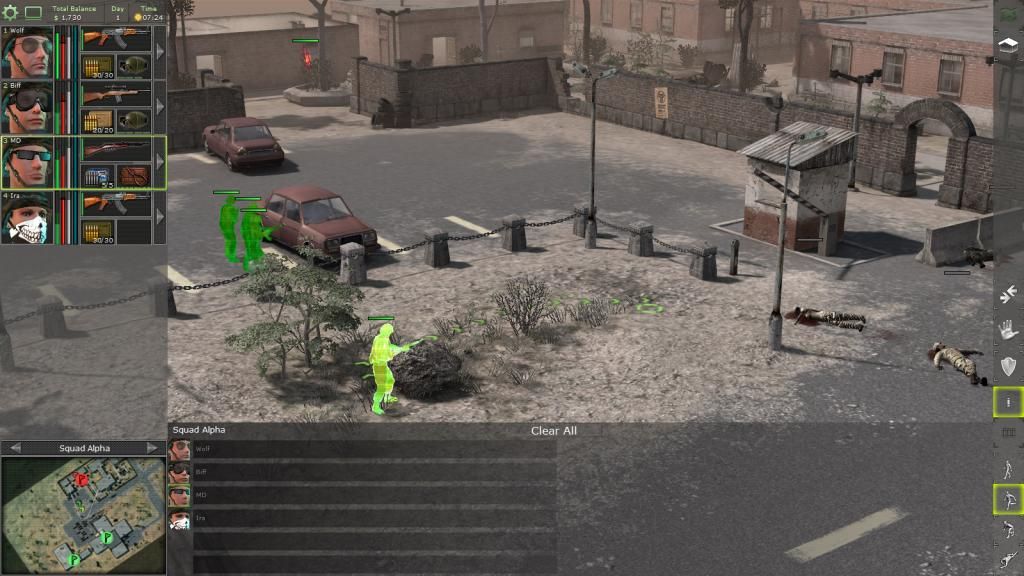
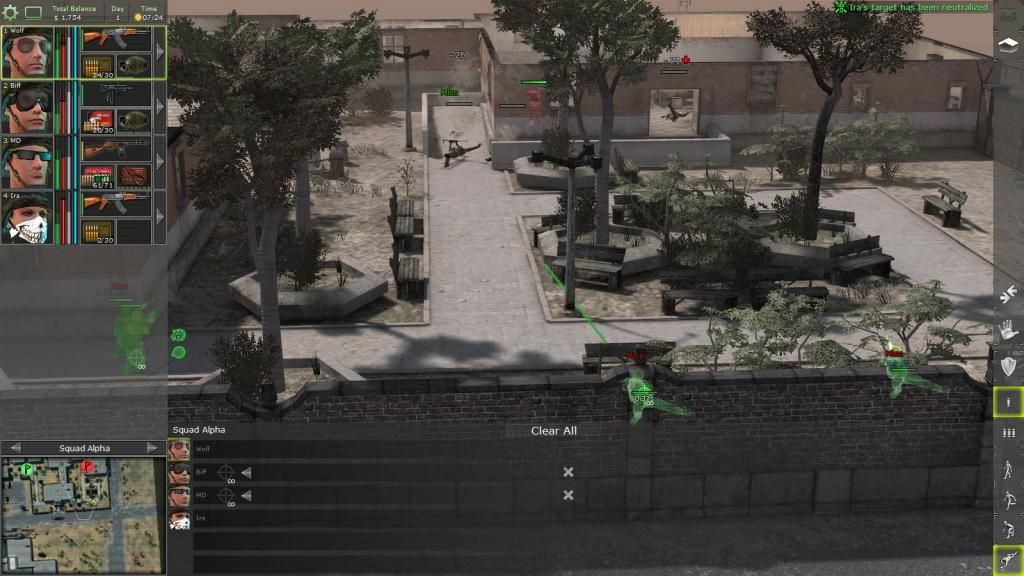
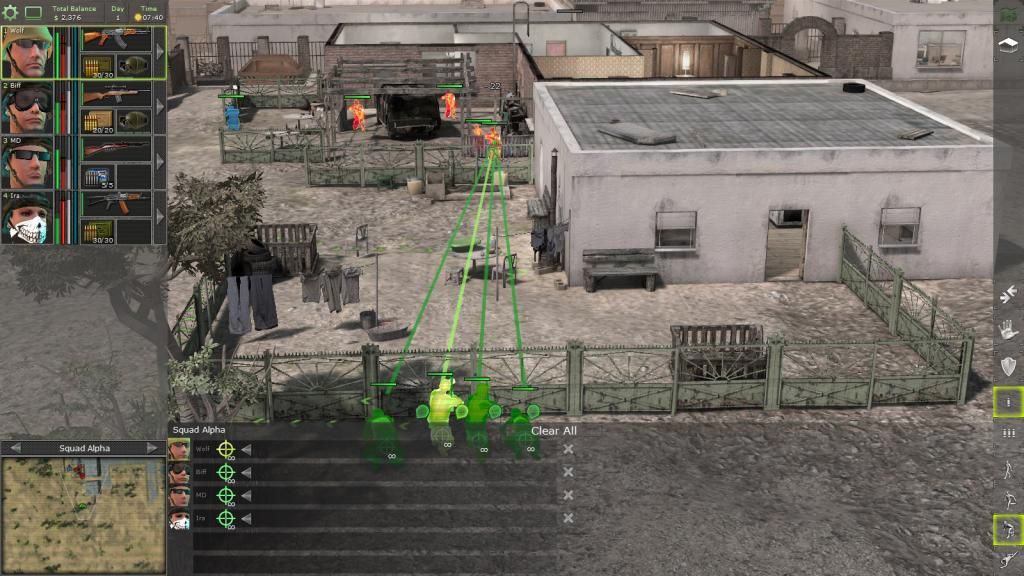
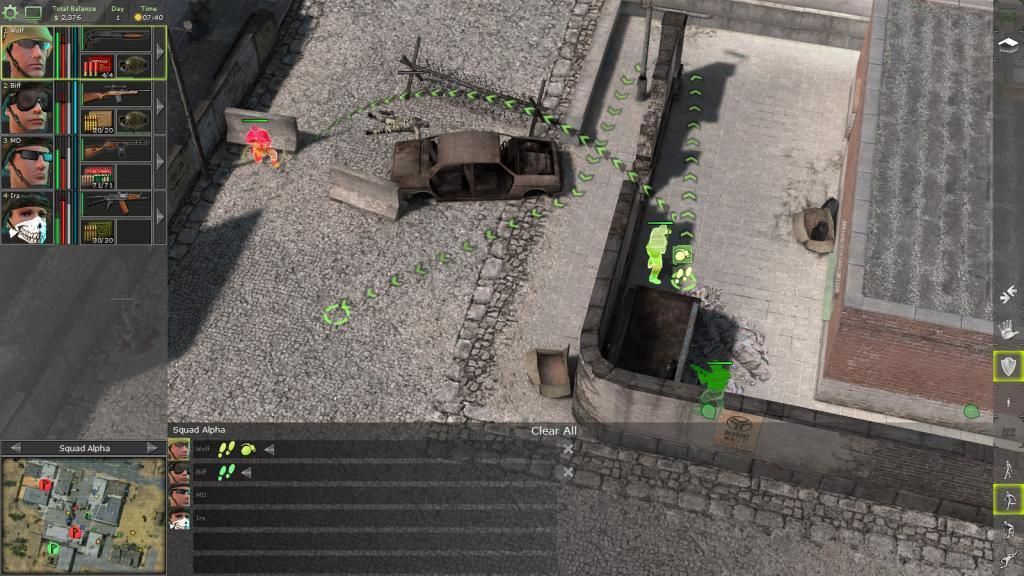
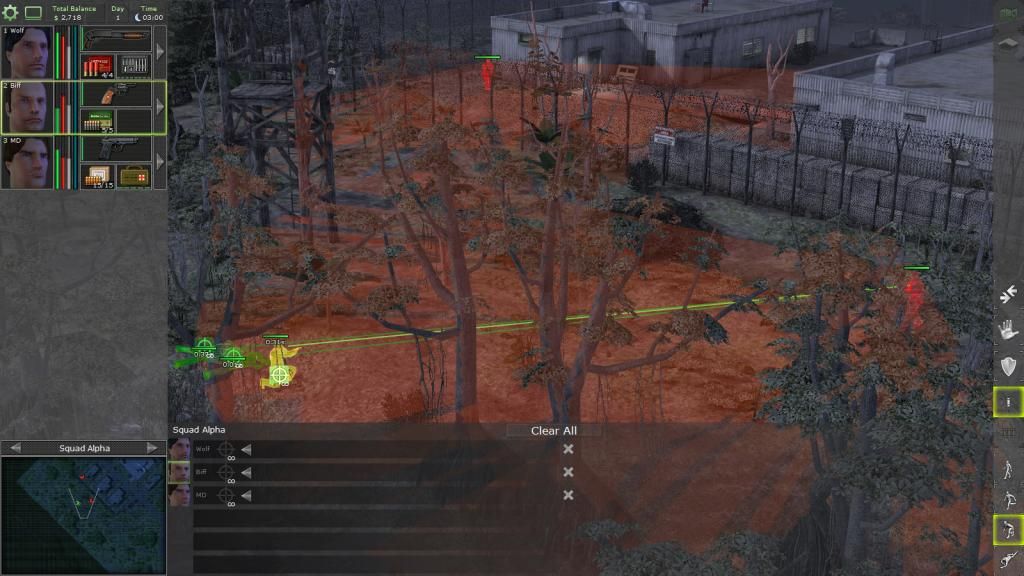
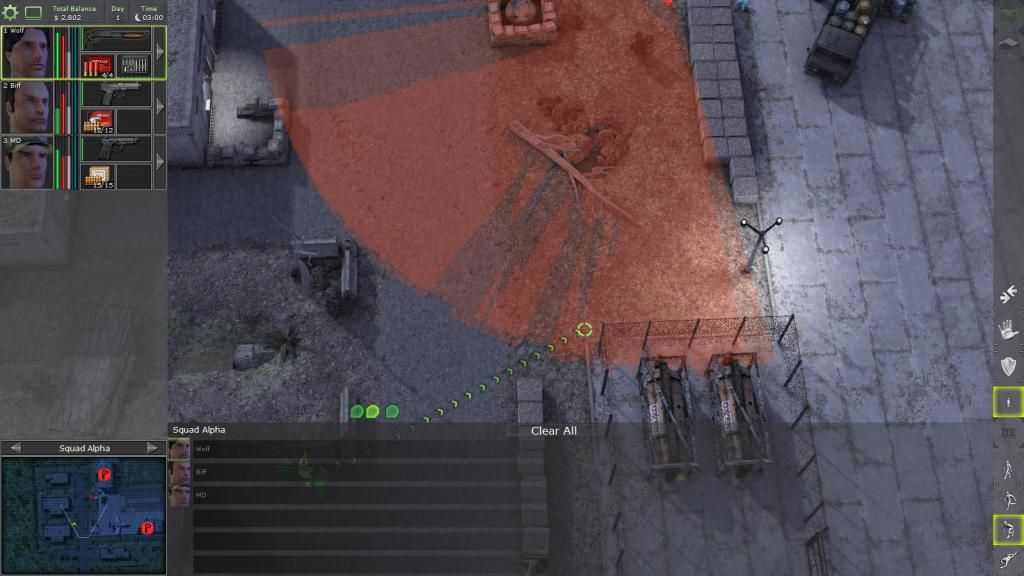
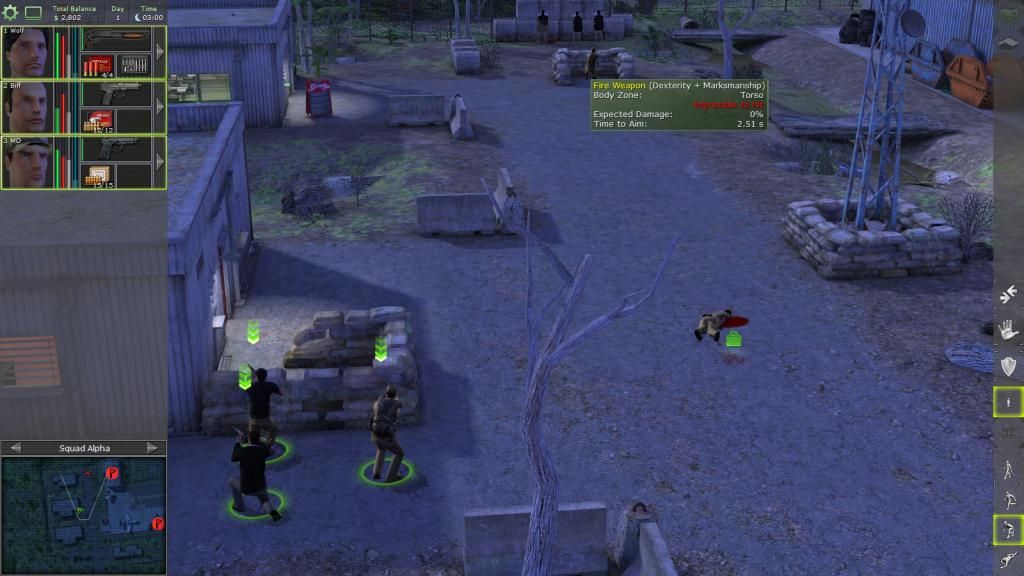
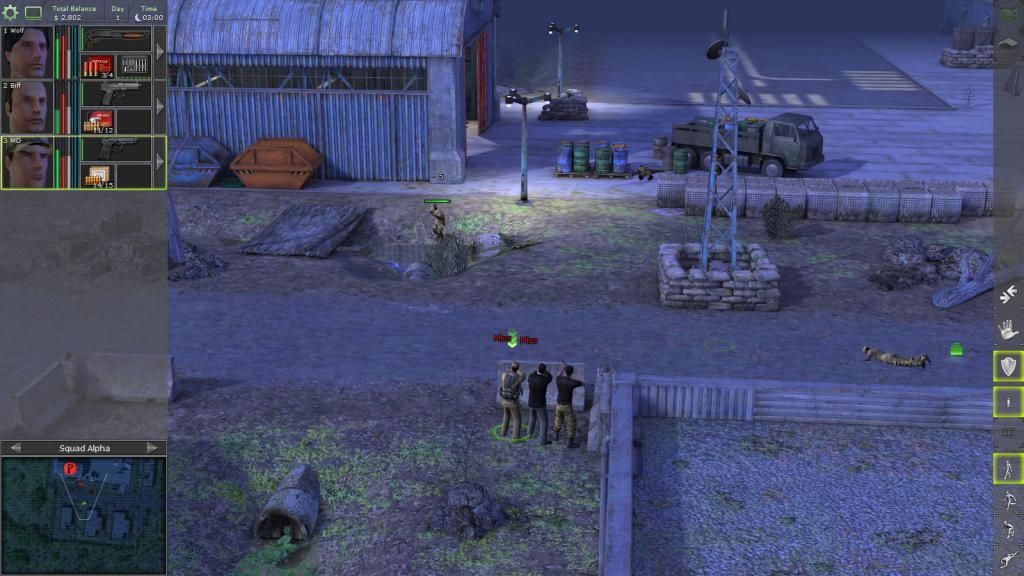
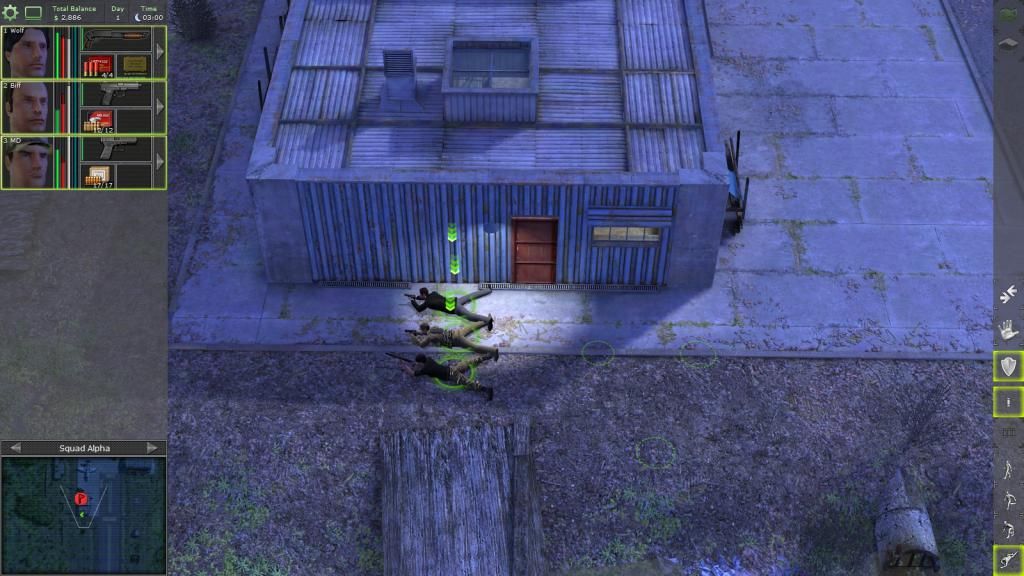
A patrolling guard returns. See those barriers? They will make good cover.
He heard us sneaking towards the barrier but we made it behind the cover. Two of us will crouch and shoot while the remaining merc shoot through a crack.
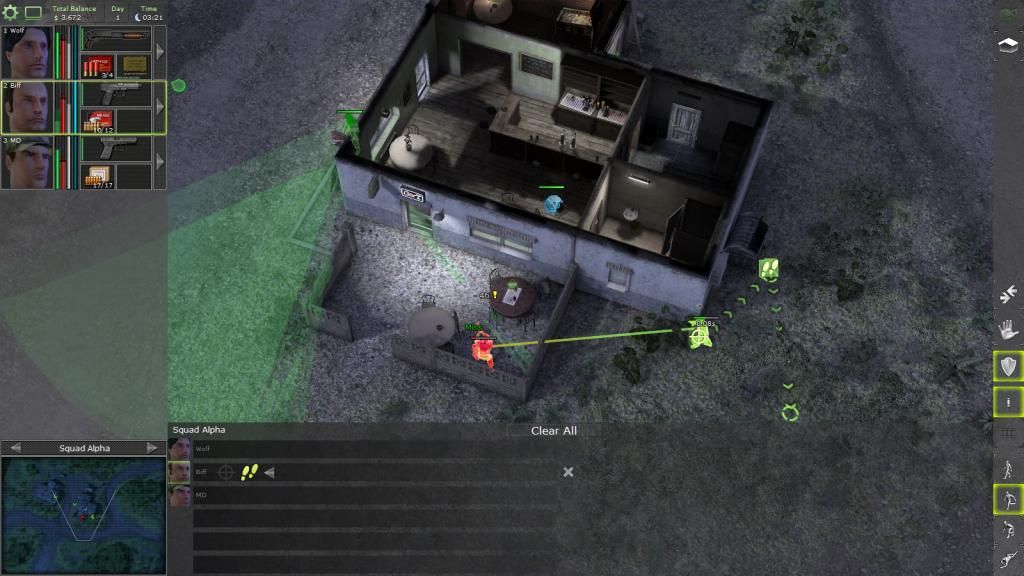
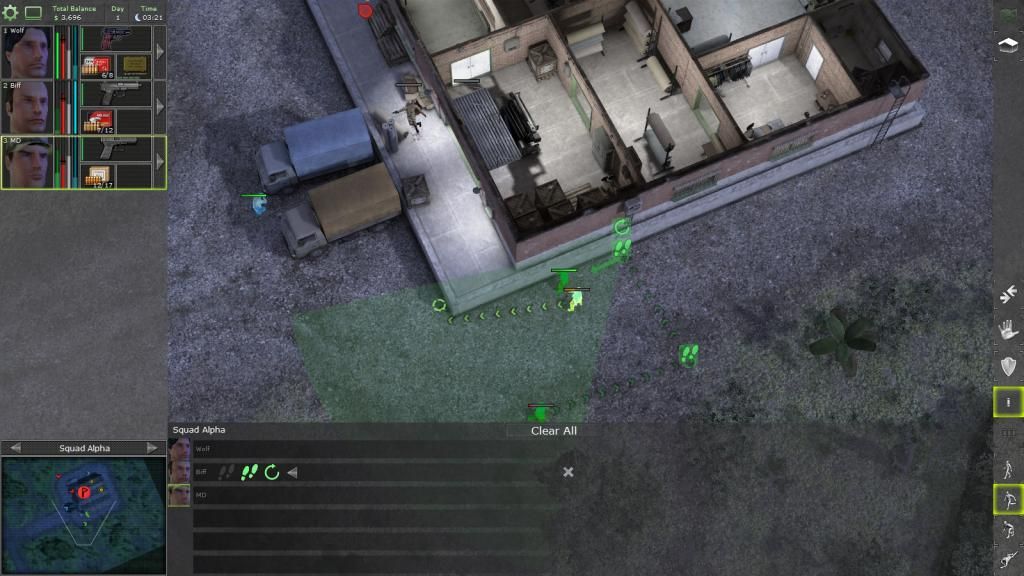
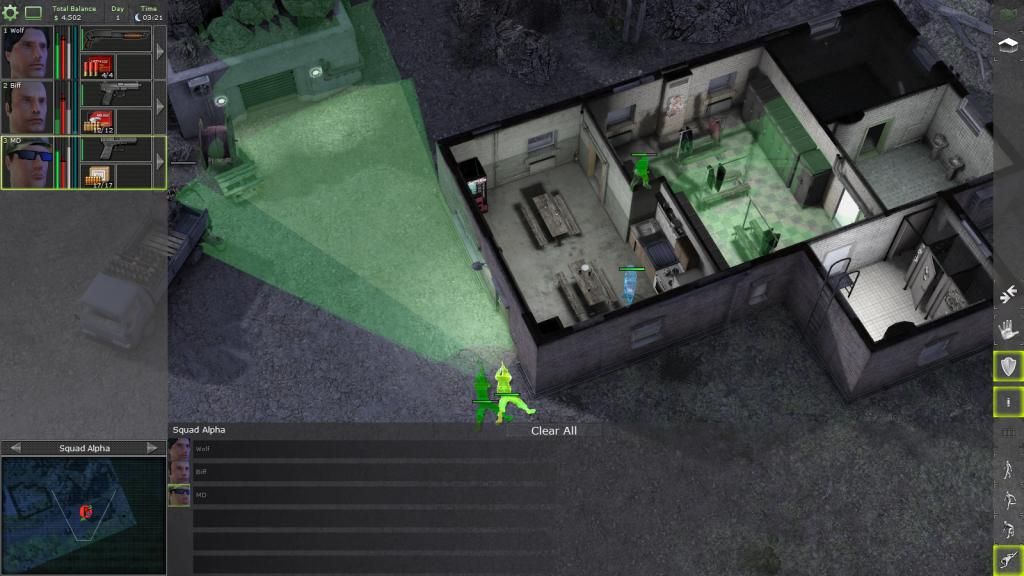
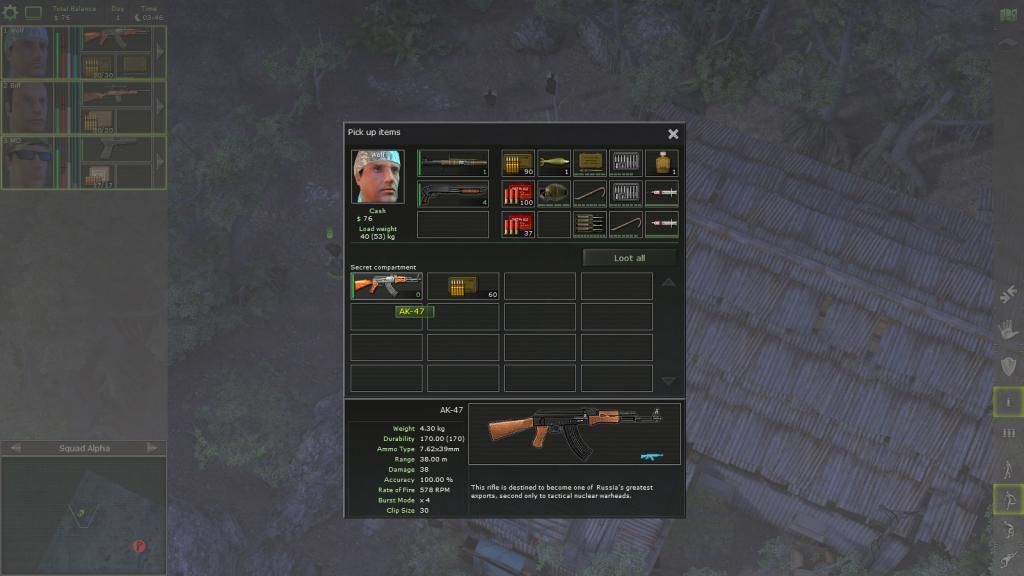
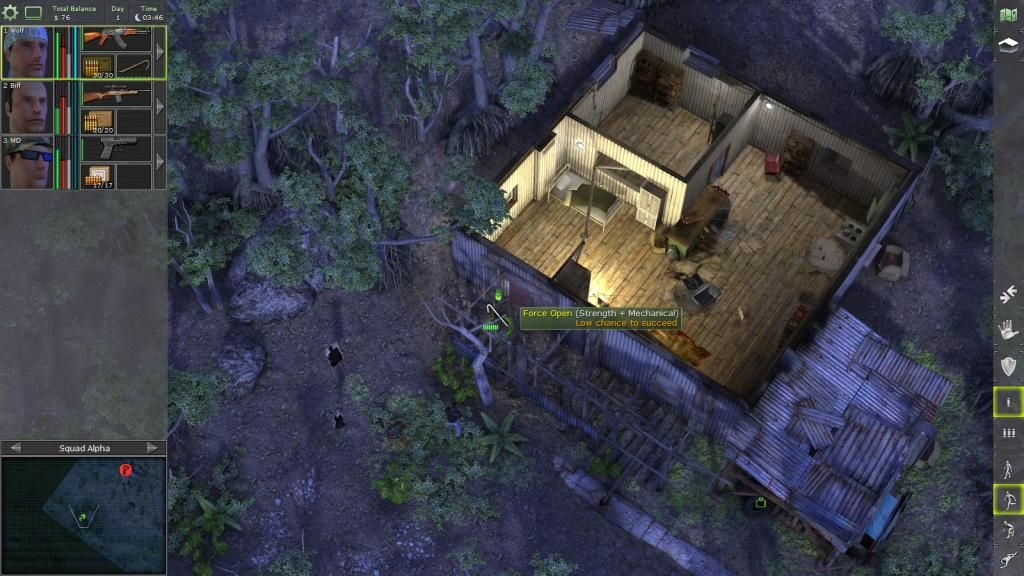
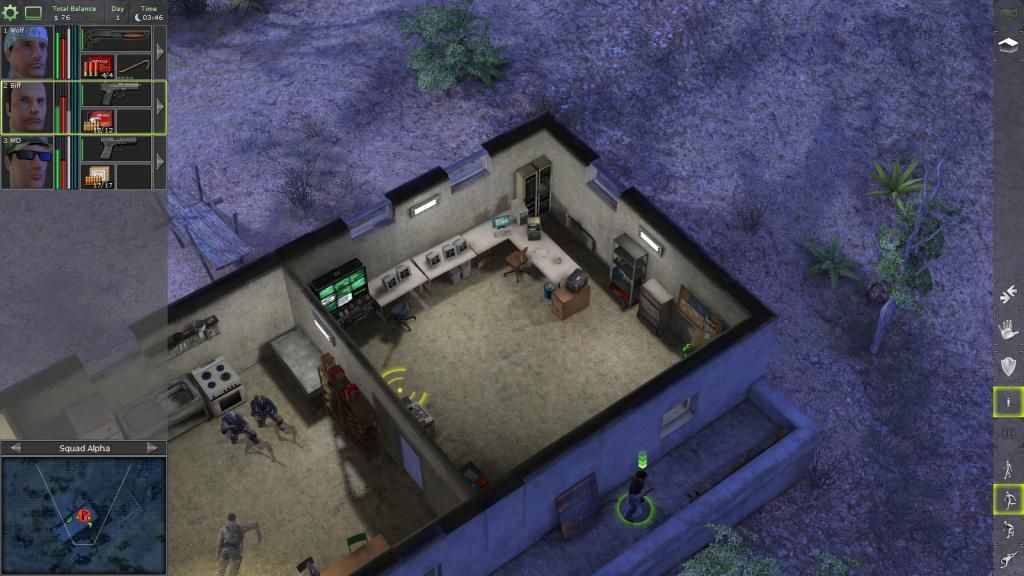
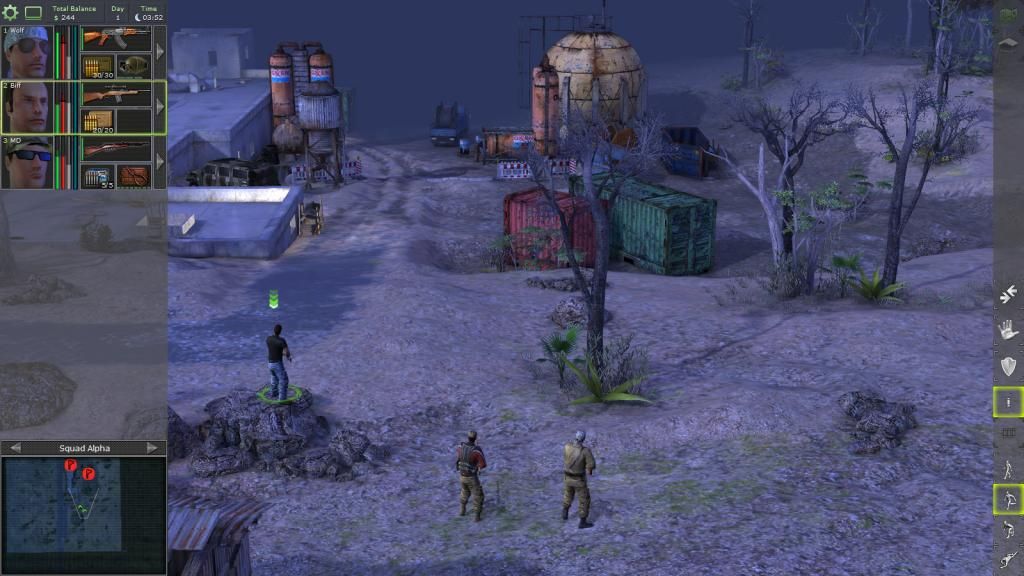
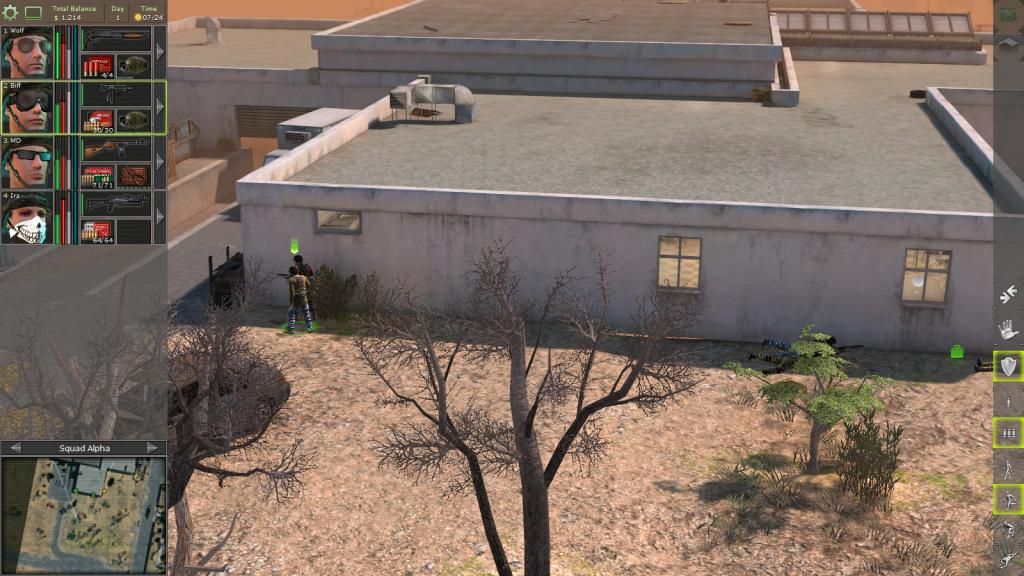
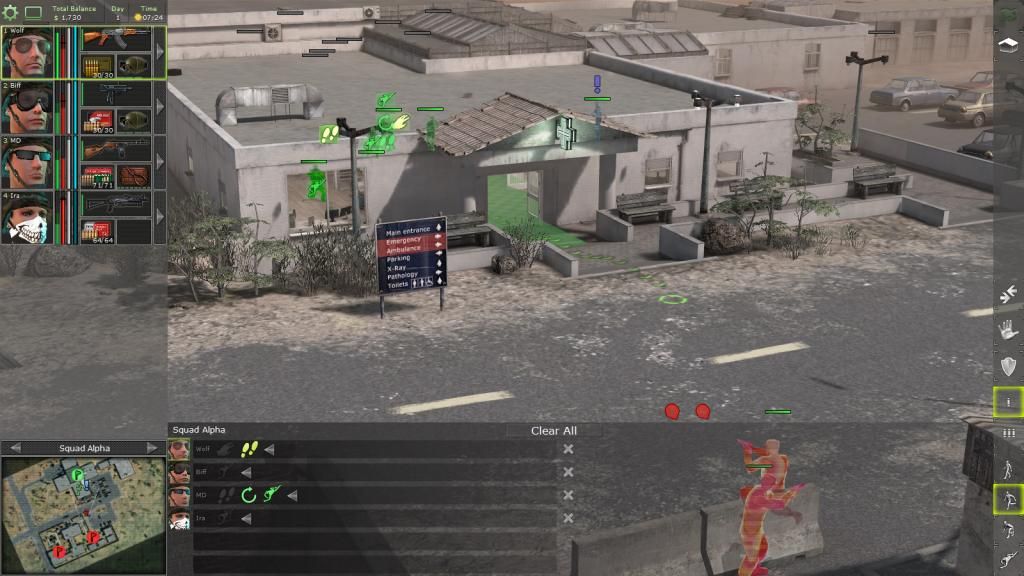
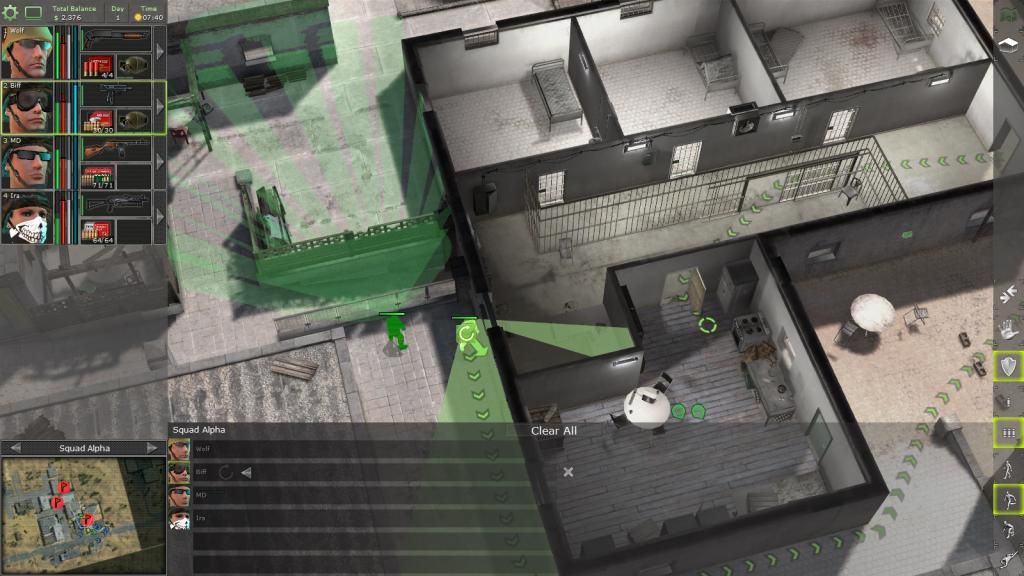
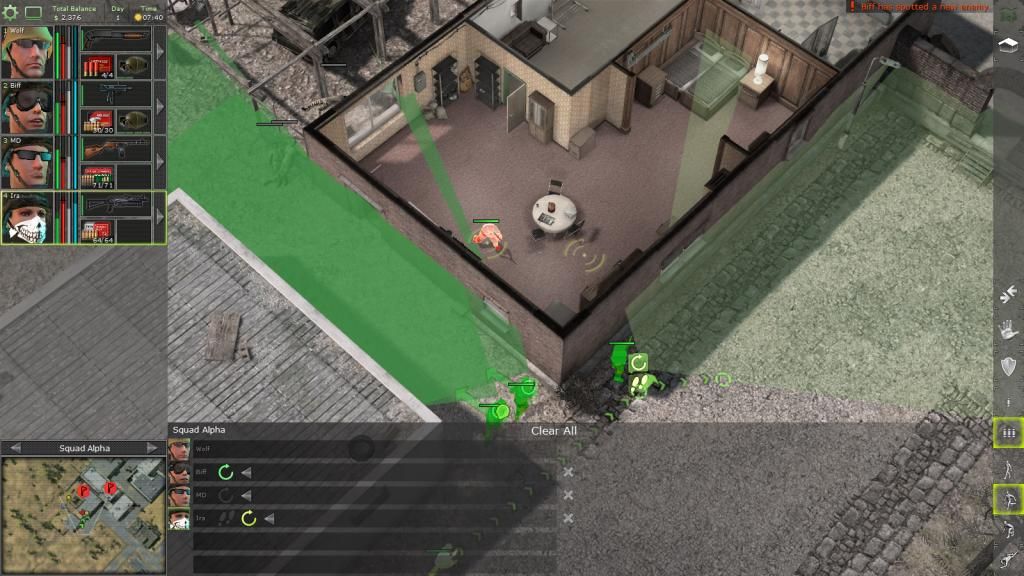
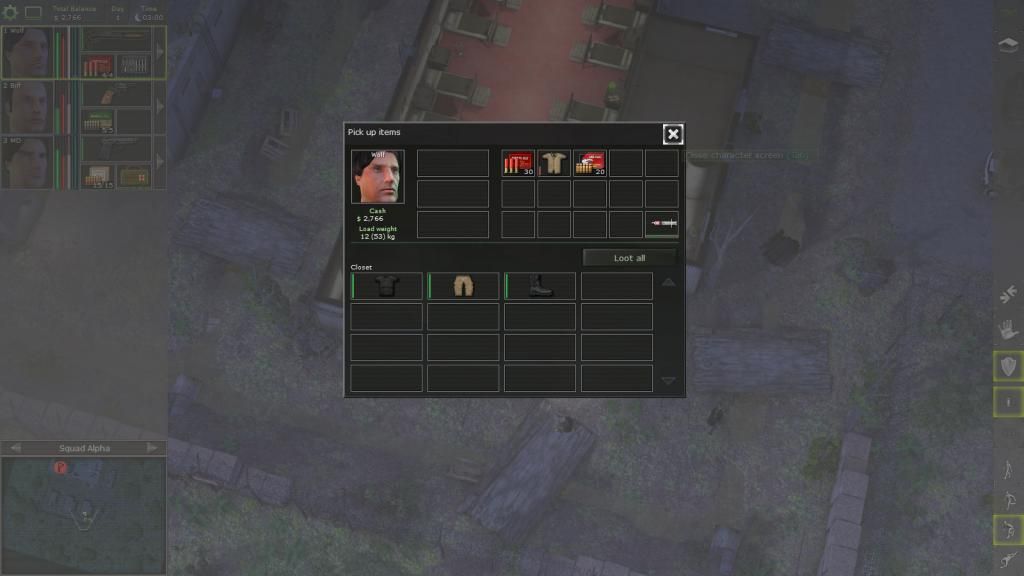
One merc investigates the building while the other two remain on watch outside.
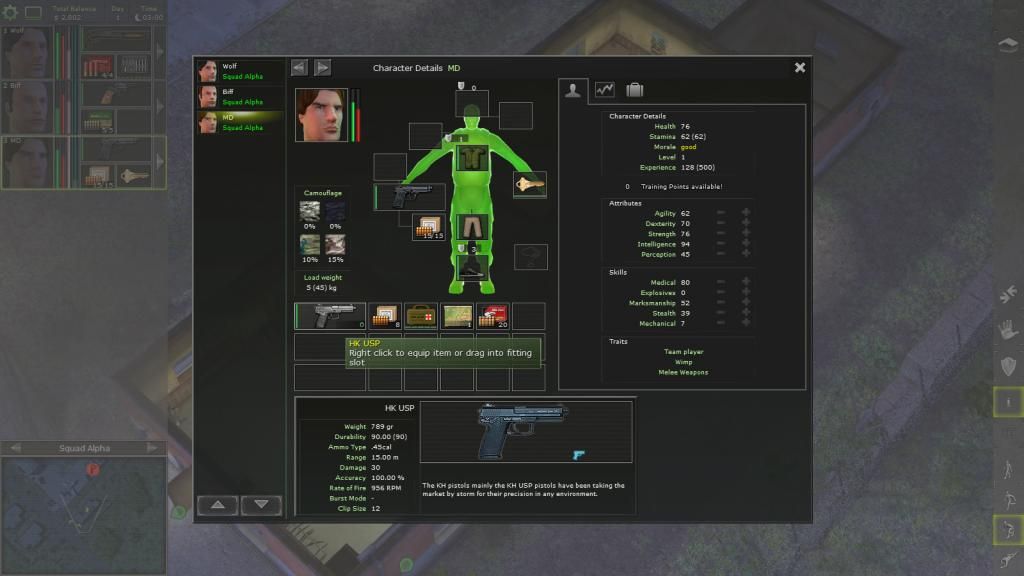
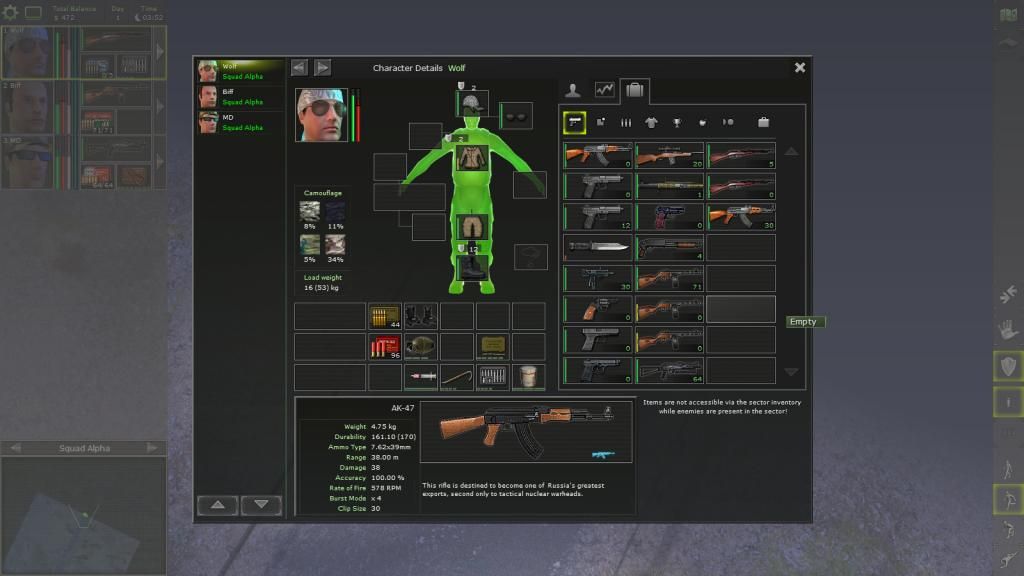
Found a USP, good cos at the start ammo is limited.
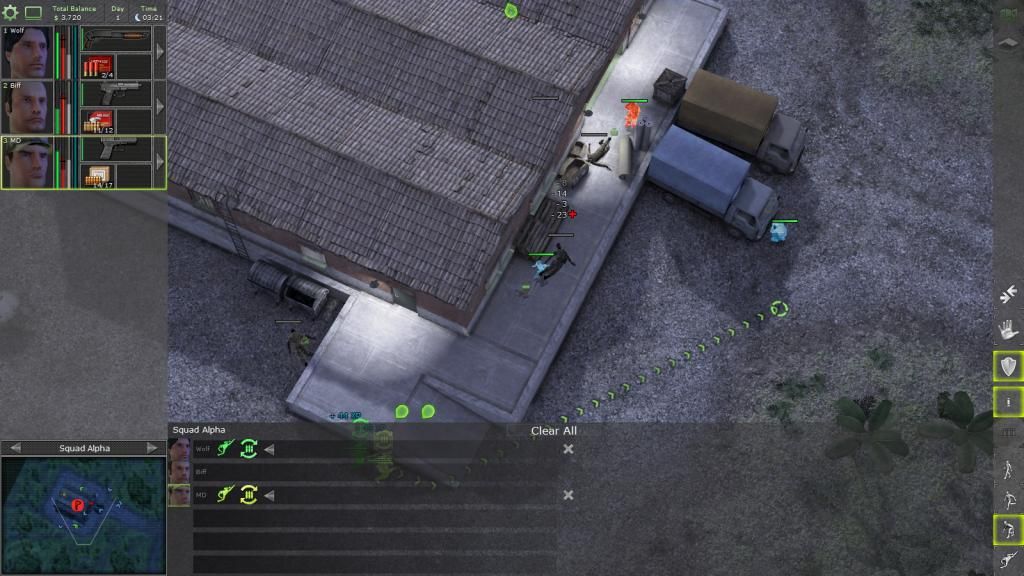
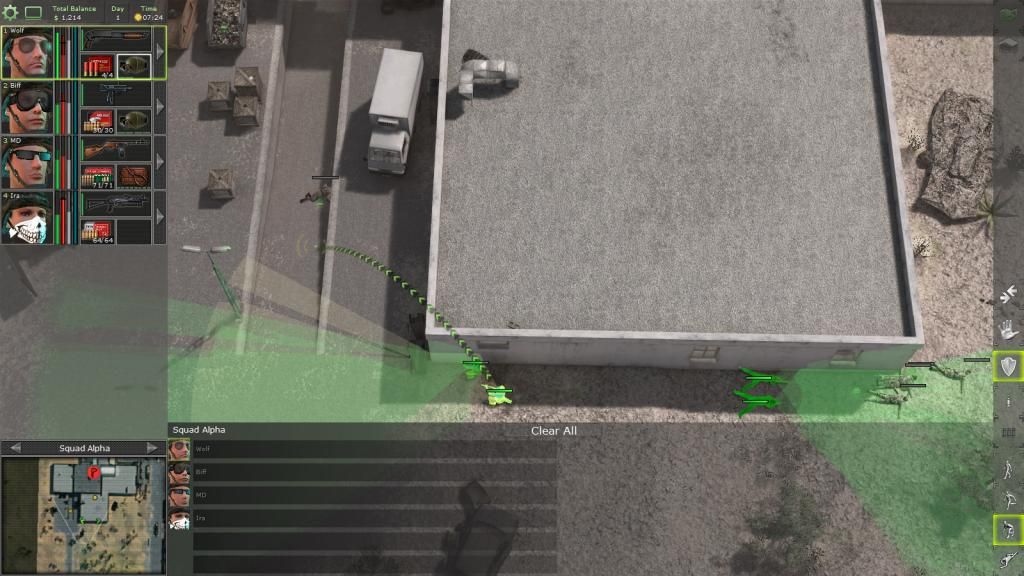
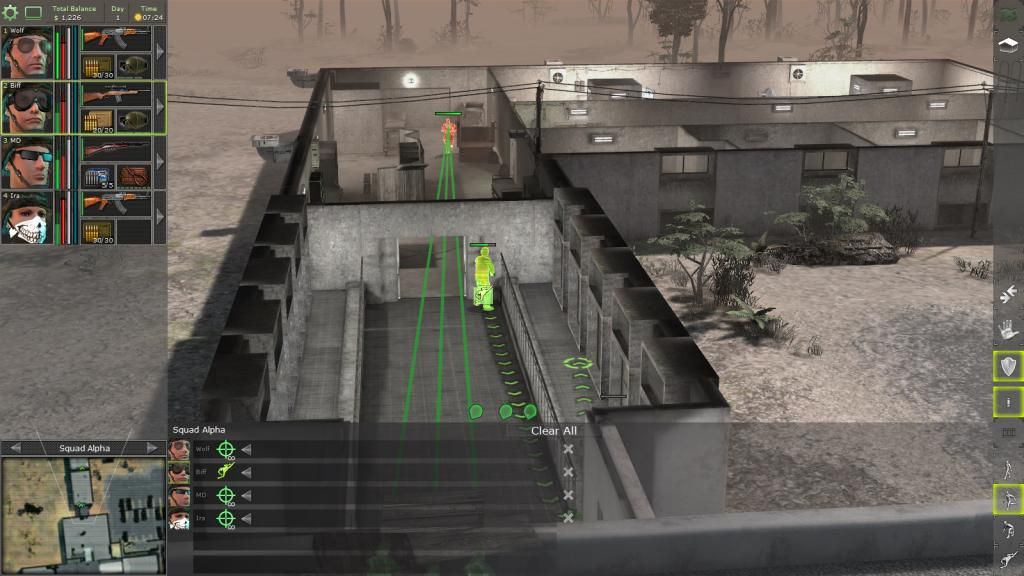
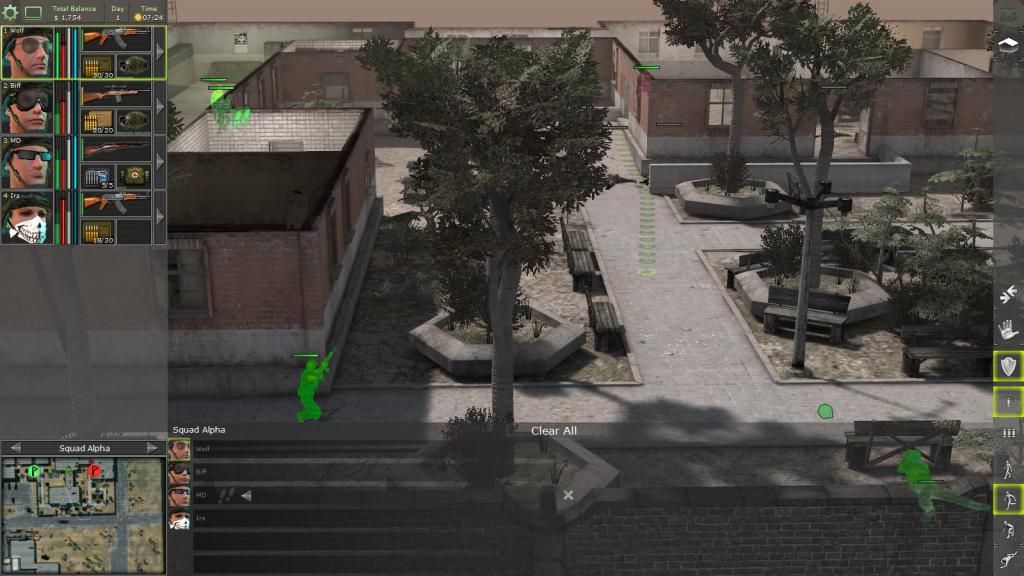
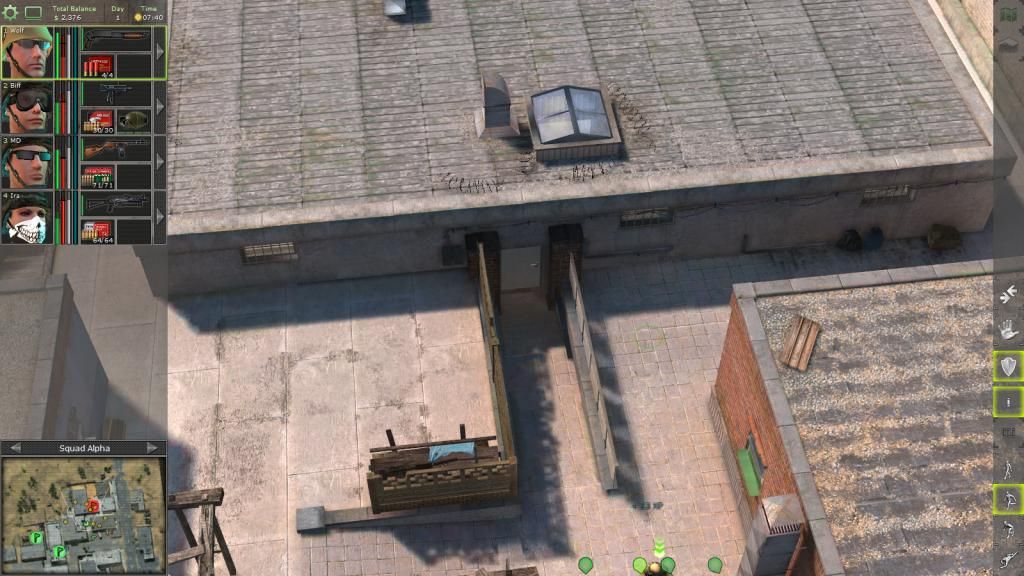
Sneaking to the strategic target at the north of the airport.
Ducking behind cover as we hear approaching footsteps.
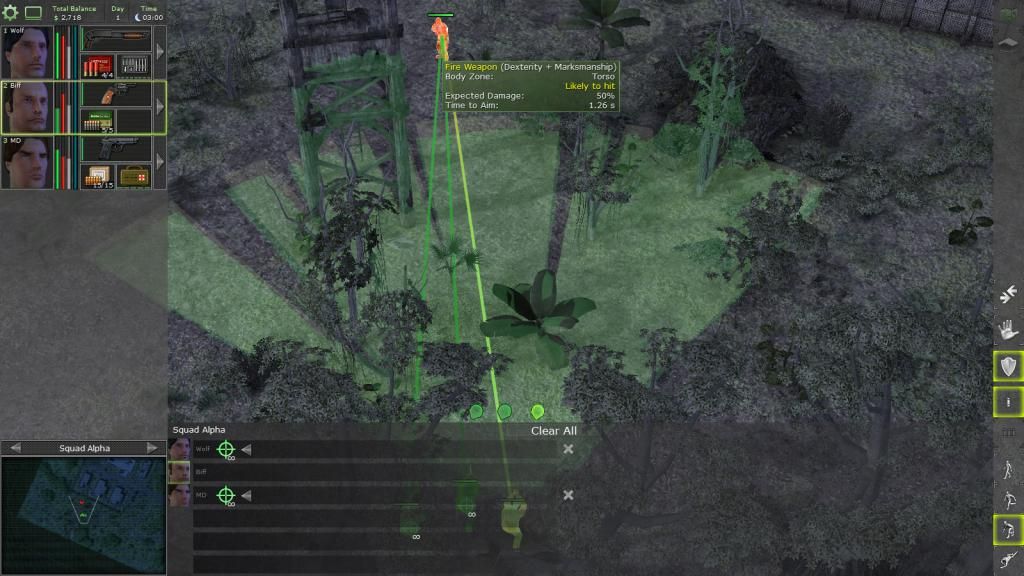
Pop up like a mole and pop him!
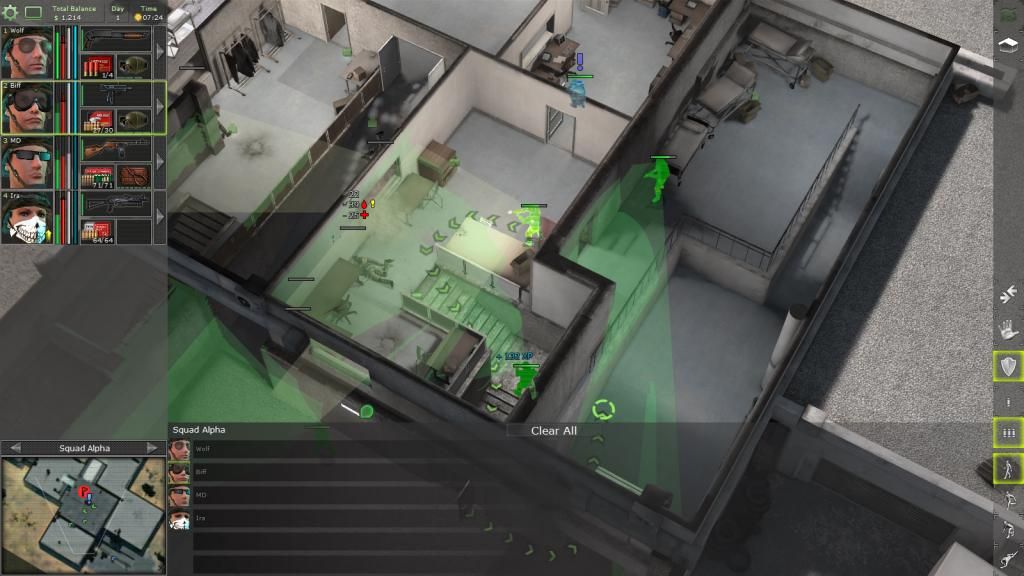
Aiming at a blissfully-unaware baddie from the back.
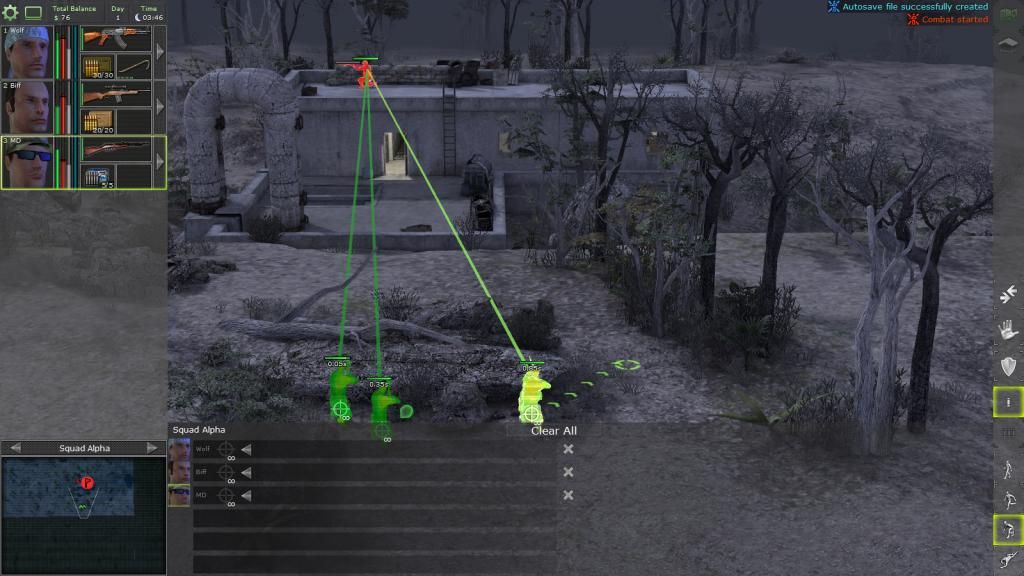
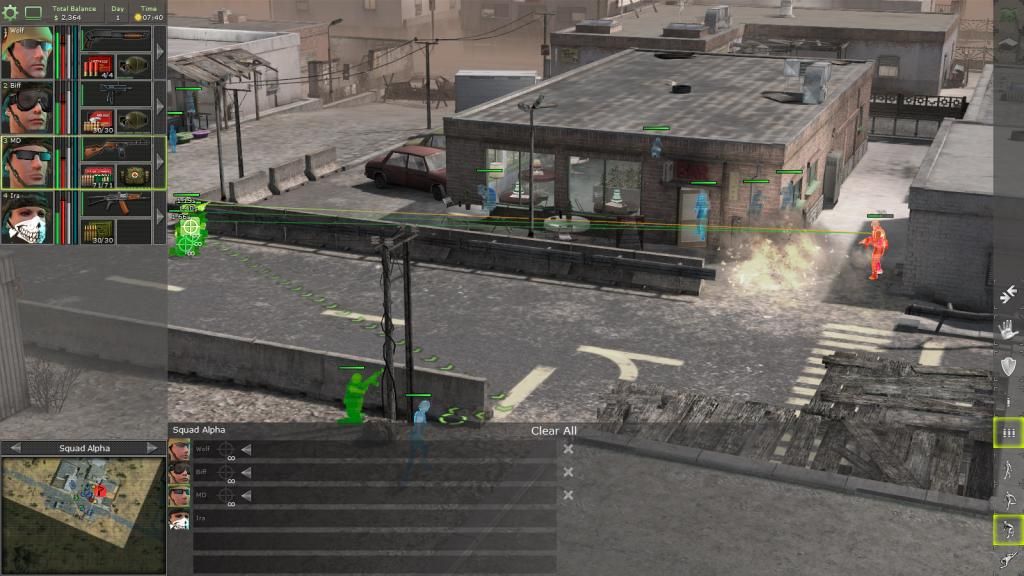
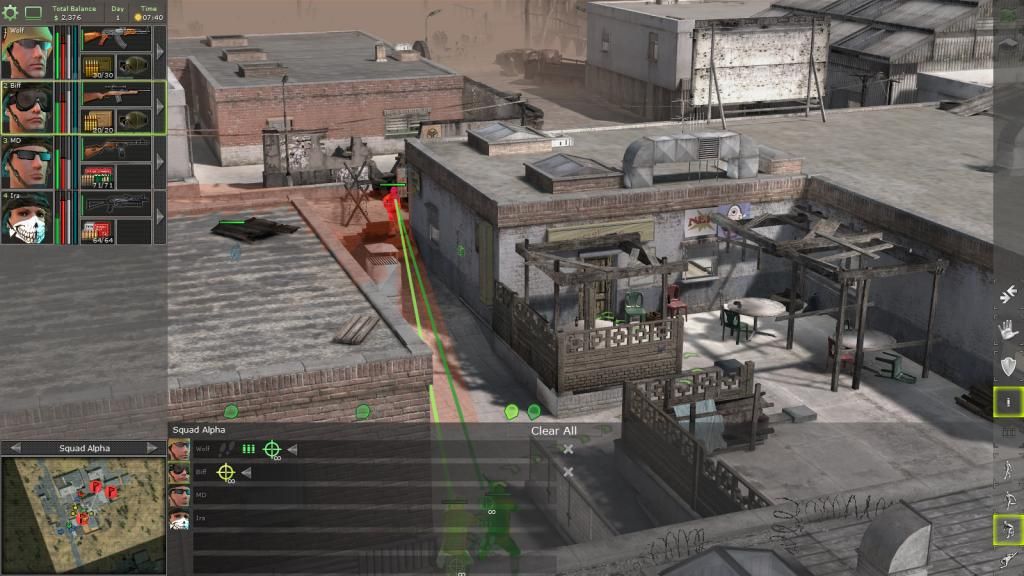
Another shootout, we got cover, he doesn't.
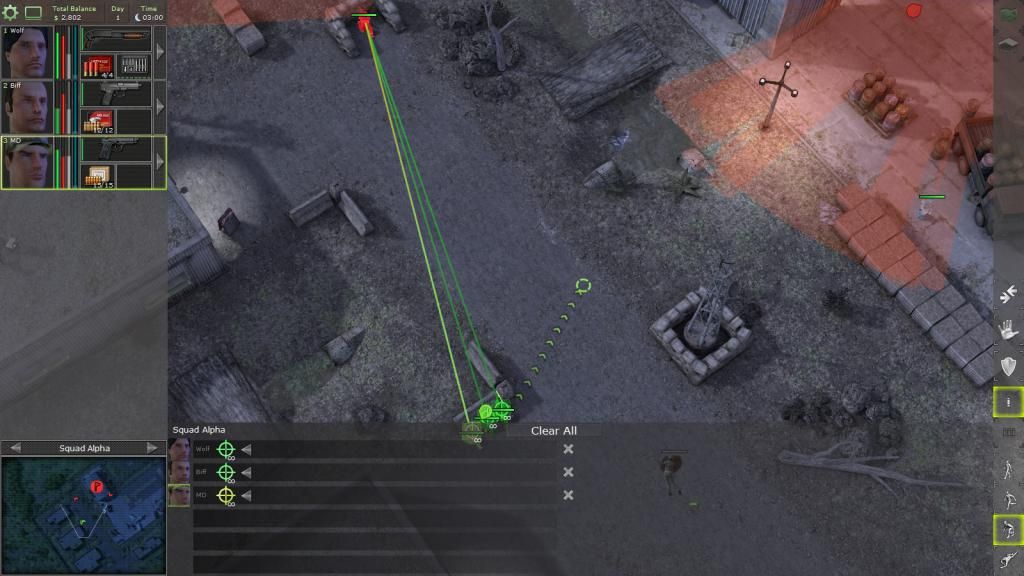
We can see the time for our shots above our heads.
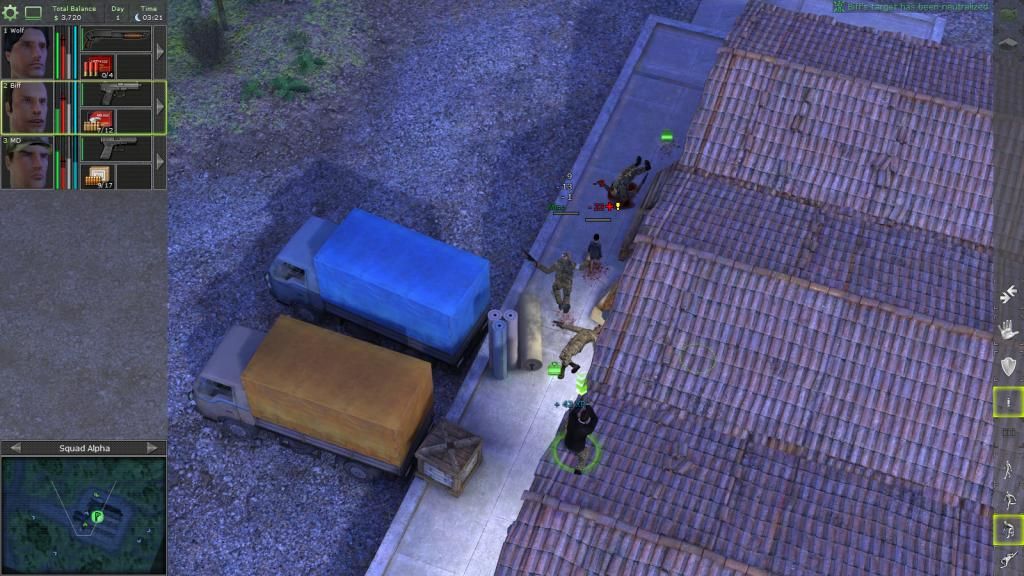
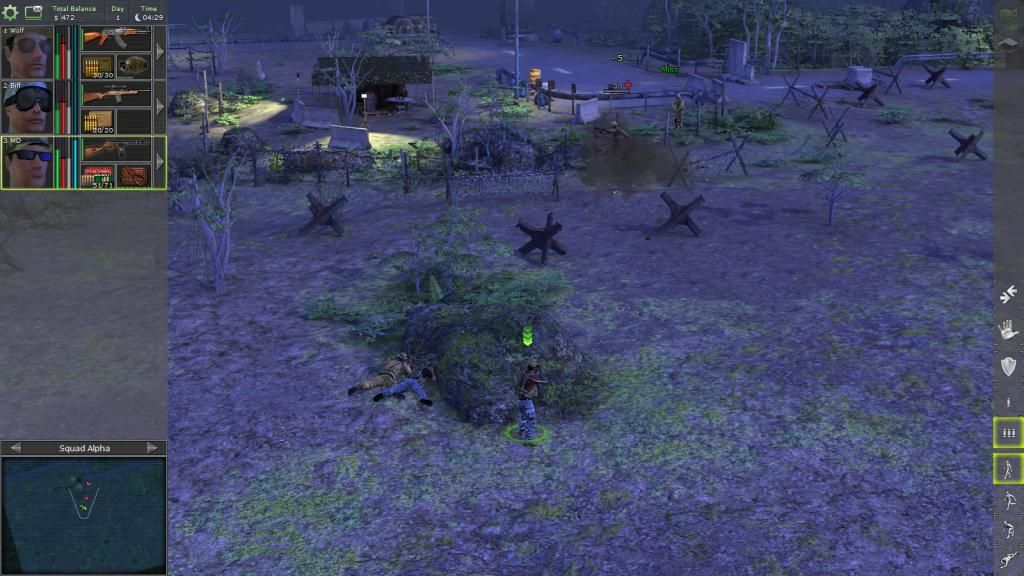
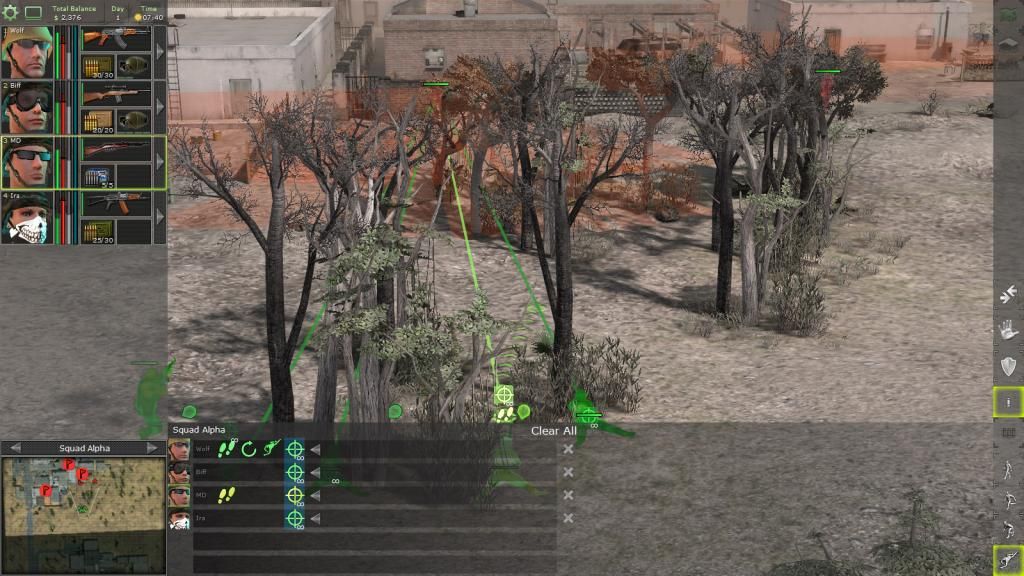
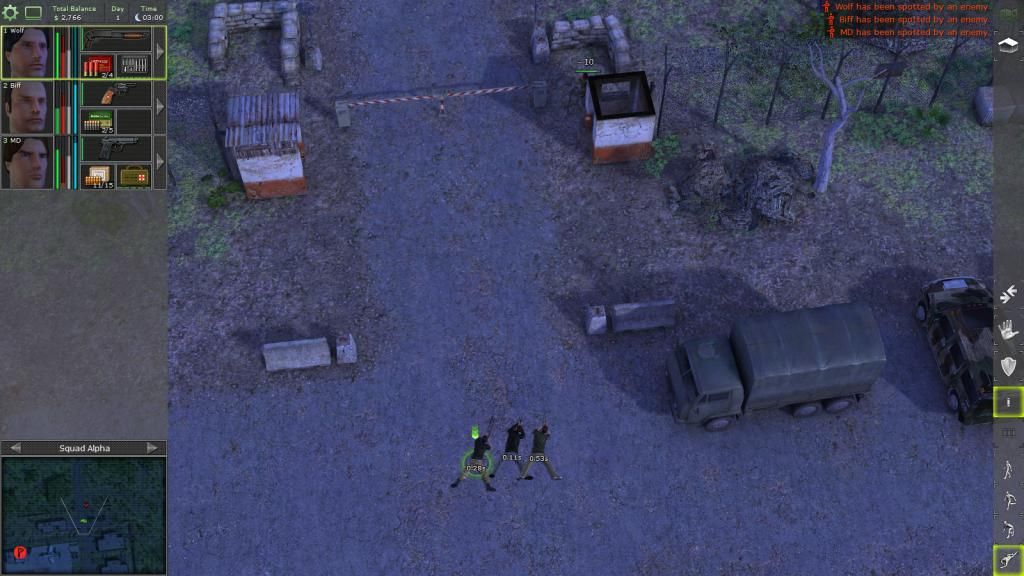
Another baddie approaches.
He runs into lower ground and we have to stand to shoot him.
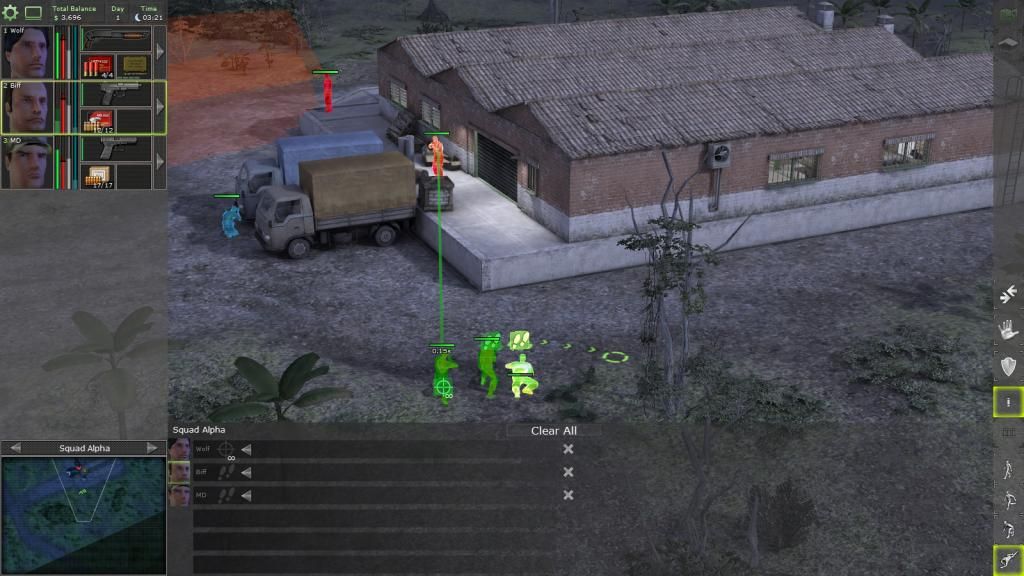
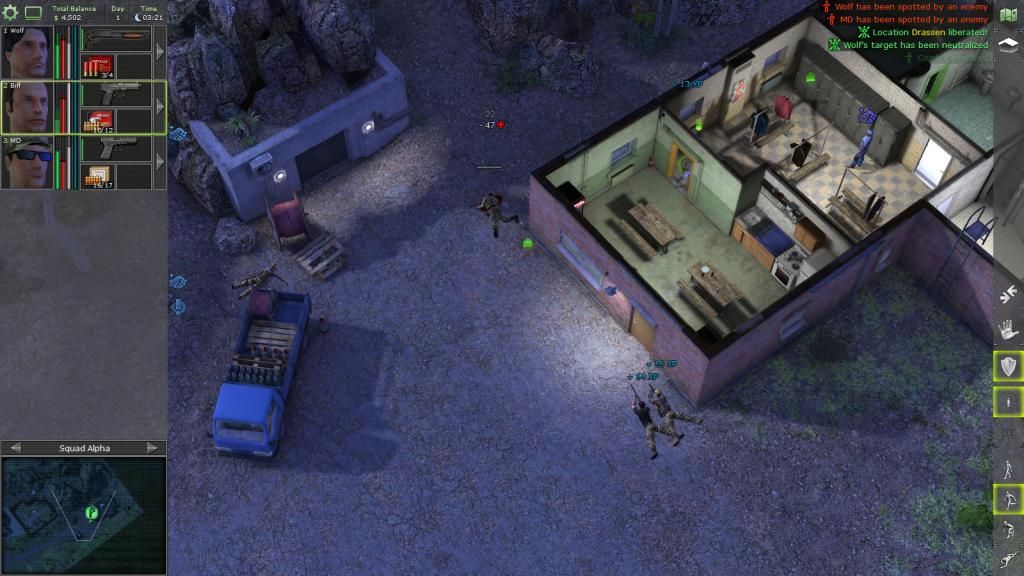
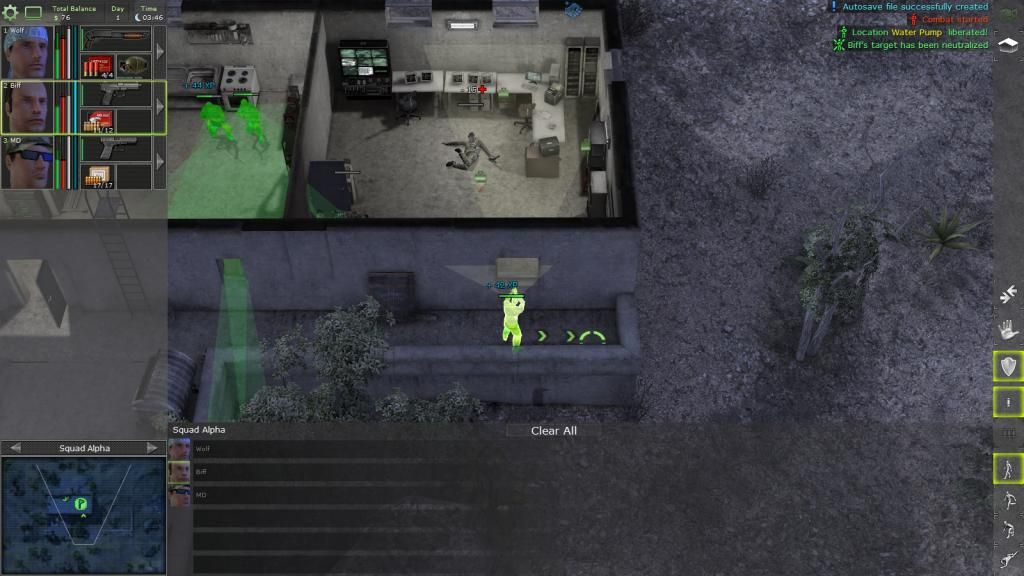
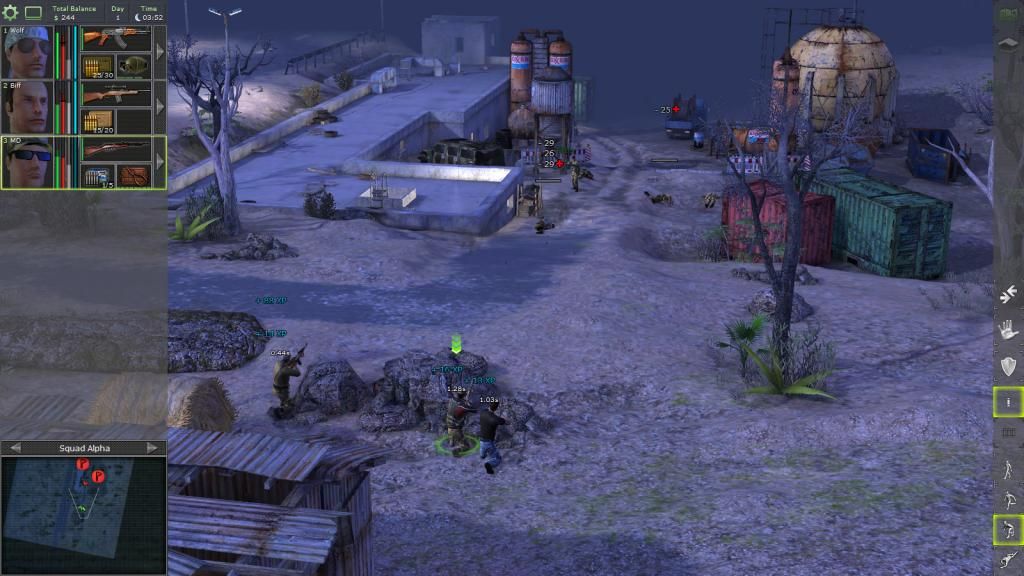
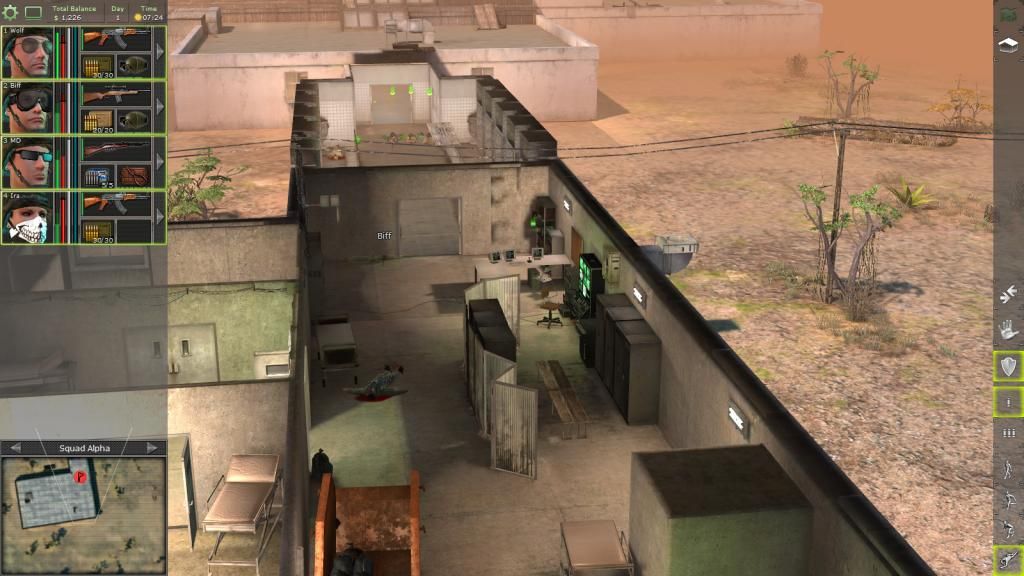
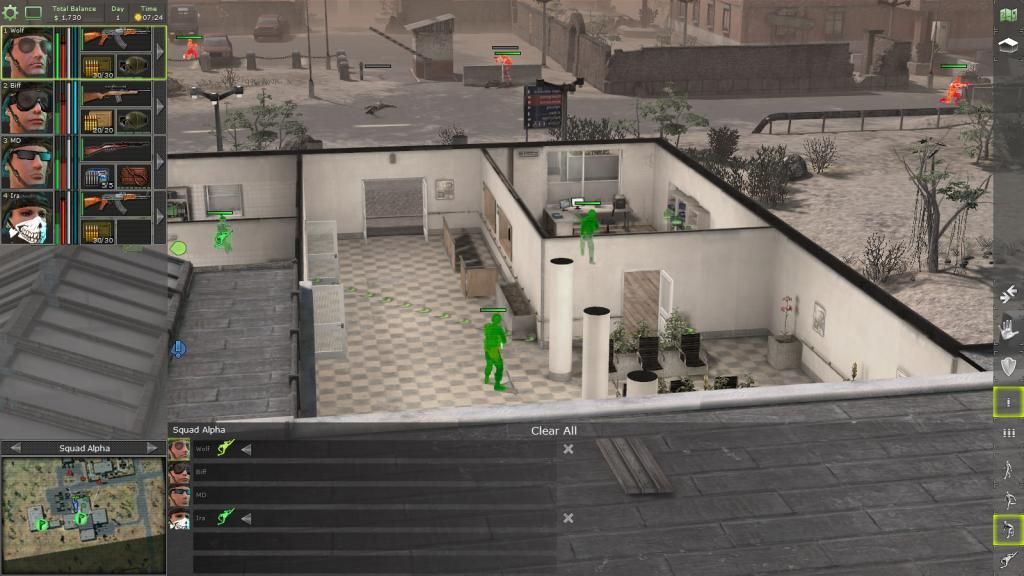
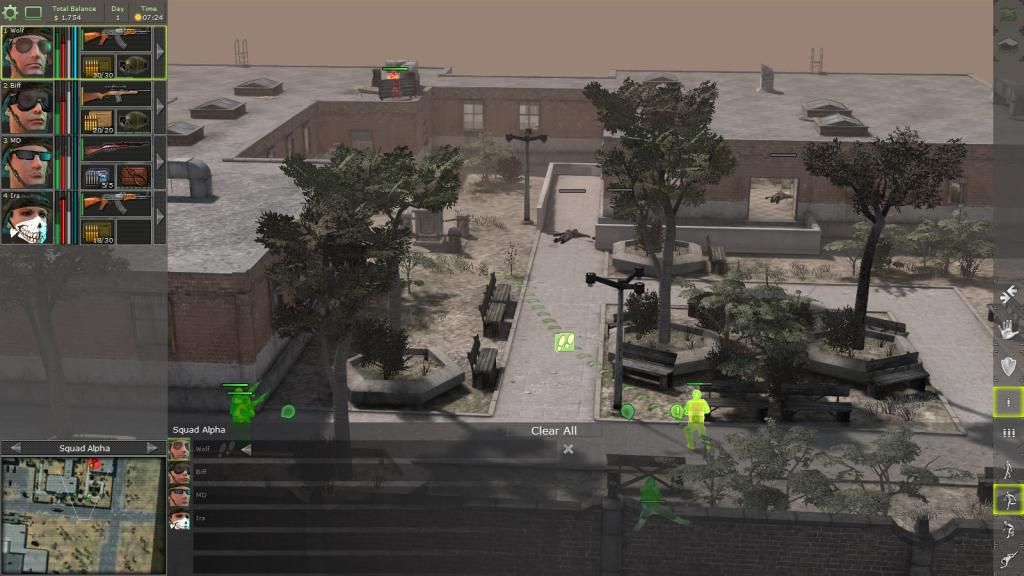
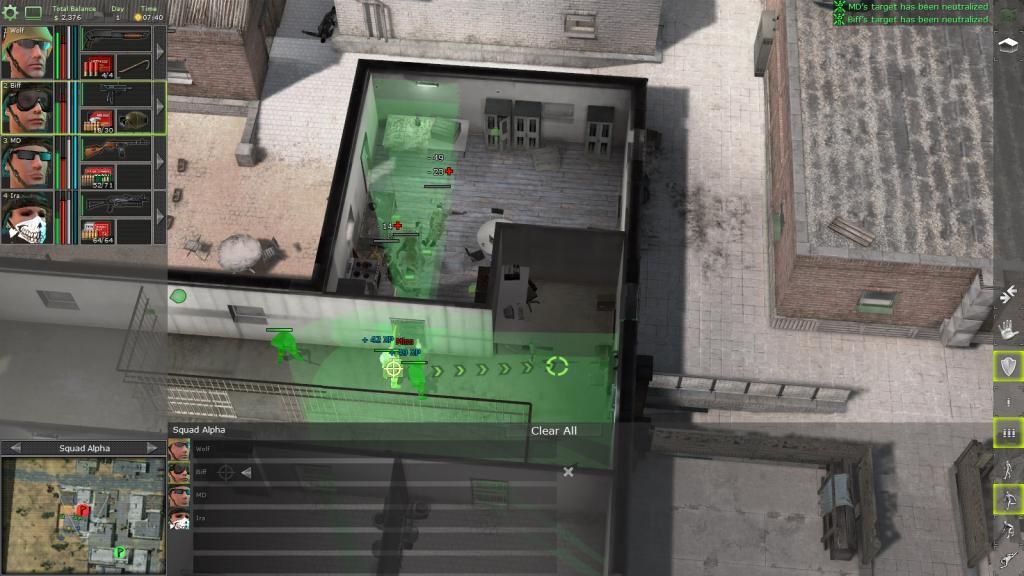
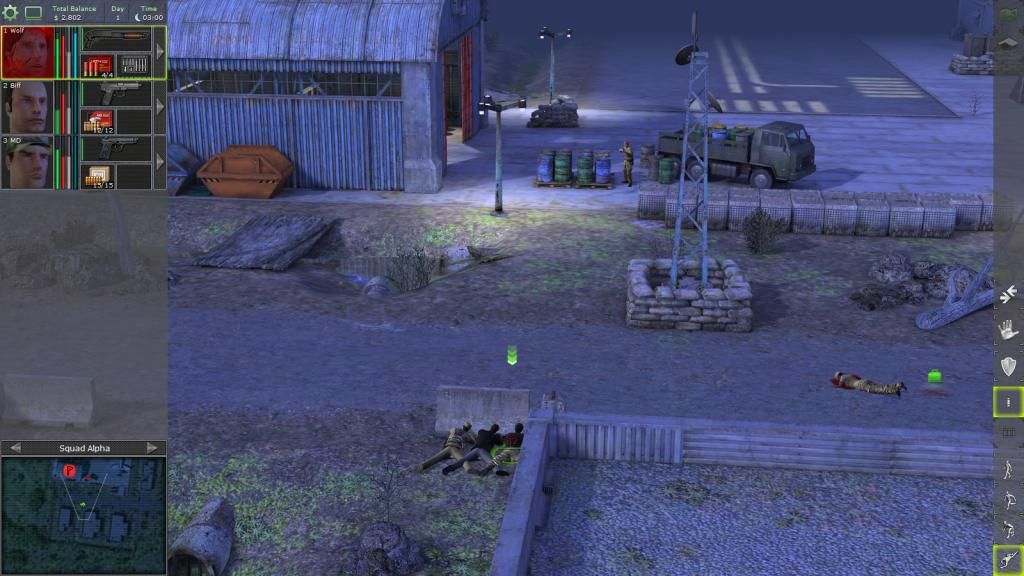
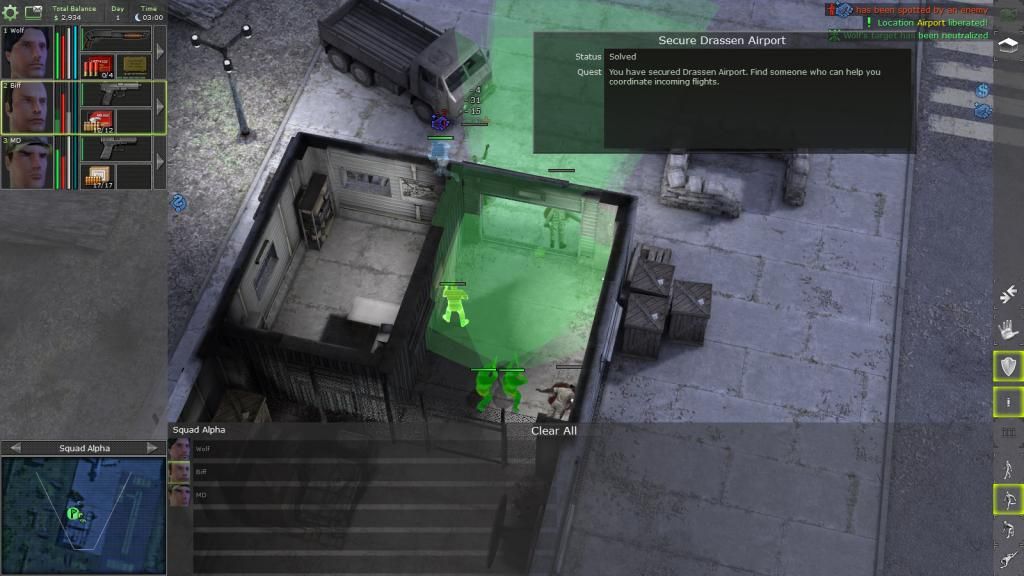
The first strategic target is captured! If we enter the strategic target area before killing all the baddies guarding it, it will make the baddies guarding it run towards the strategic target.
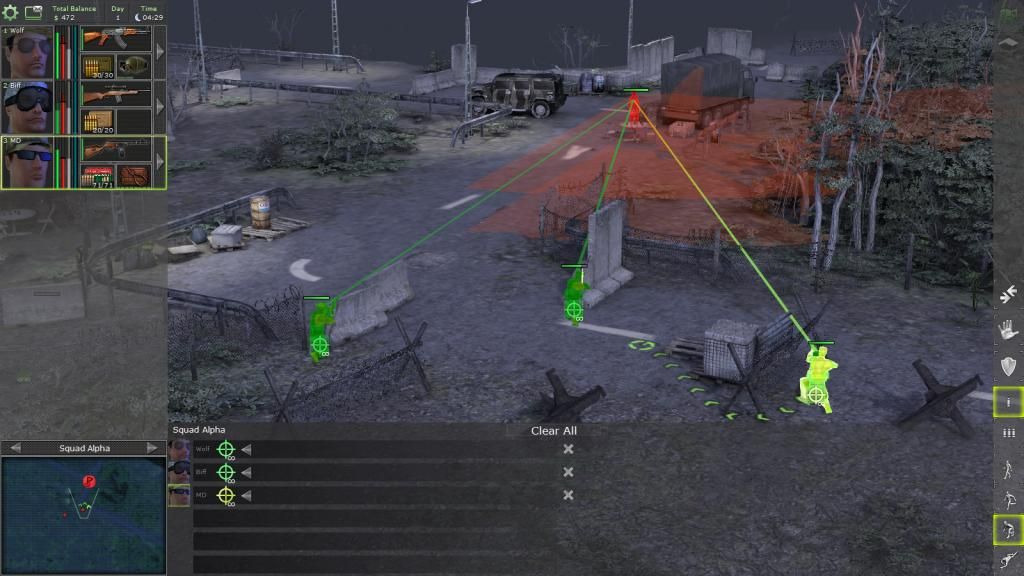
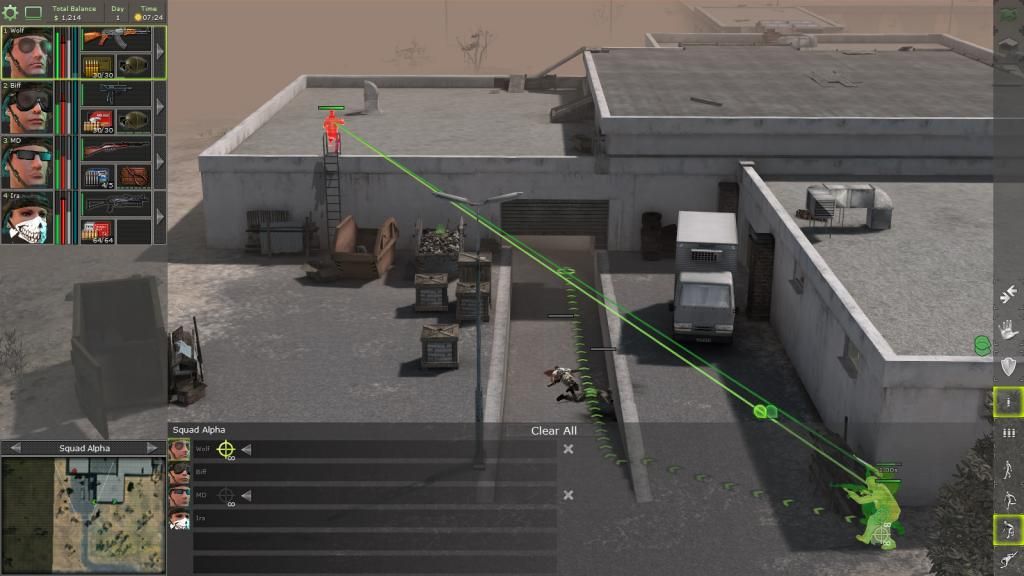
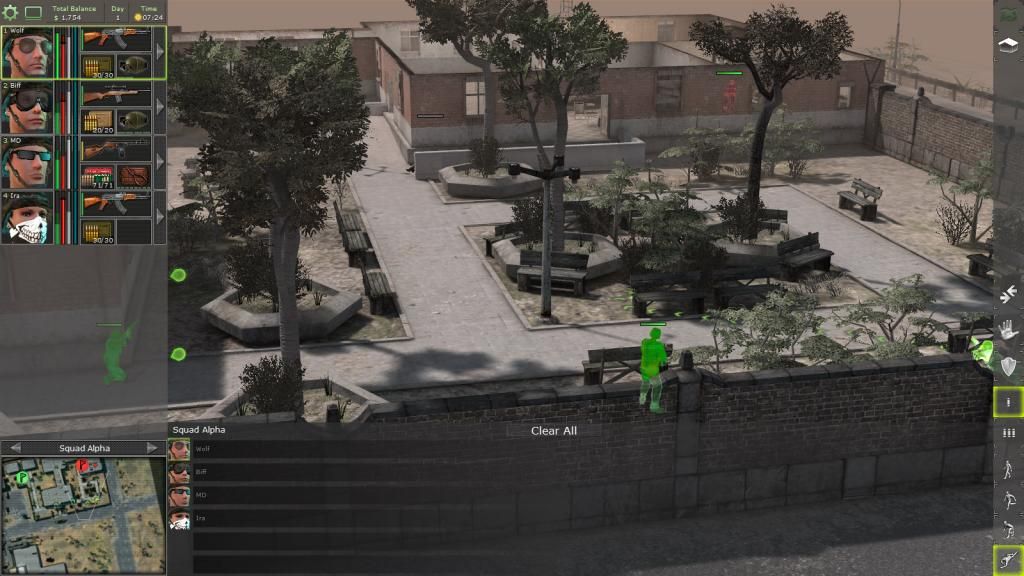
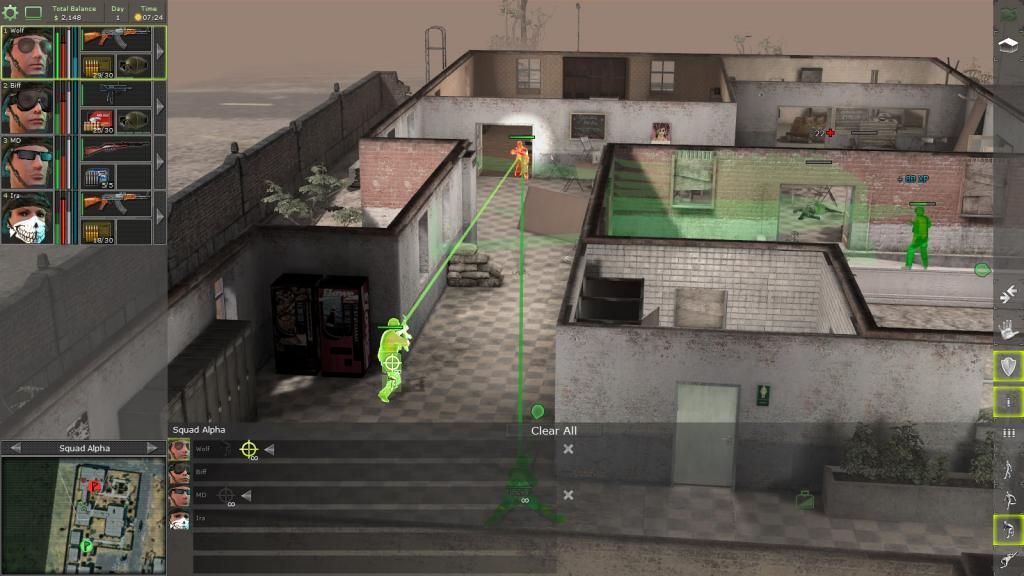
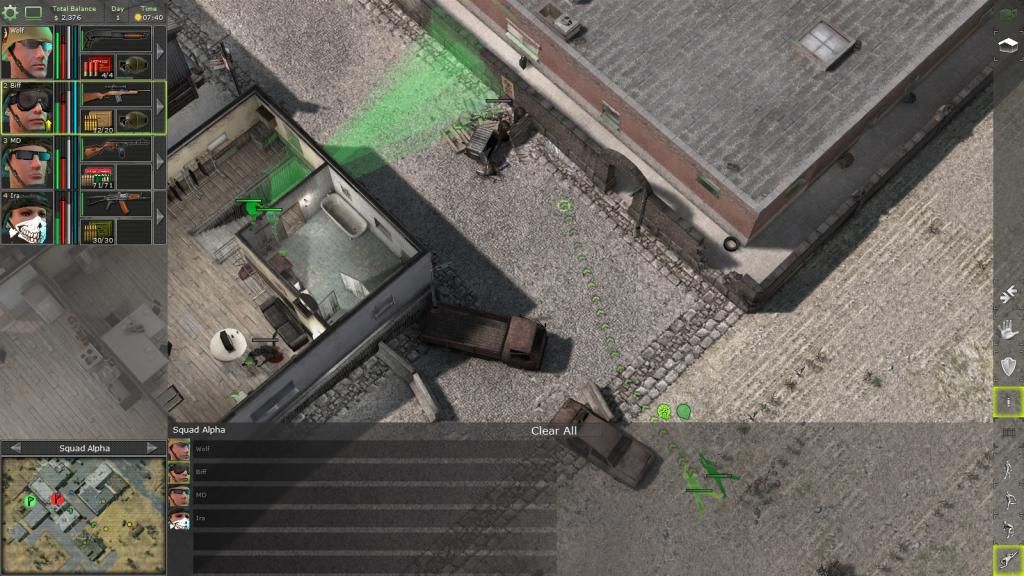
The other strategic target is well guarded.
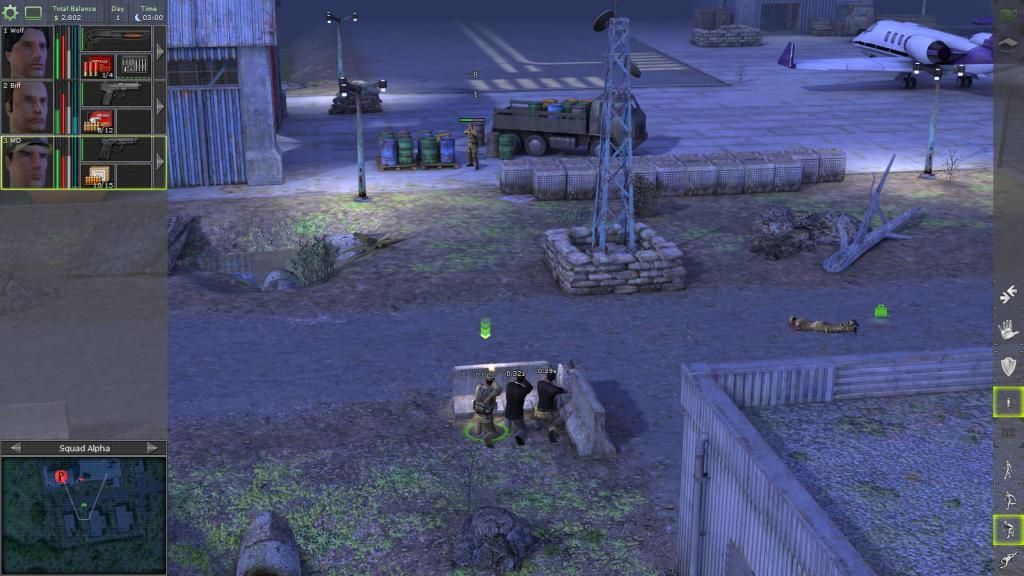
So we sneak around and attack from the rear(East)
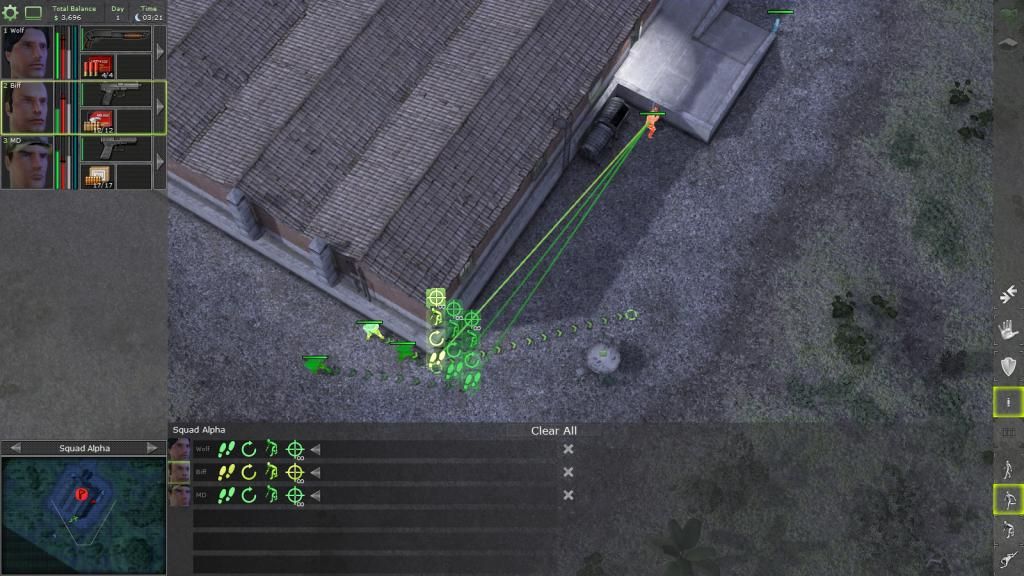
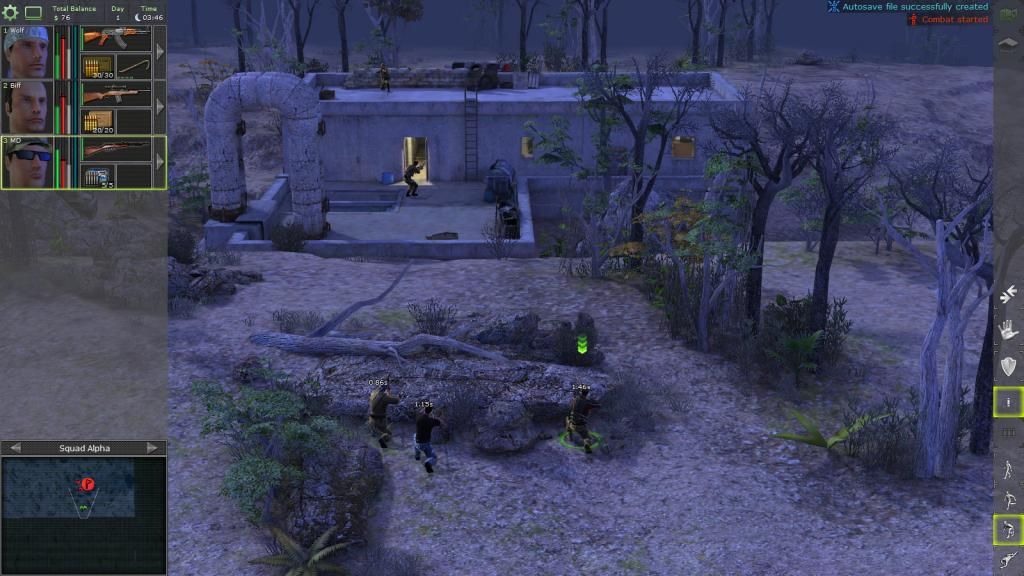
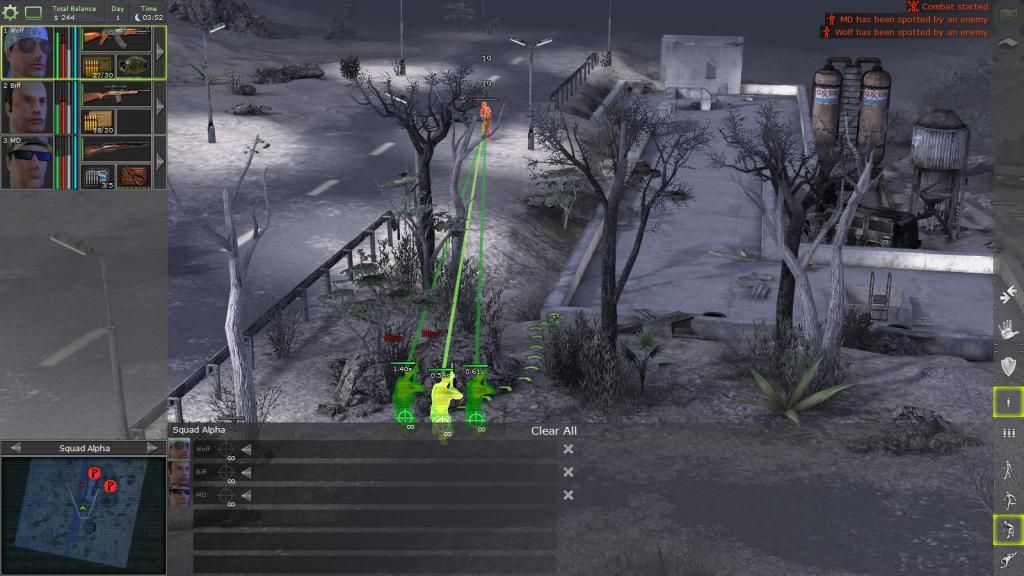
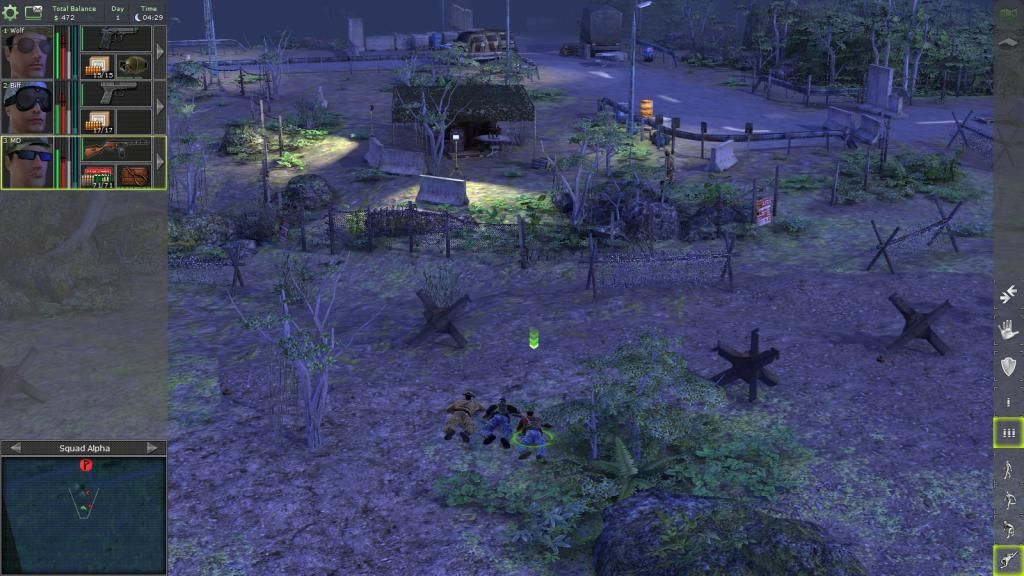
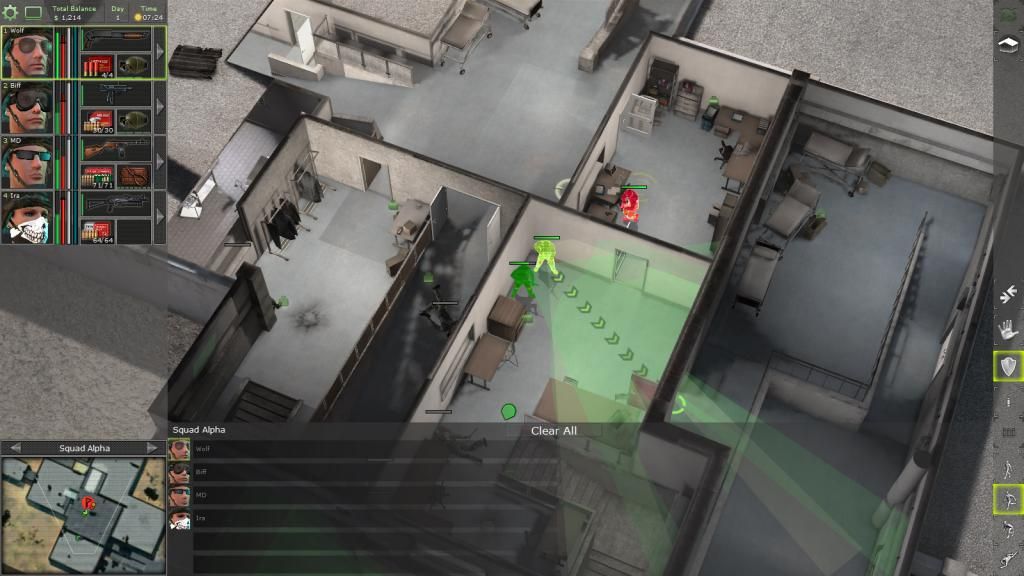
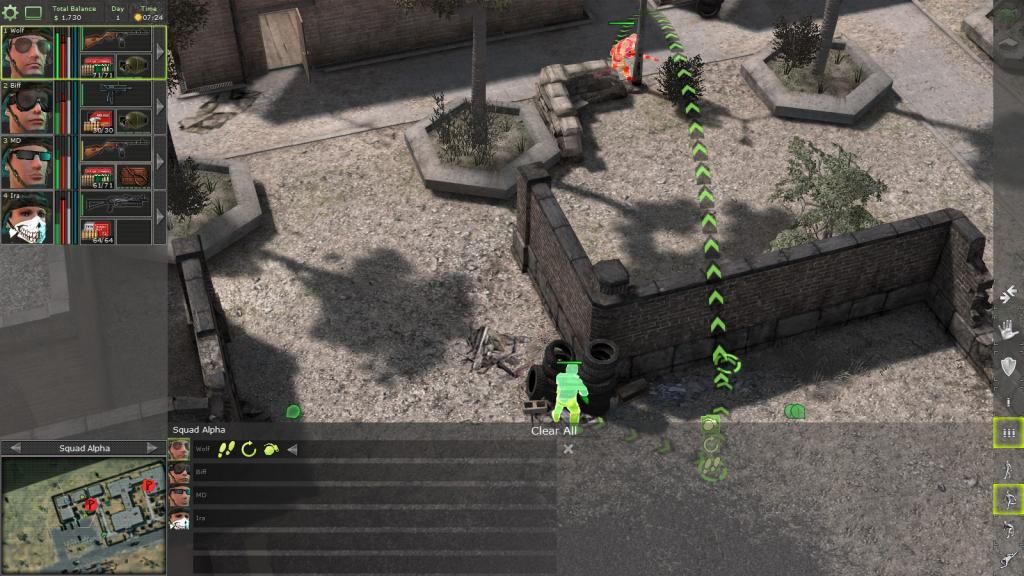
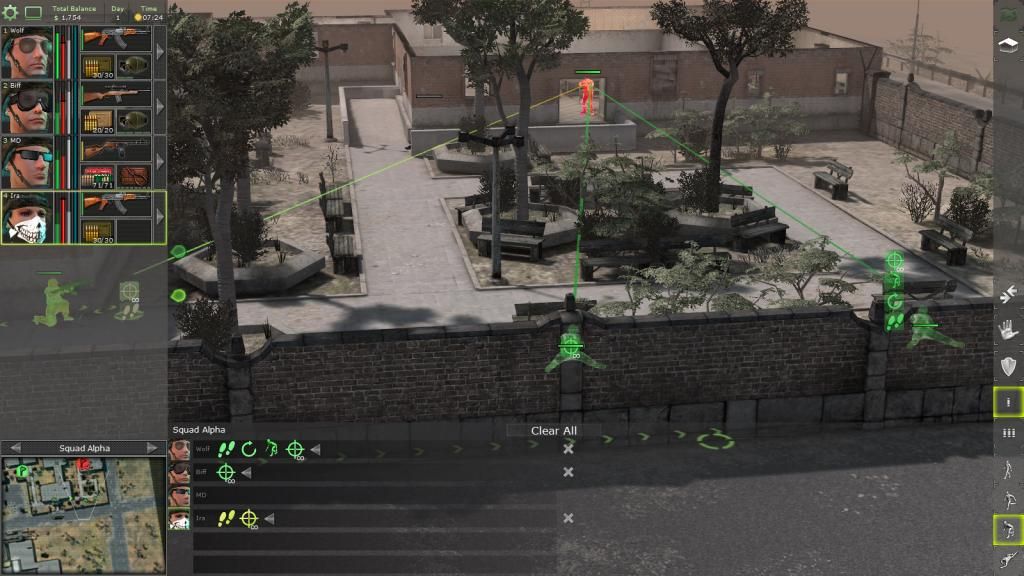
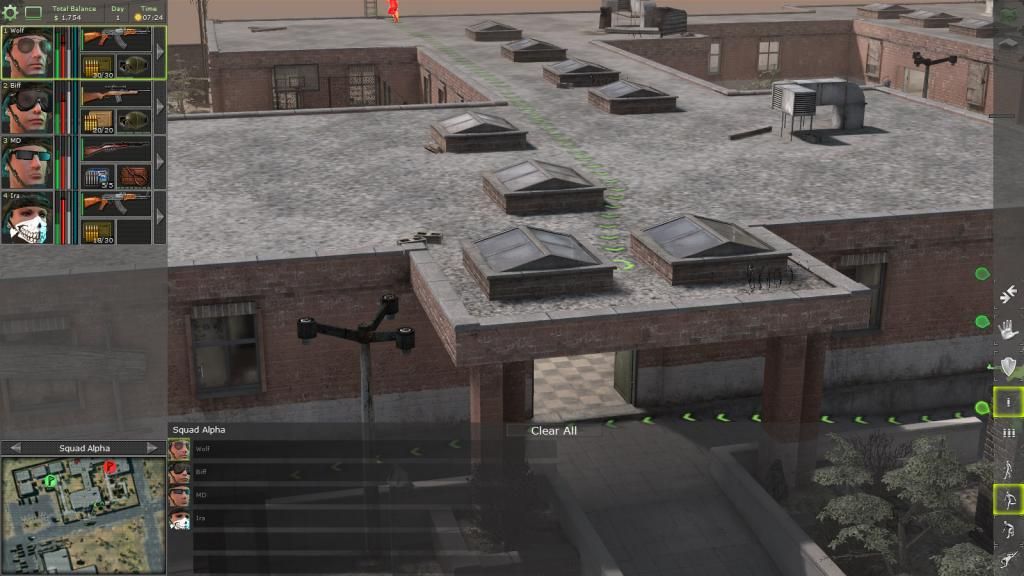
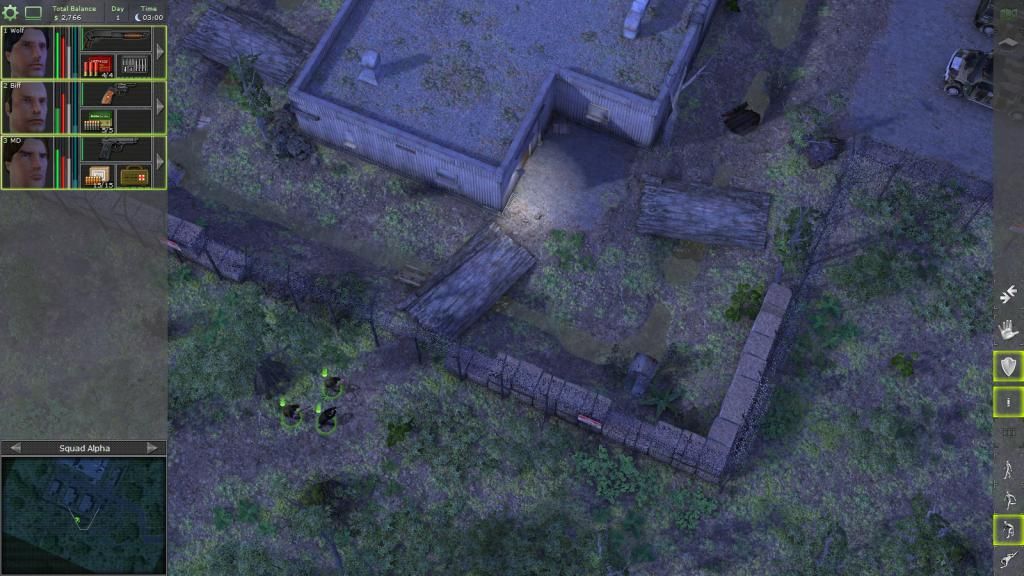
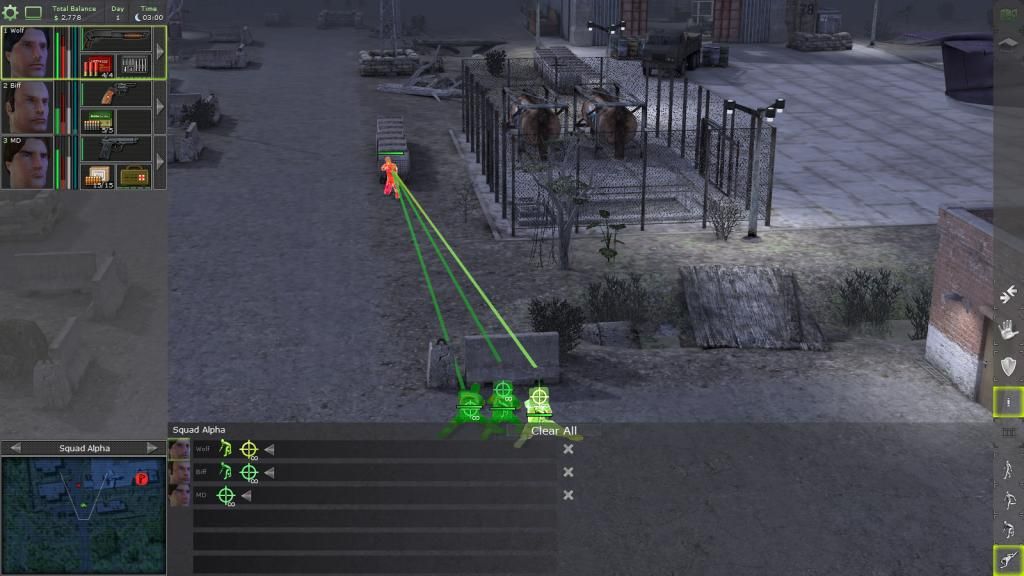
Crawling towards the building. The guard patrols around the building.
The guard will get a nasty surprise when he rounds the corner.

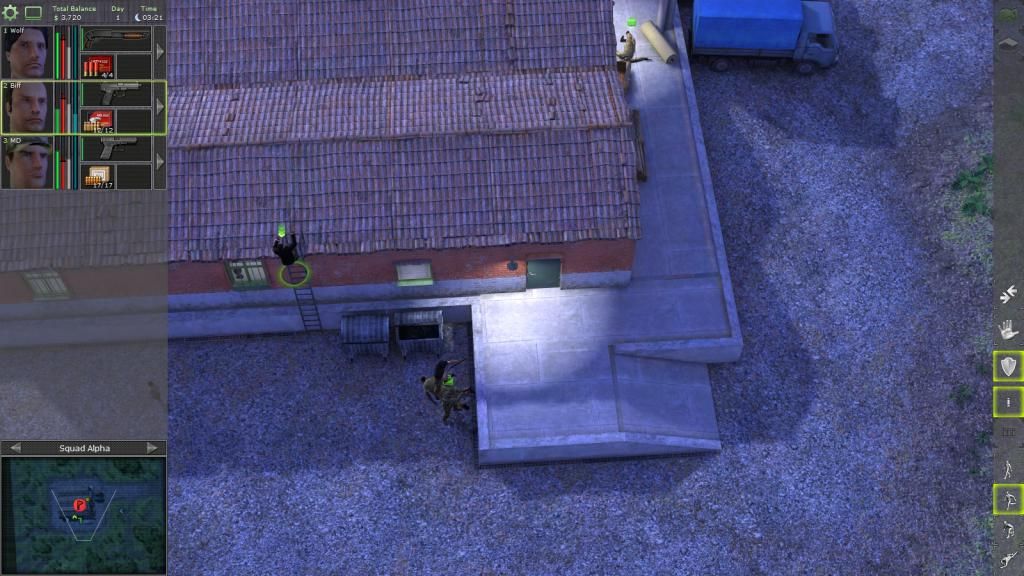
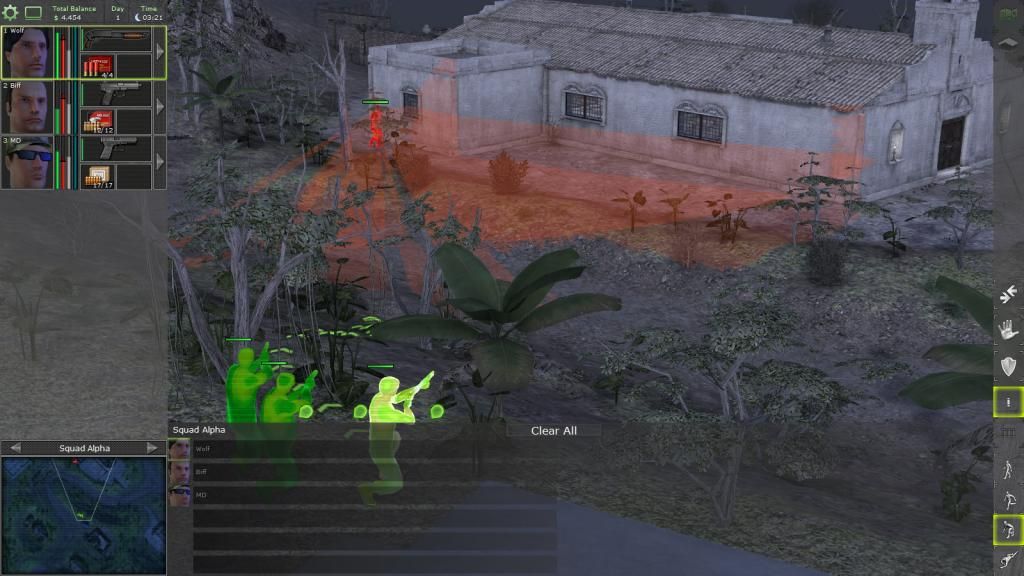
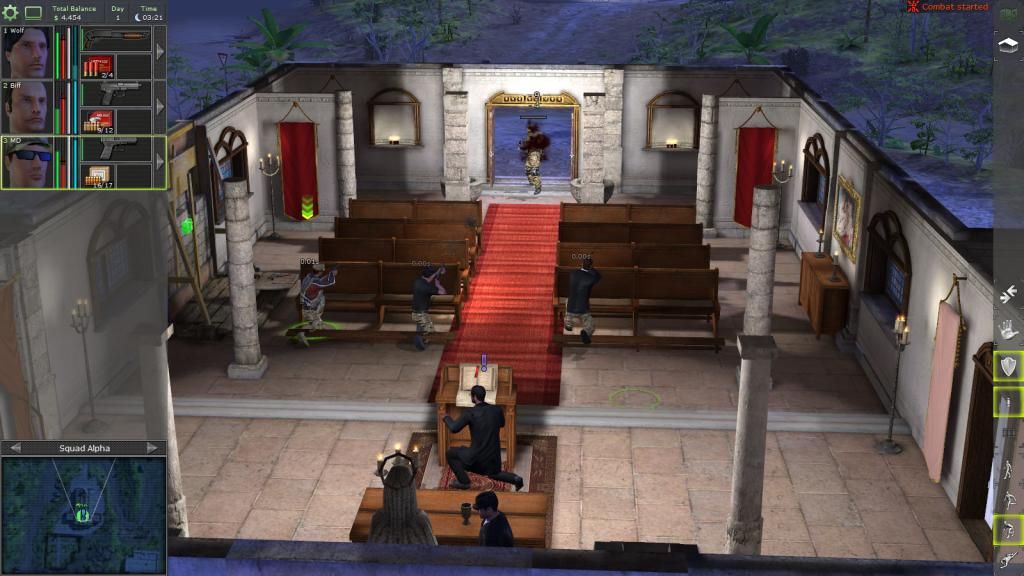
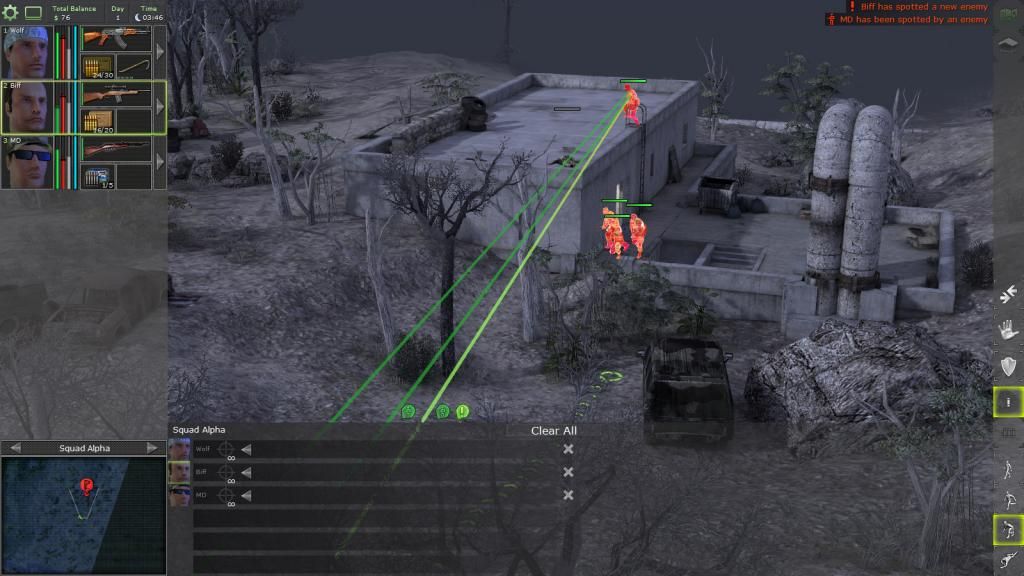
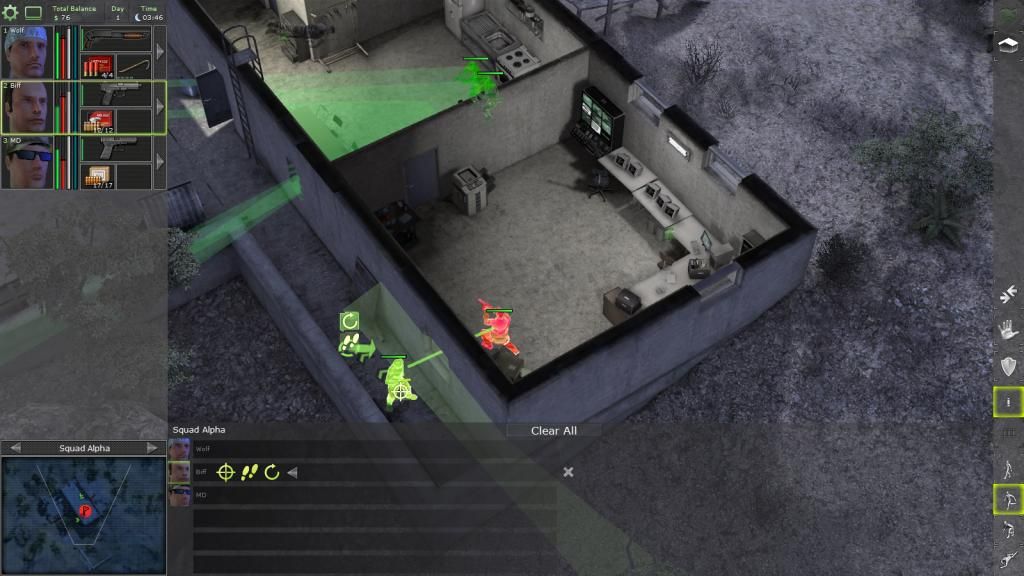
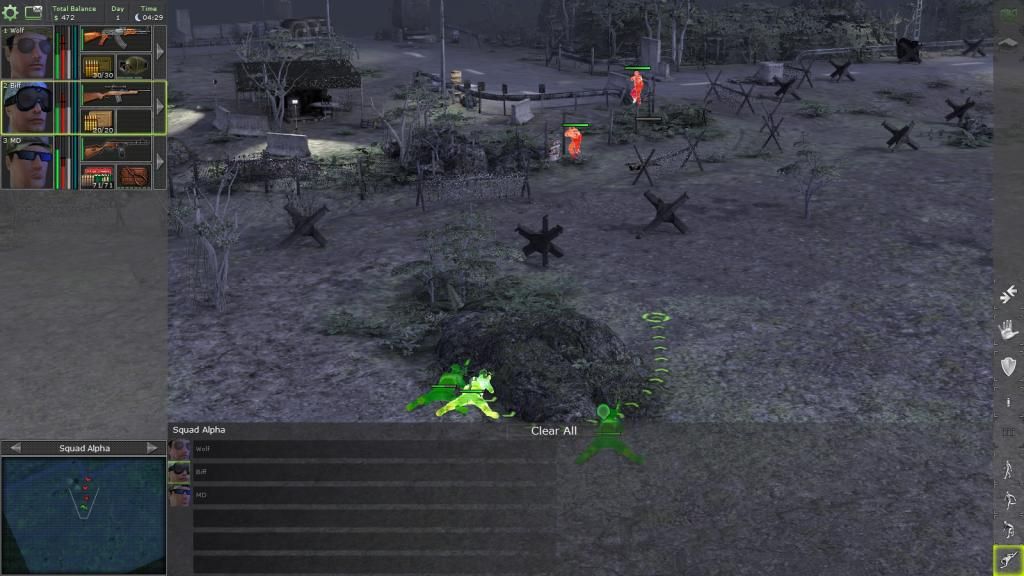
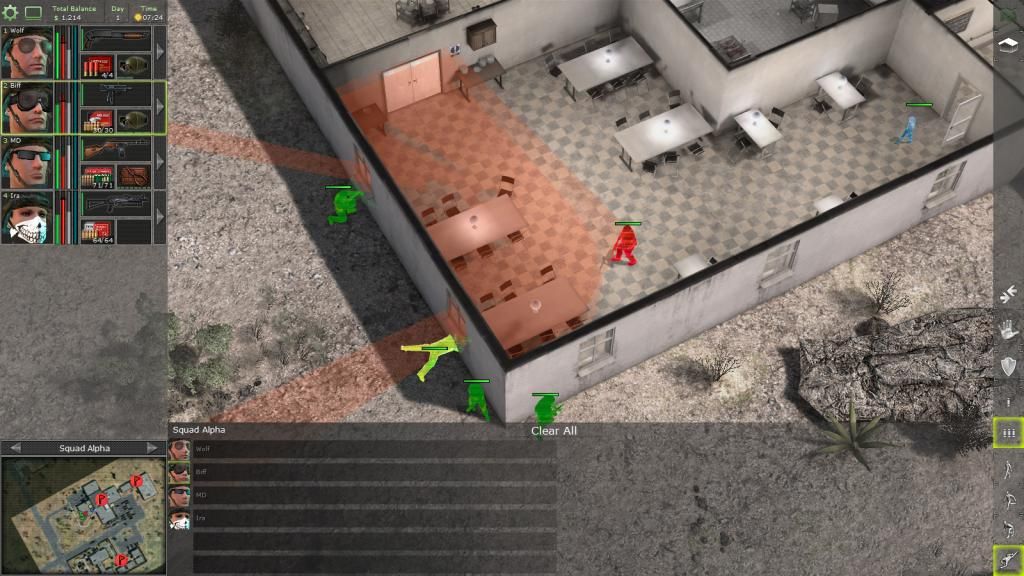
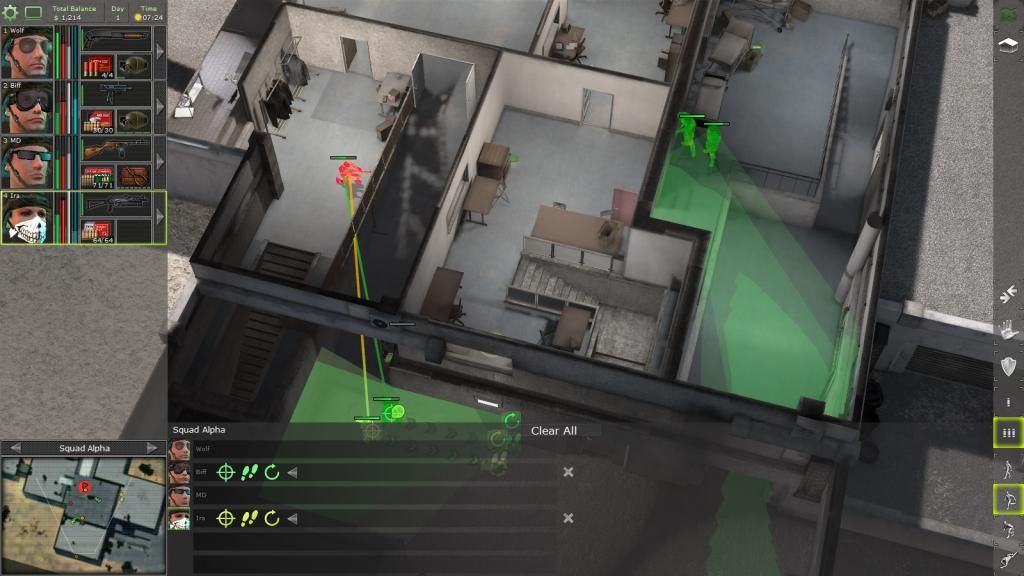
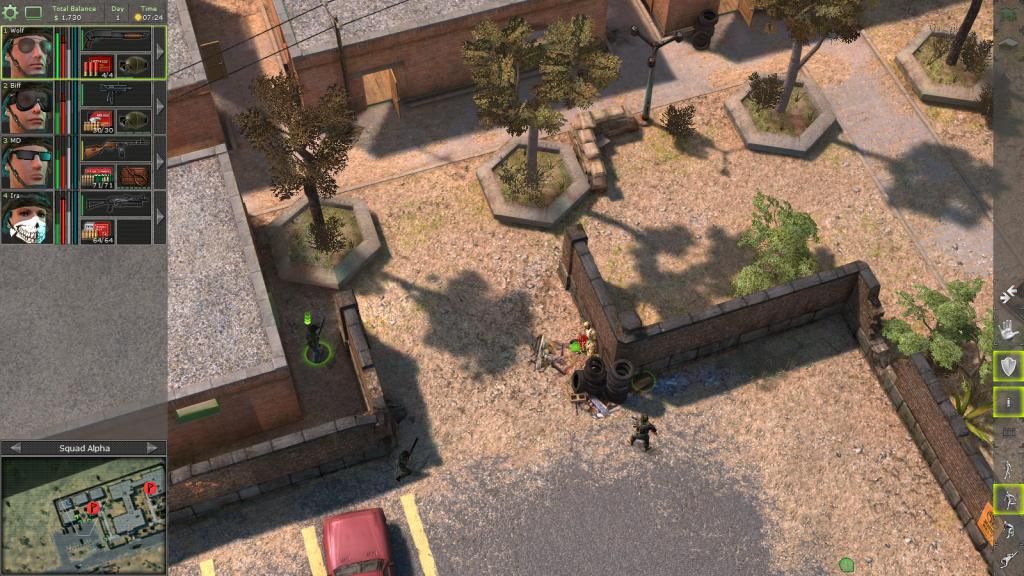
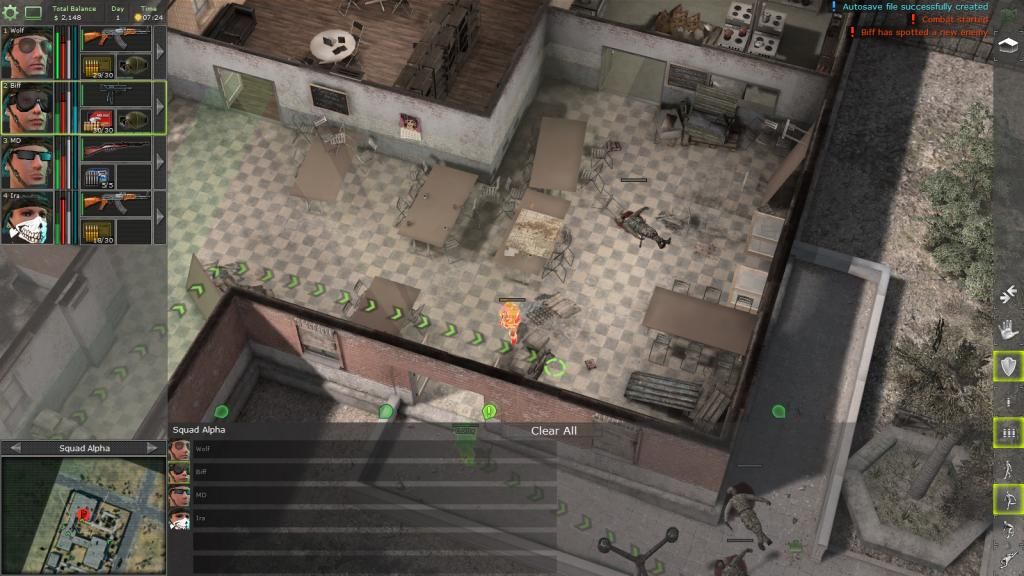
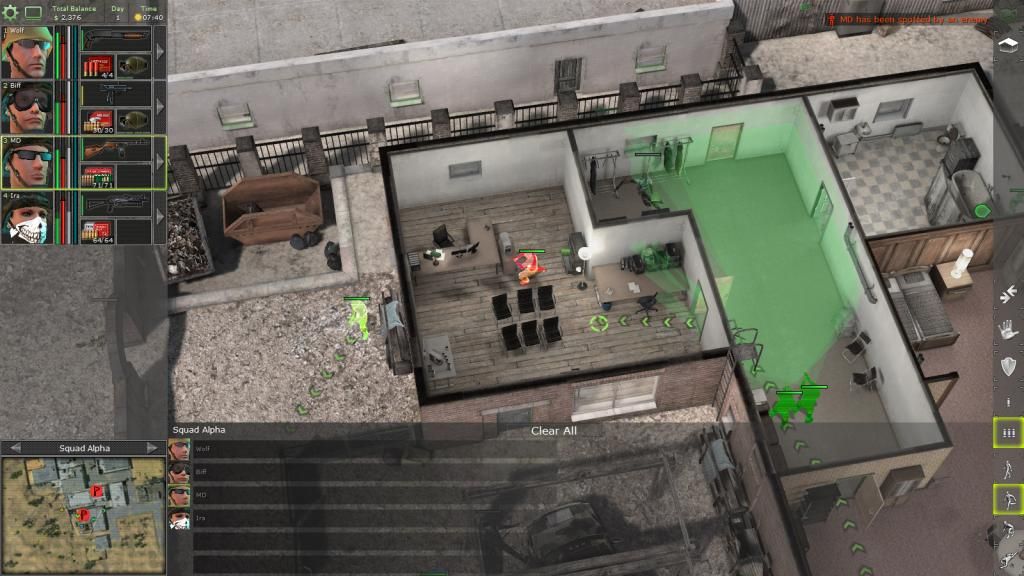
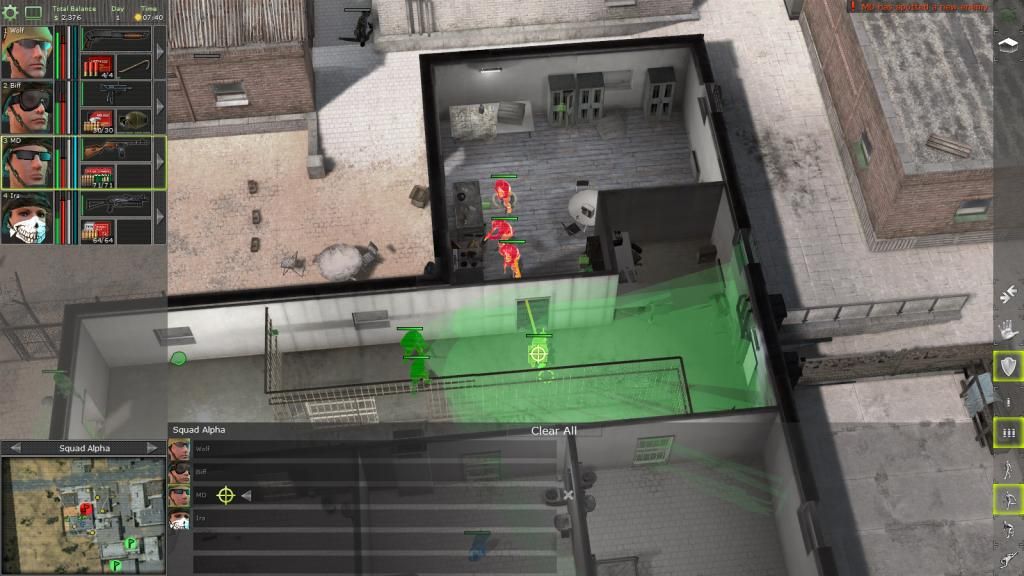
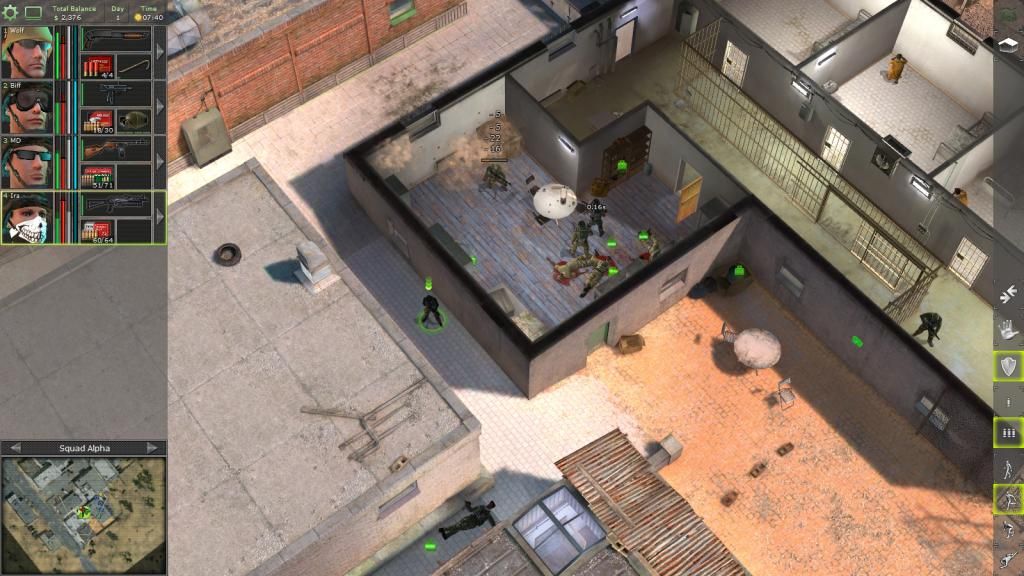
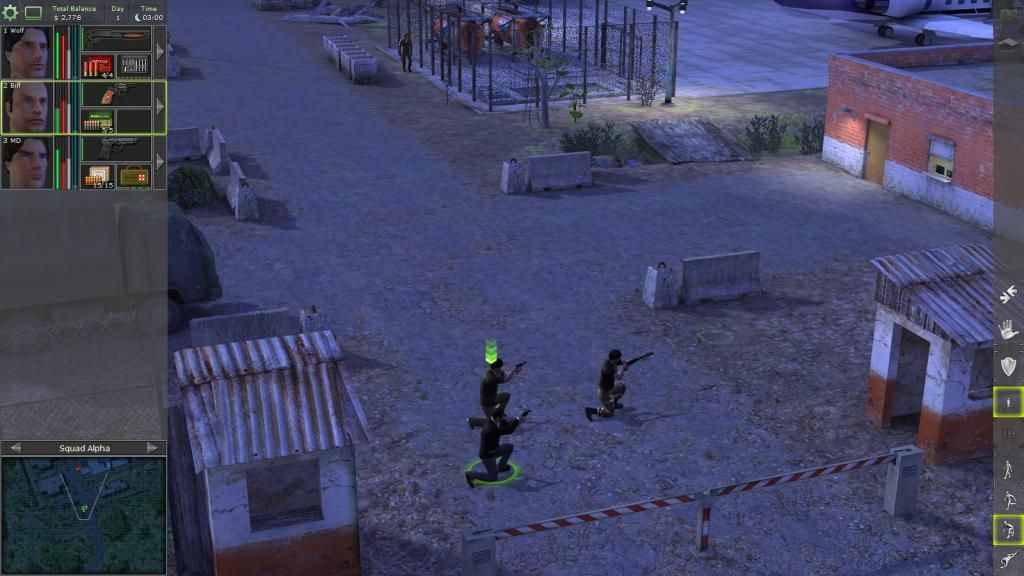
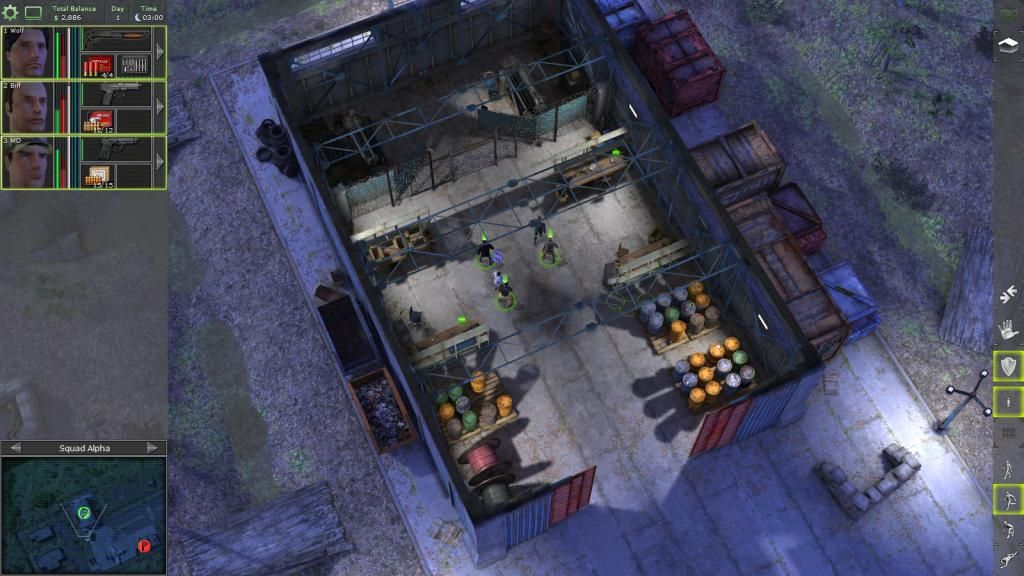
Entering and taking cover from the alerted guards.
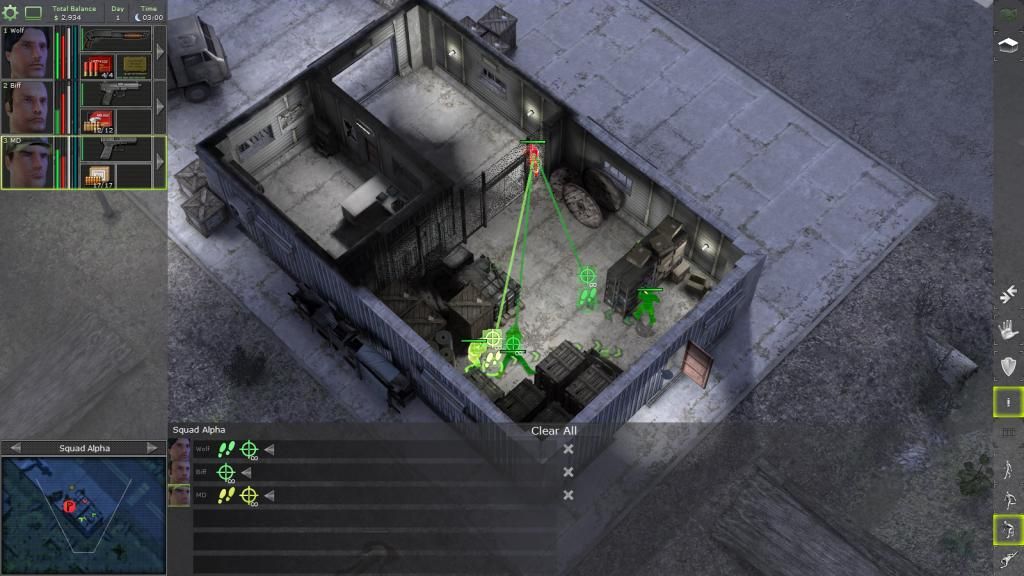
Pop them as they rush in.
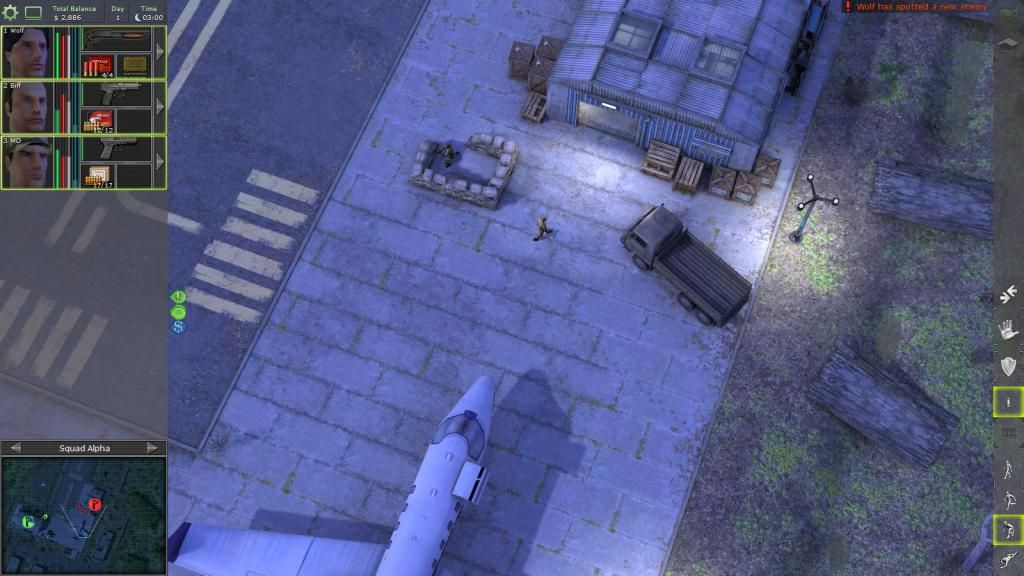
Advance to the opening.
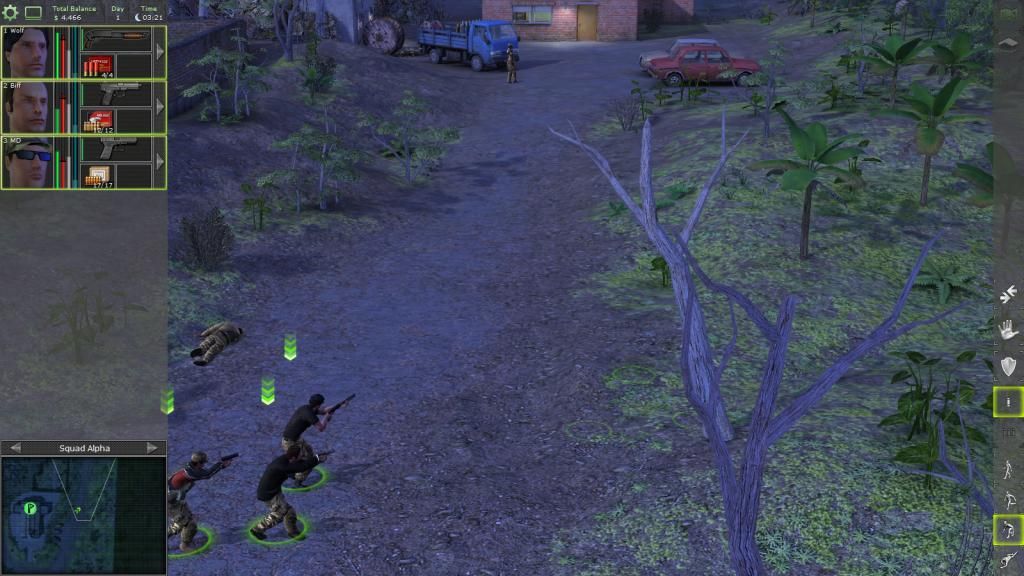
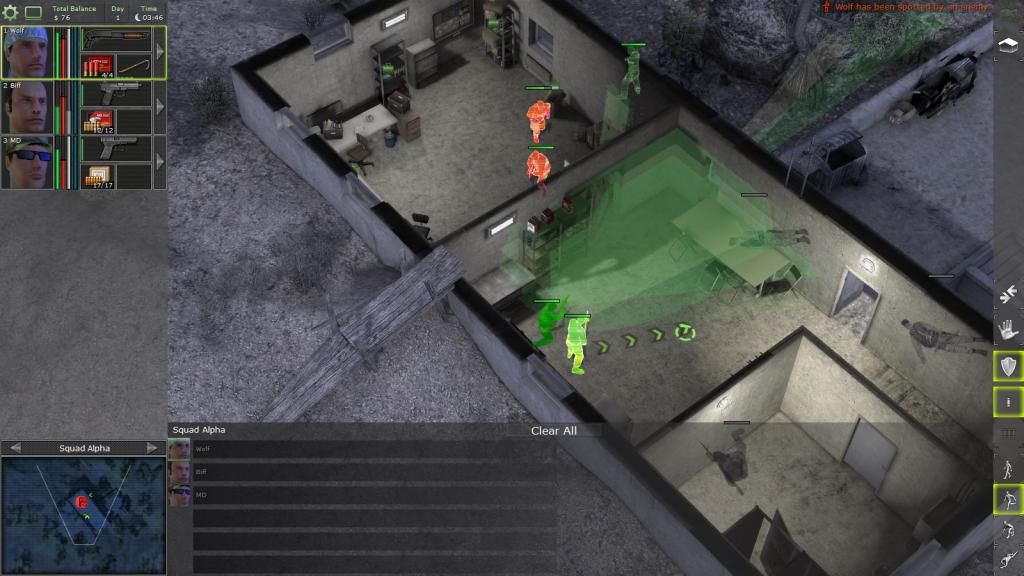
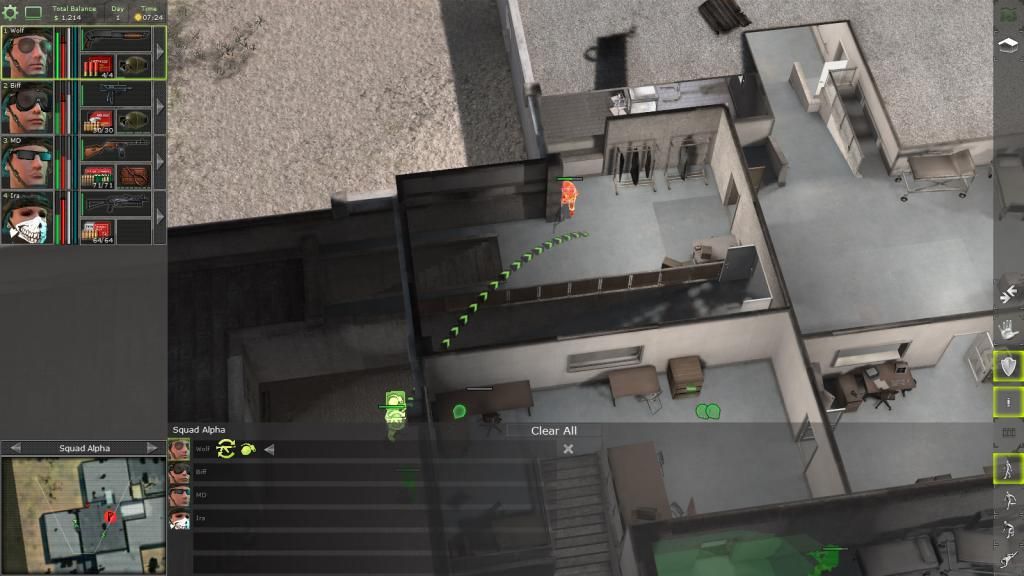
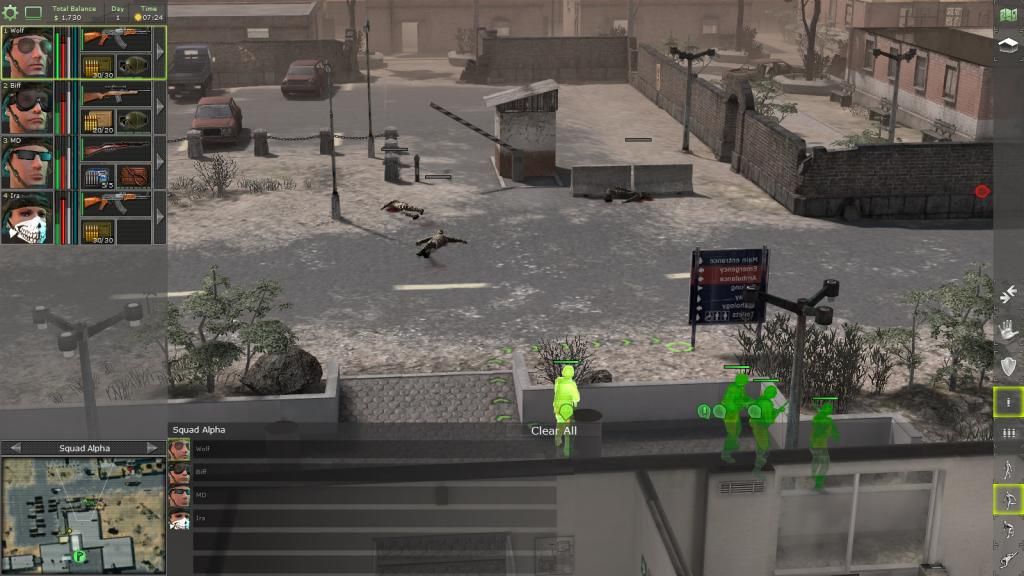
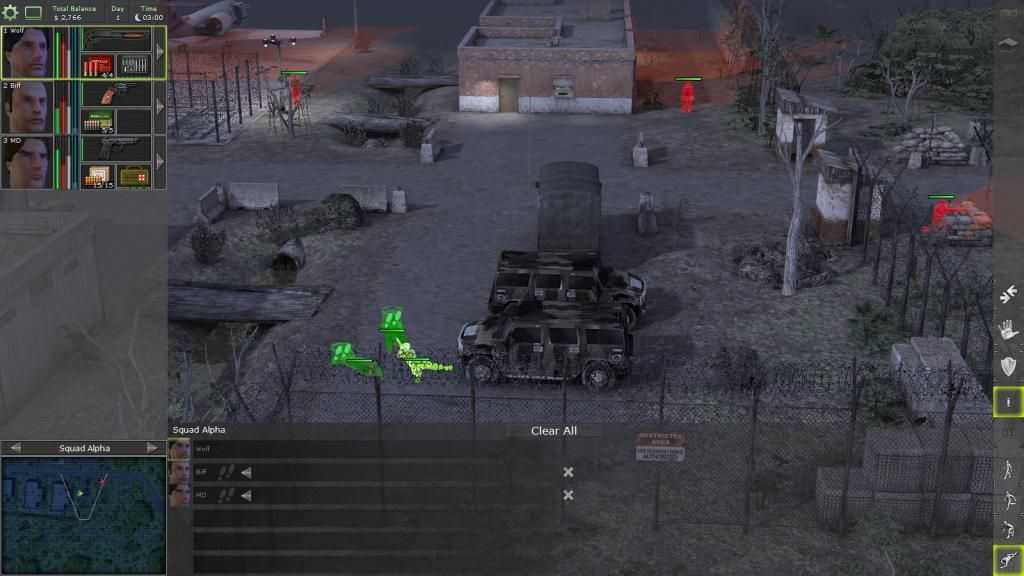
Putting the mercs on guard mode where they will automatically shoot faster on enemy that pops into their guard zone(this depends on their perception).
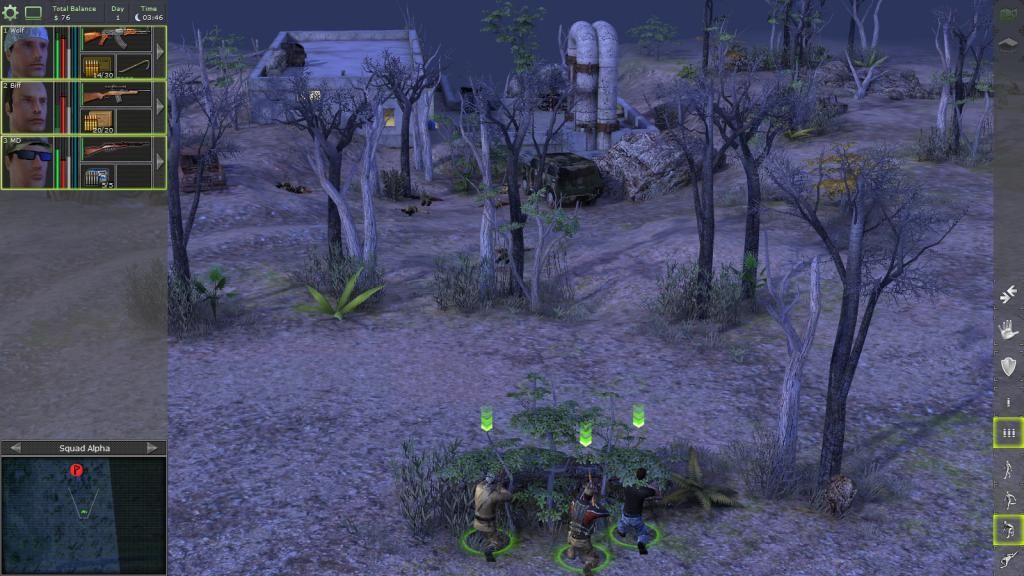
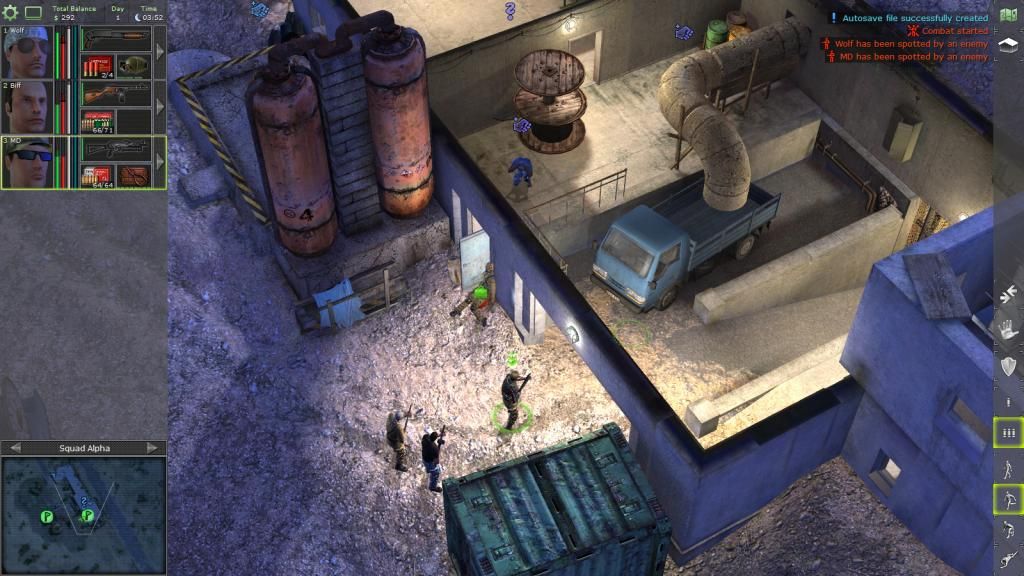
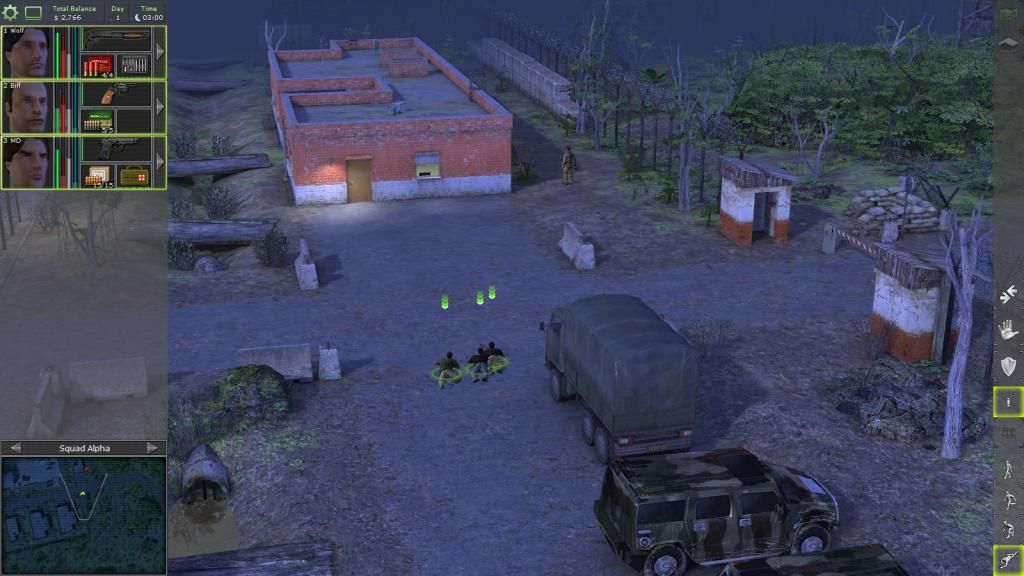
We managed to eliminate all of Deidranna's men in this area!
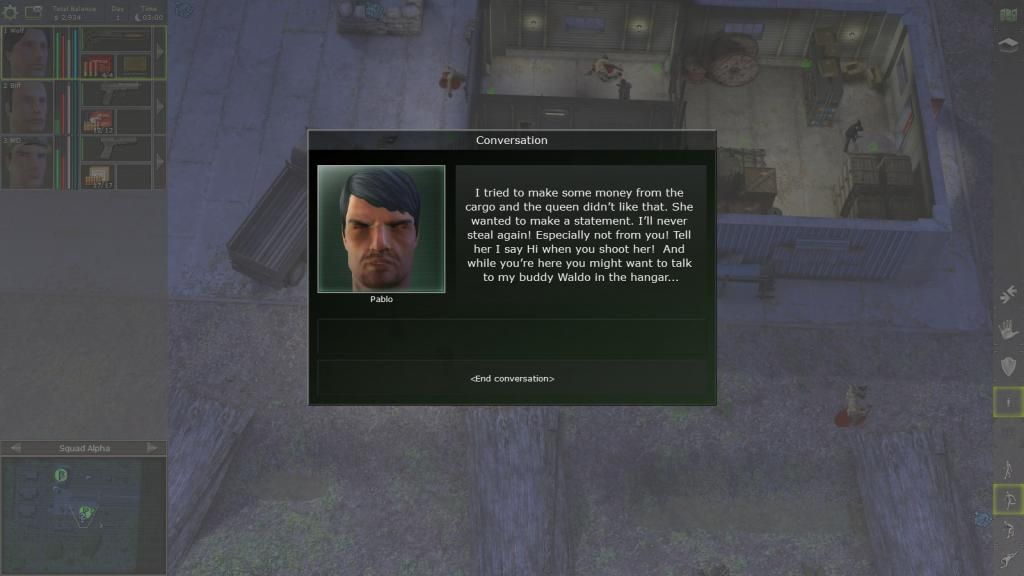
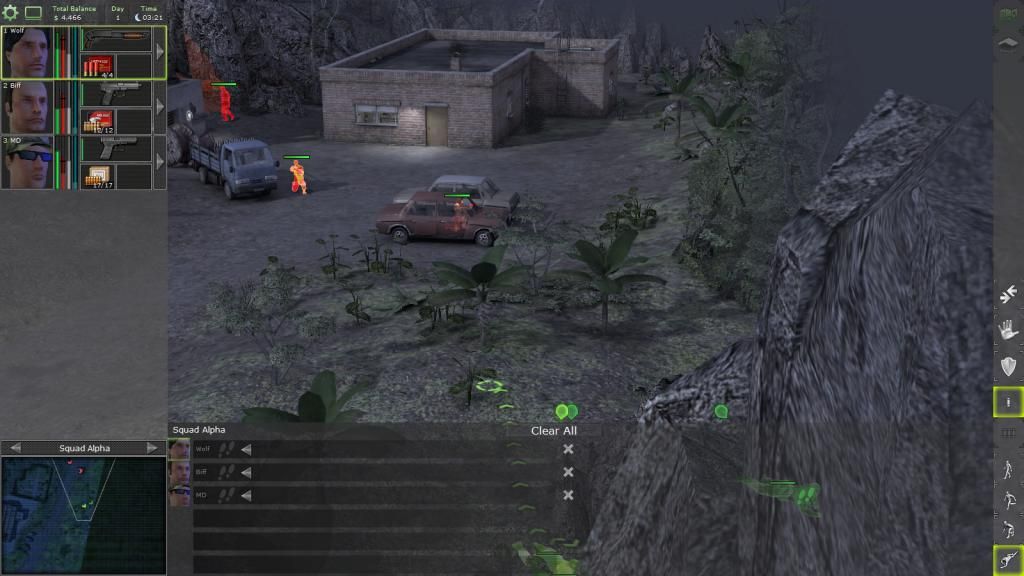
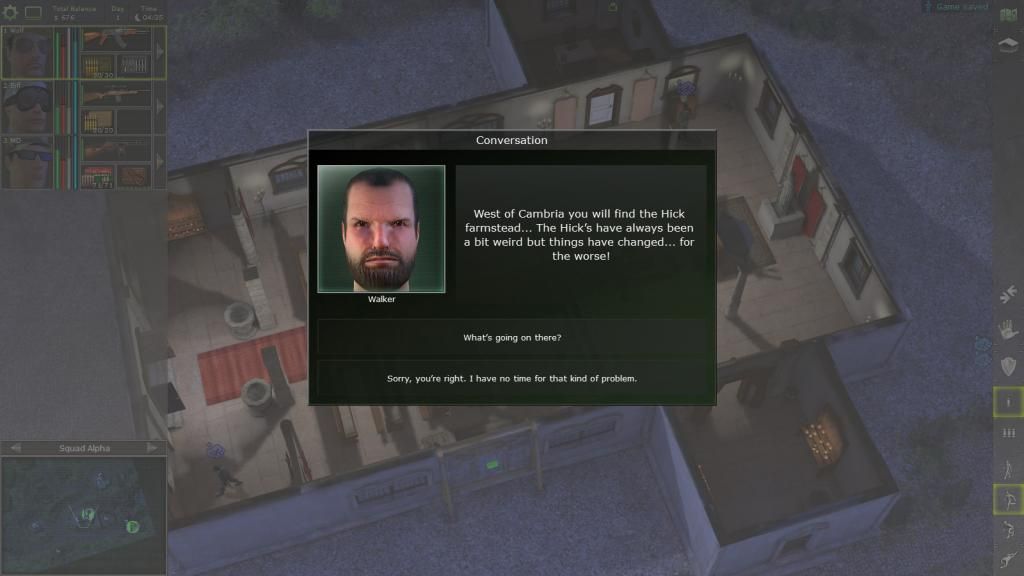
The natives here don't steal our stuff we ship from overseas.
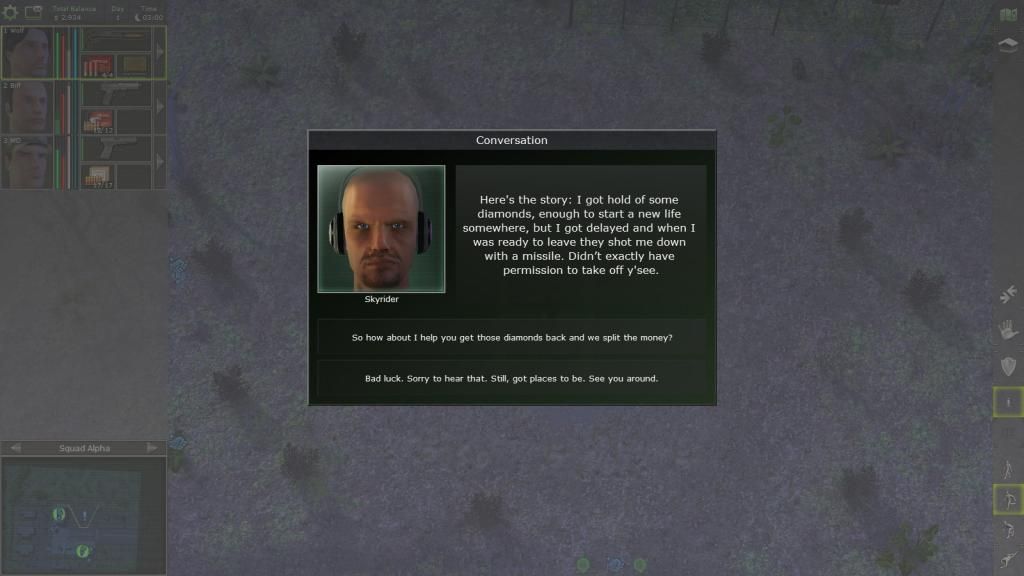
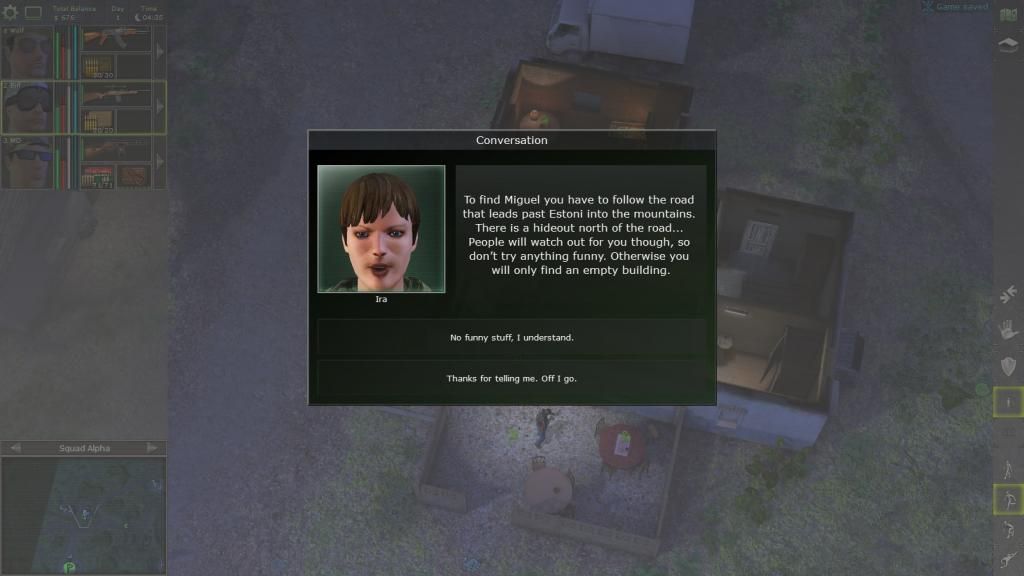
Some dude named Skyrider wants to get him his diamonds from his crashed helicopter.
Sure could use a eggbeater in this game.
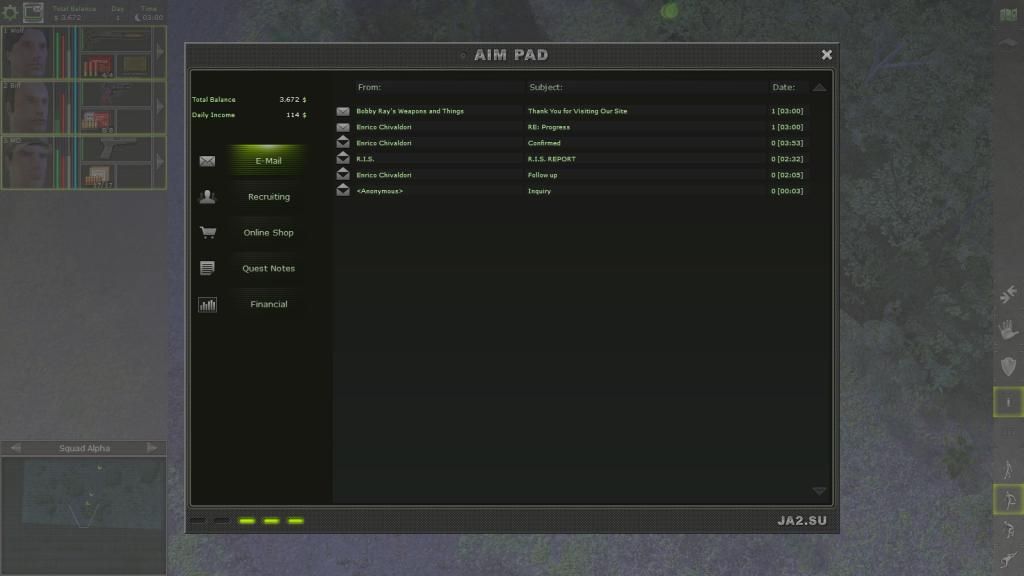
Checking our email.
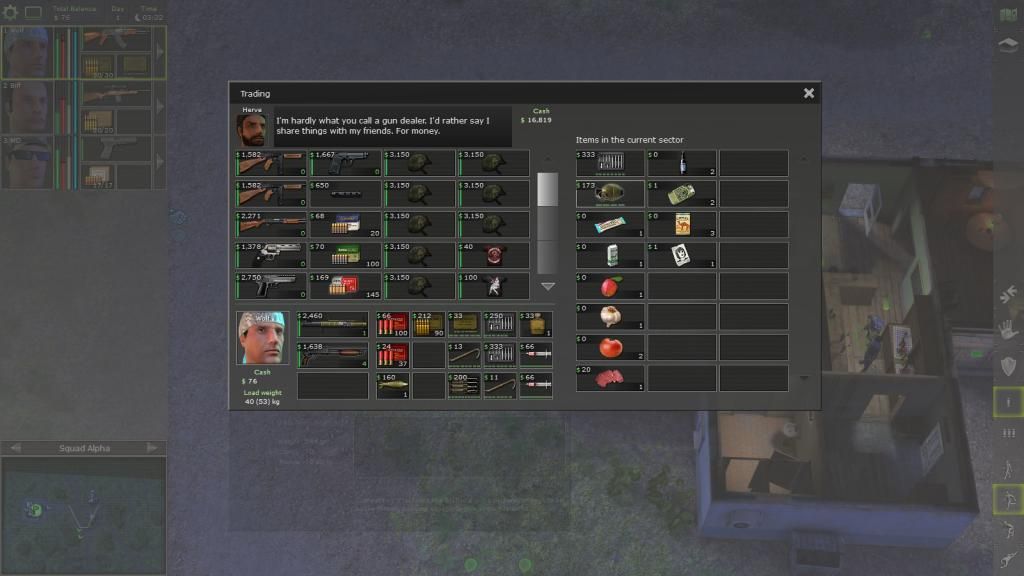
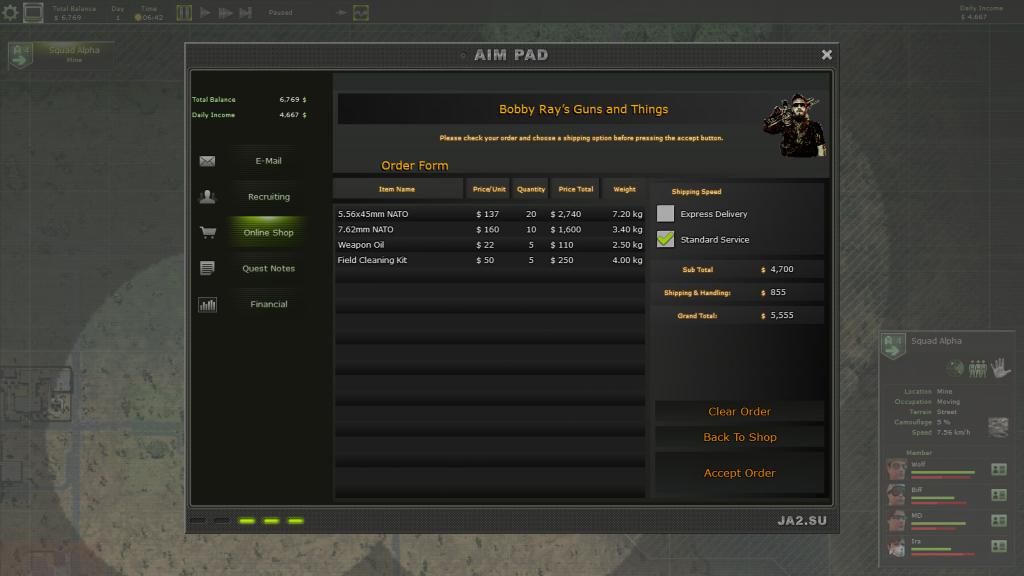
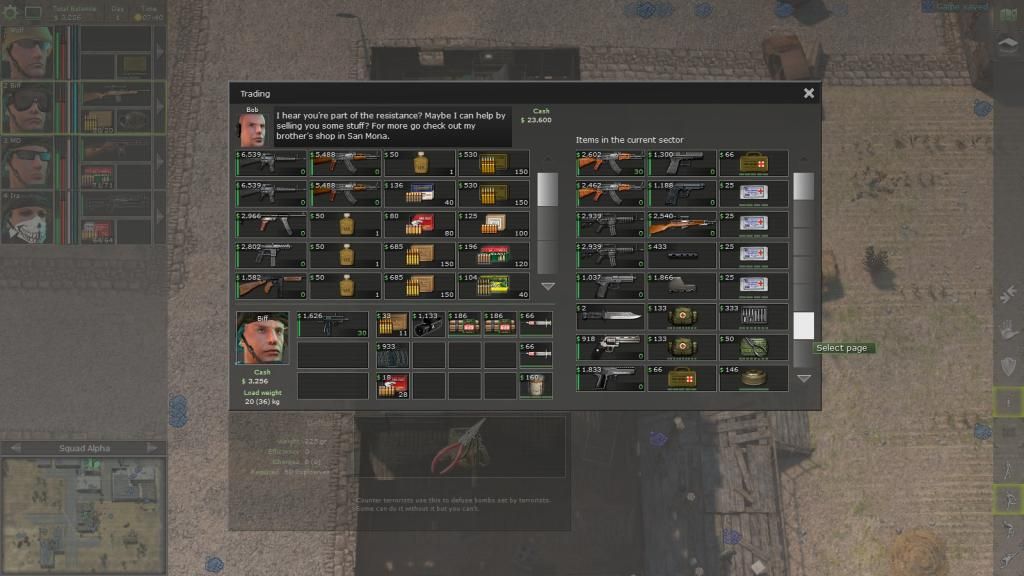
Bobby's Ray's Guns and Things is now open for business.
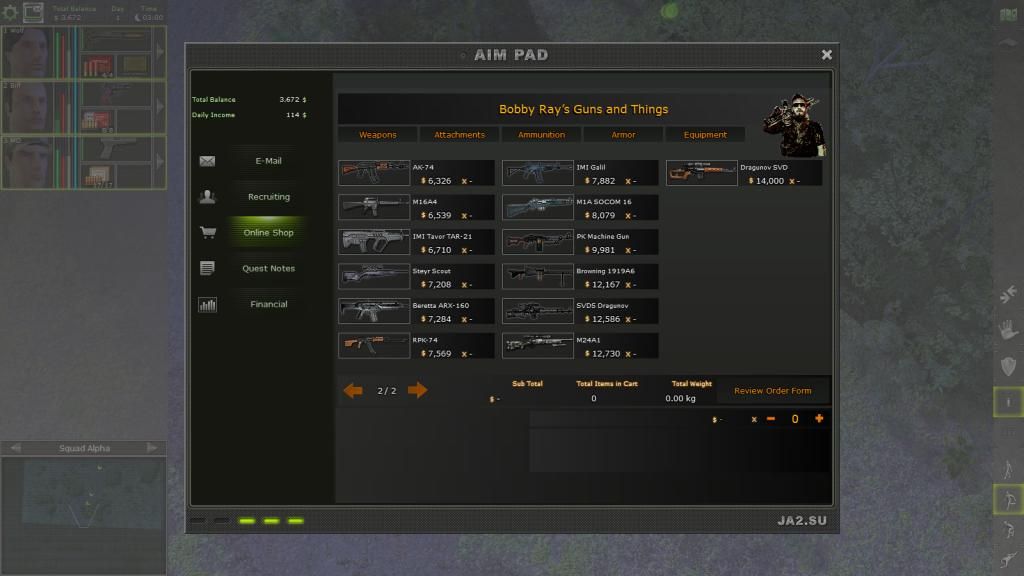
Guns and armour are randomized and restock every three days. Goods take 1 to 2 days to ship to this airport. Faster service means higher cost per kg.
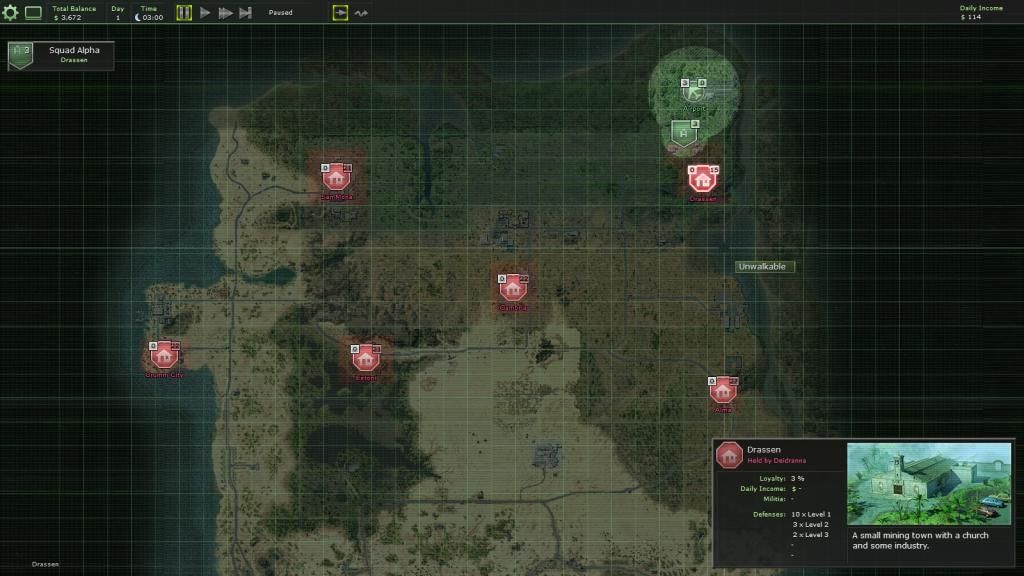
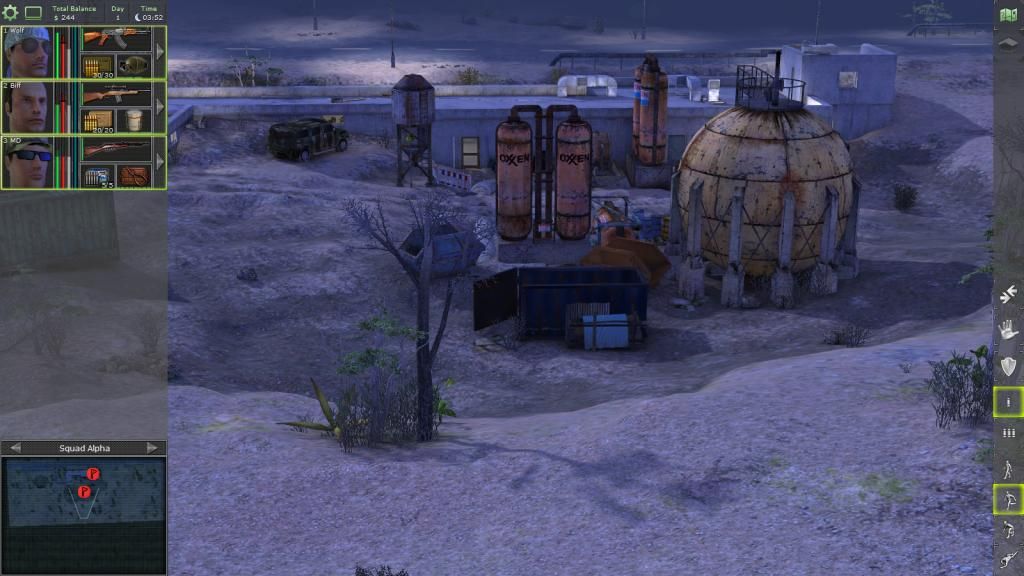
Next stop Drassen.
Last edited: