Chapter 18 - The Game has Won
Welcome back...
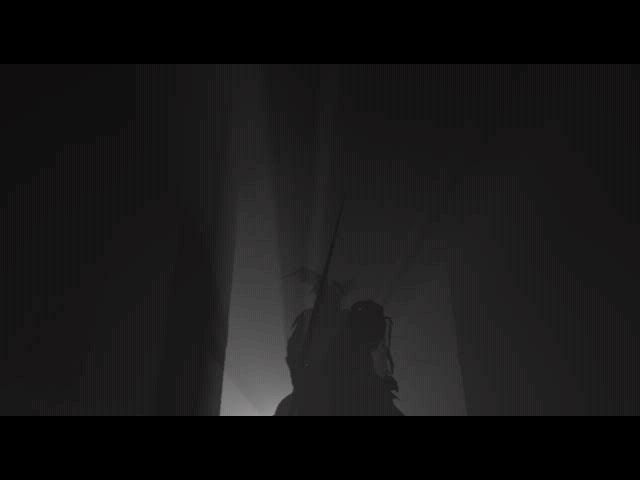
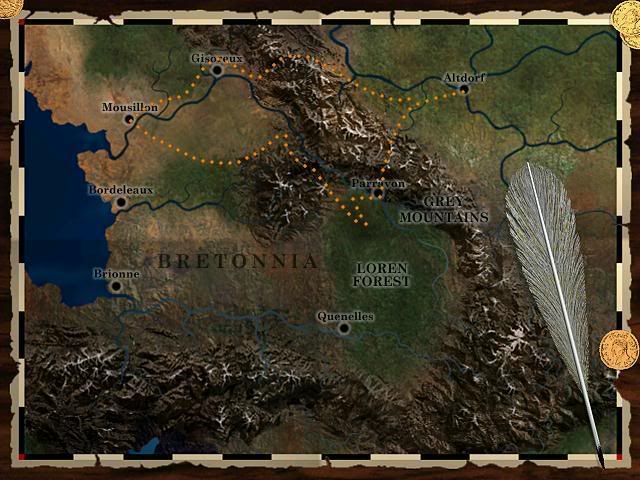
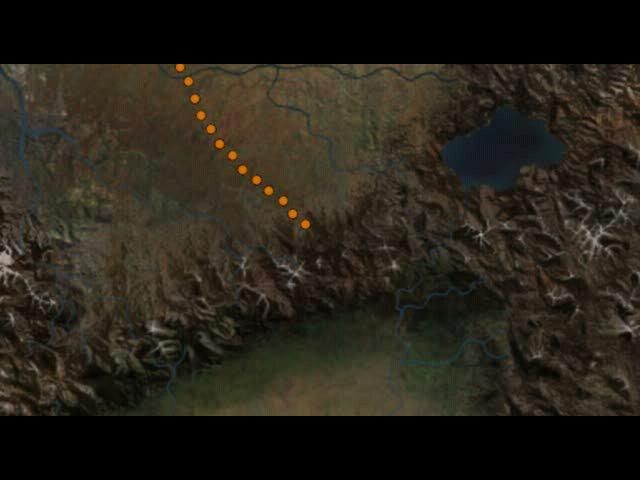
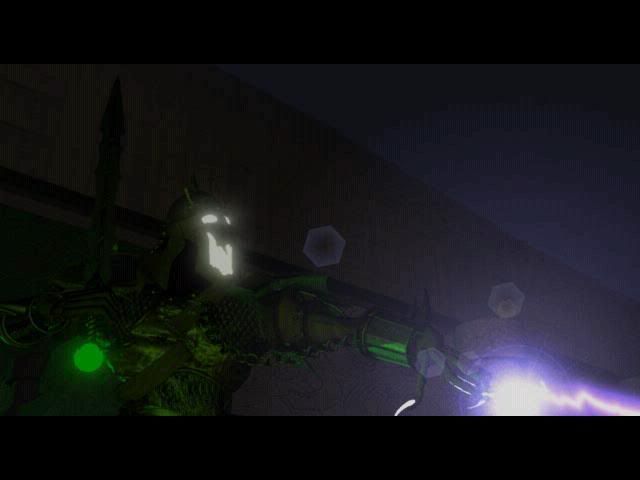
Last update we fought some undead on the way to the Black Grail. It was destined to be our very last ambush. At long last we arrive at the Gates of Moussillon.
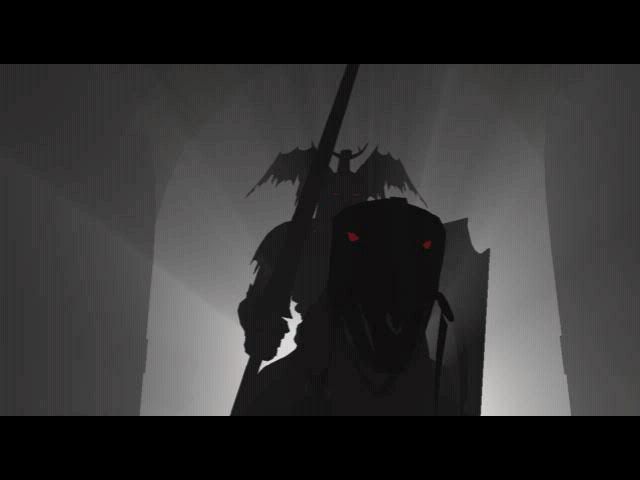
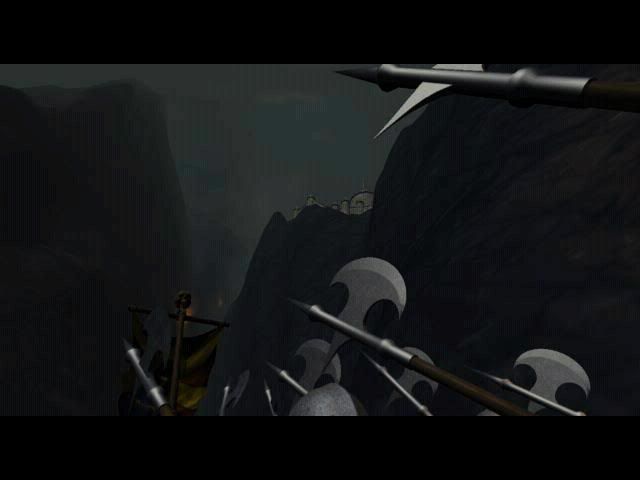
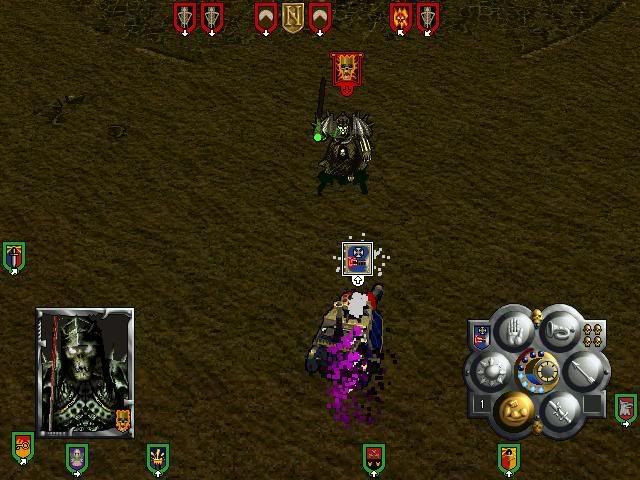
We have been expected.

I don't know what those things are, pouring from the gate. Get ready for hell to break loose Morgan!
:evil: Attack! Have no mercy!
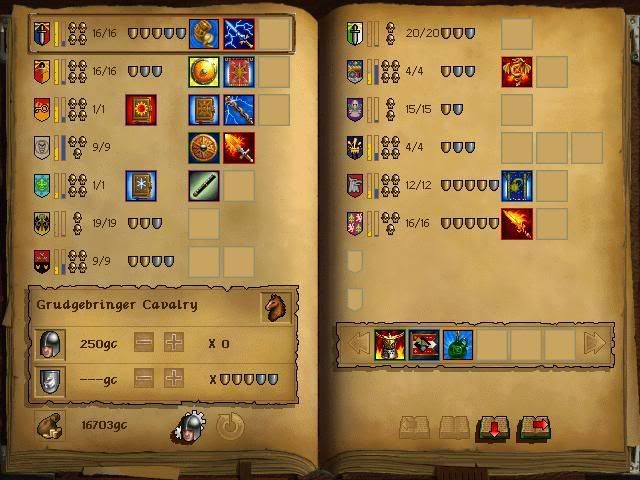
All right, but first let's see what magic item we got last mission.
This would have been useful. 15 missions ago.
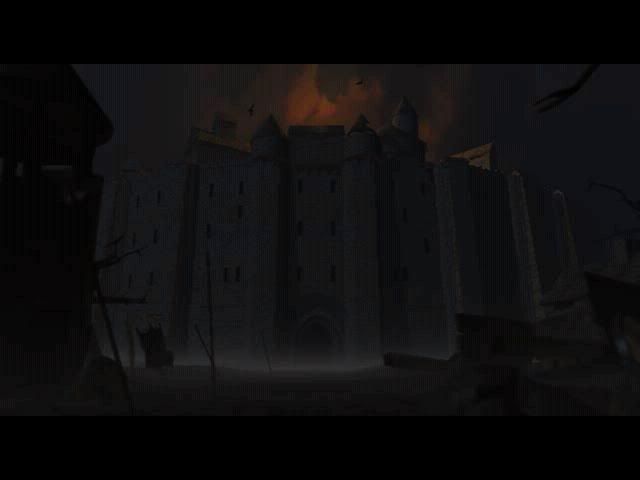
Battle 25 - Dark Predicatements
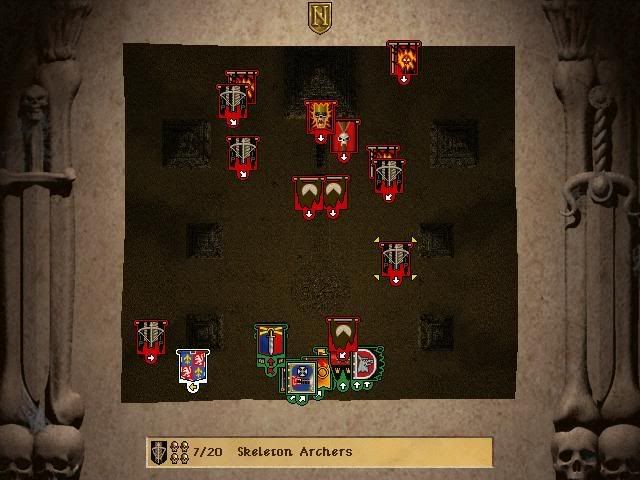
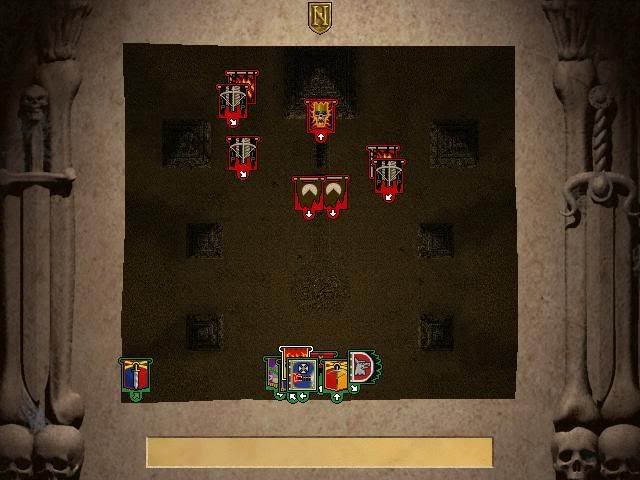
A difficult battle. We attack Moussillon and the undead are well aware of it.
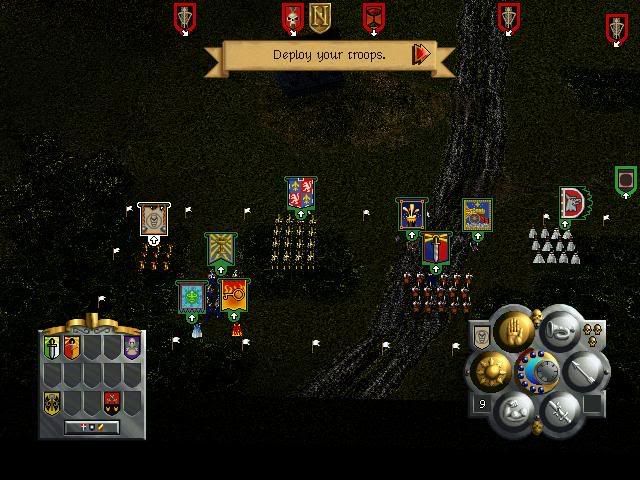
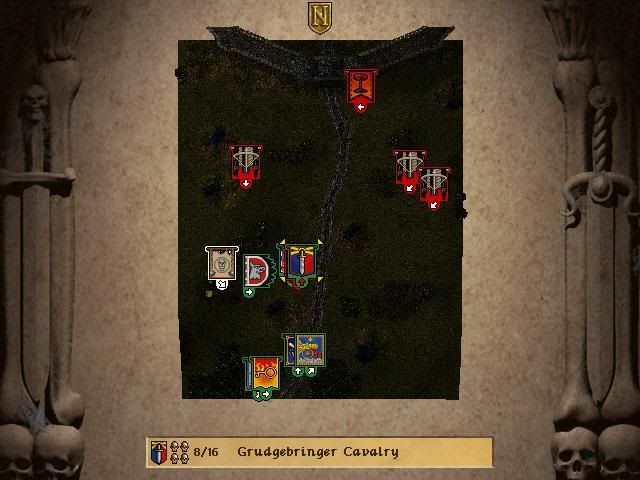
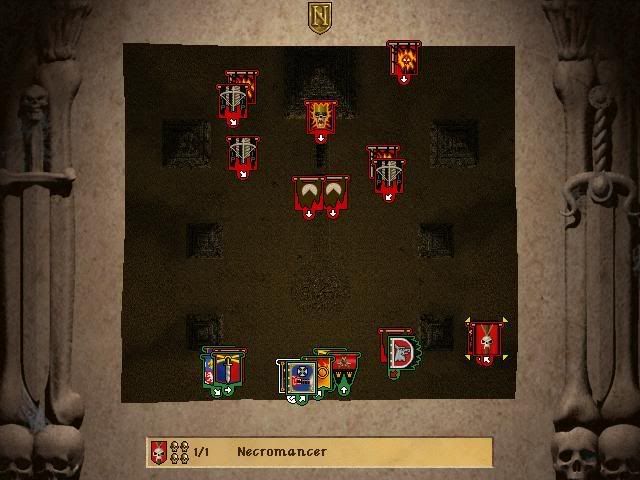
Using all the troops I am allowed to. That's right, even if I wanted to use more troops, the game wouldn't let me; this might very well be the first time I employ a maximum entourage. It won't be the last.
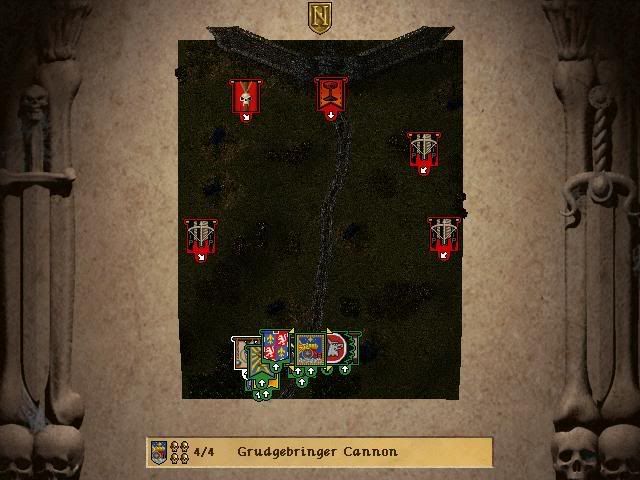
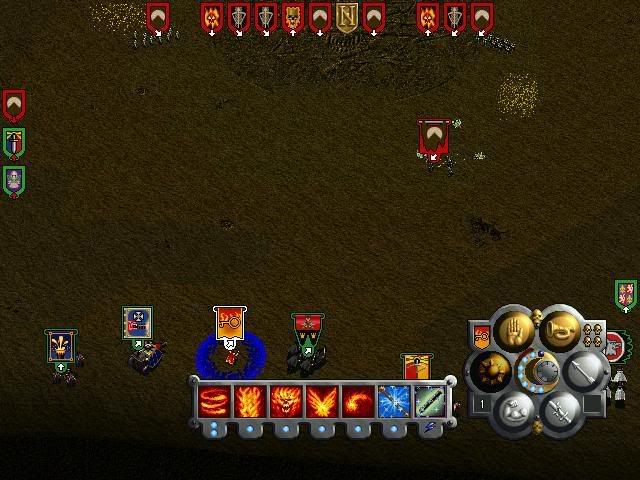
Three undead skeleton archers, all on hills, increasing their range and deadliness. All level 3, doubling their "hit points" and giving them +2 to their accuracy.
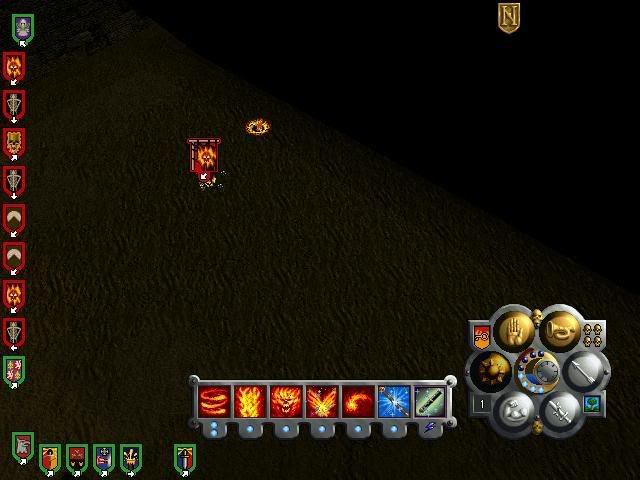
However, we're just out of range. They, however, are in cannon and mortar range, which makes this battle a good deal easier.
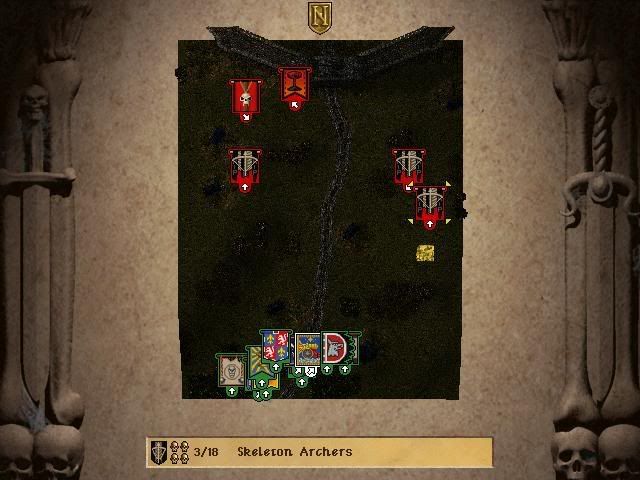
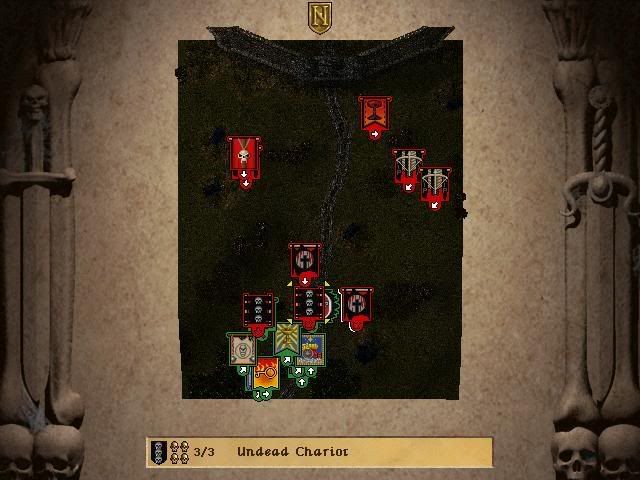
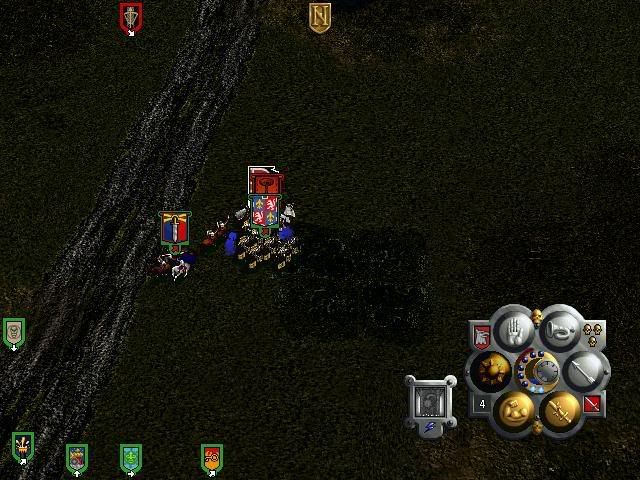
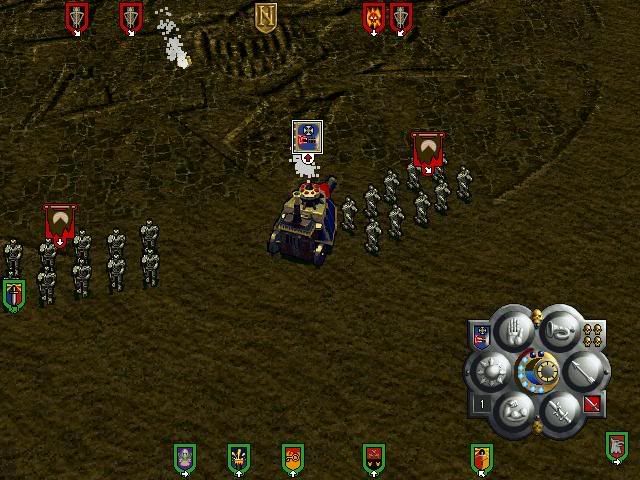
Trying to move closer to the Black Grail results in two chariots and two large units of ghouls moving towards us.
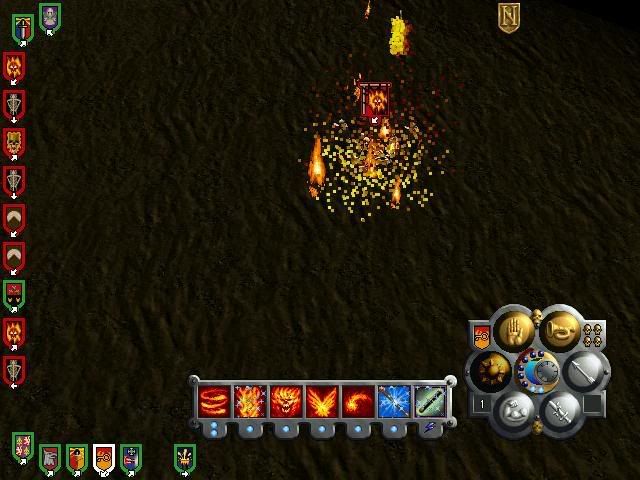
We try to hold them back, but Ragnar fails his morale check and flees and I forget to blow the horn to make him regather his men.
Finally I blow the Horn of Urgok. Ragnar's men gather again and the ghouls flee in terror from the horn's sound. Ghouls, zombies and necromancers are all NOT immune to fear, as opposed to all the other undead.
With combined forces, we vanquish the first wave. We lost many of Ragnar's men.
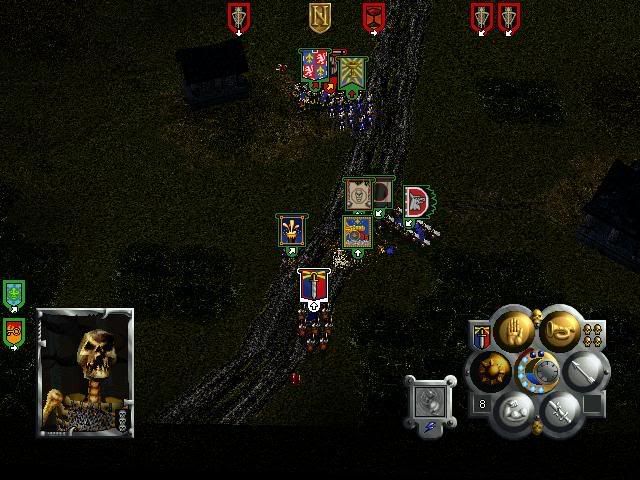
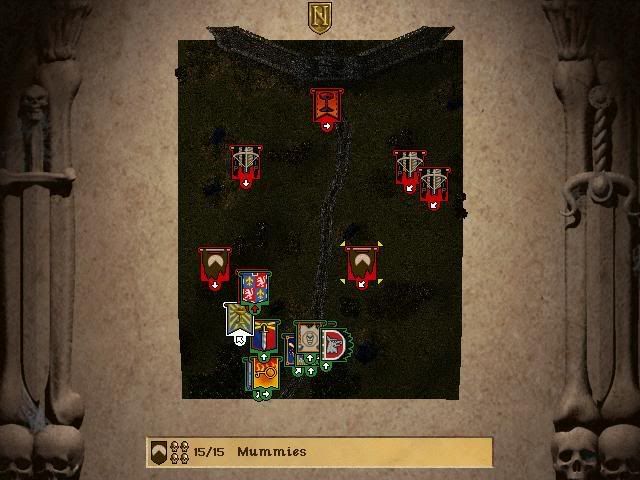
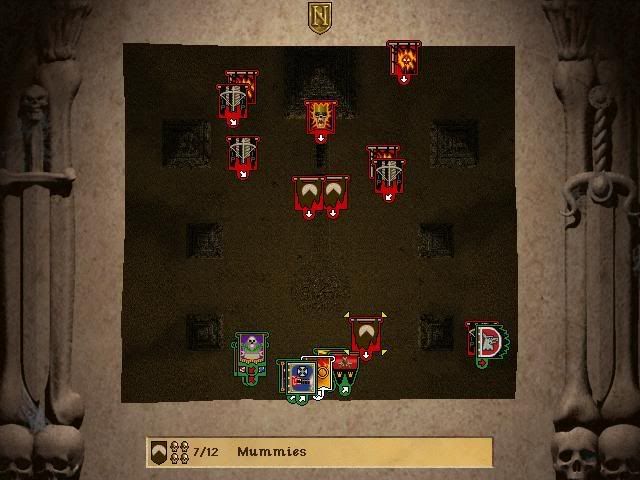
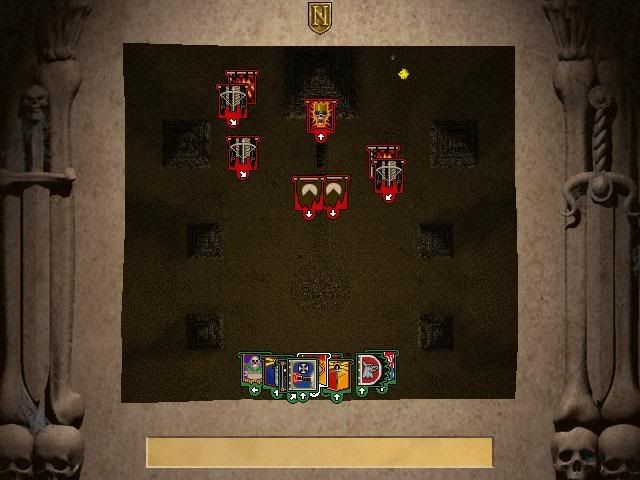
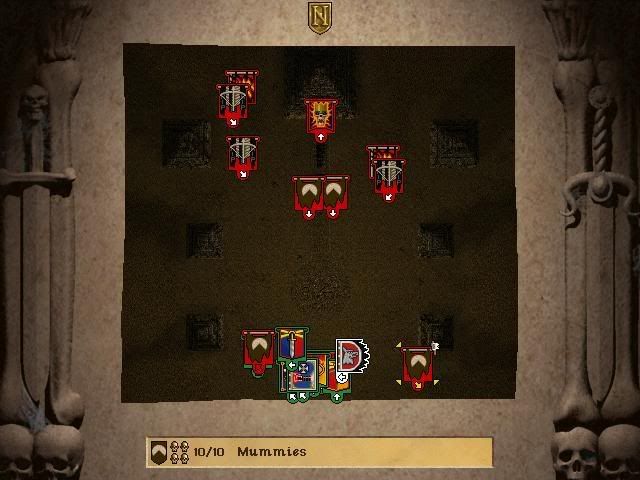
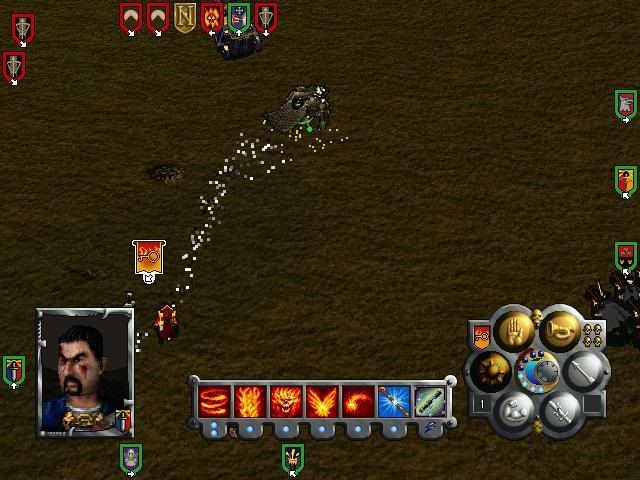
We use the Knights as "spotters". In practice, we abuse the game by "triggering" the next attack wave, then retreating into a defensive position. Terrible mummies shamble towards us.
...as well as a chariot and more ghouls. The mummies are currently behind a hill, but we'll regain line of sight to them in a moment.
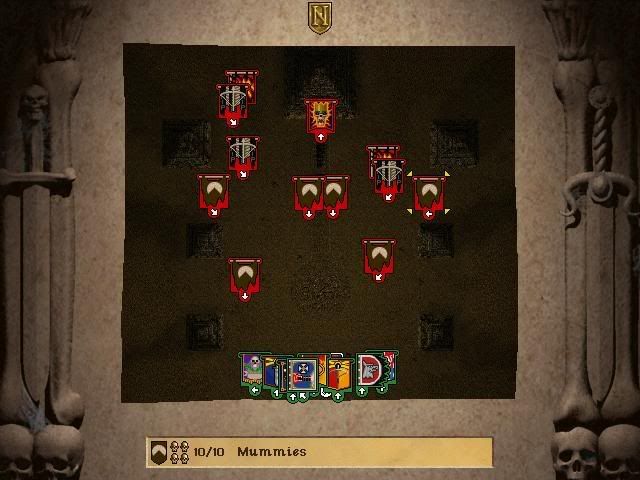
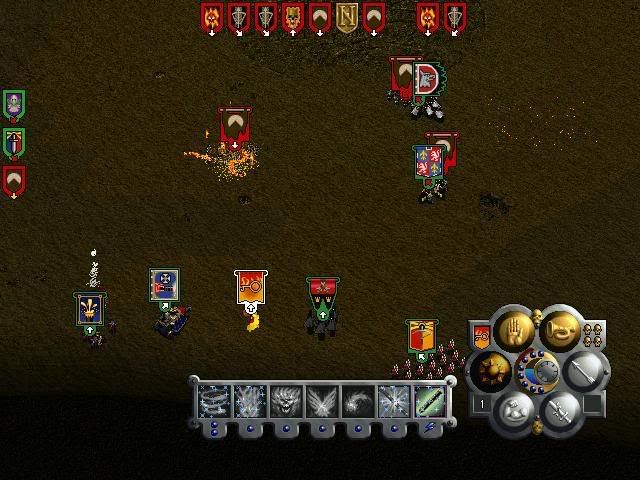
Very good - the ghouls flee our mortar and cannon fire. But trouble approaches from the west. More ghouls...
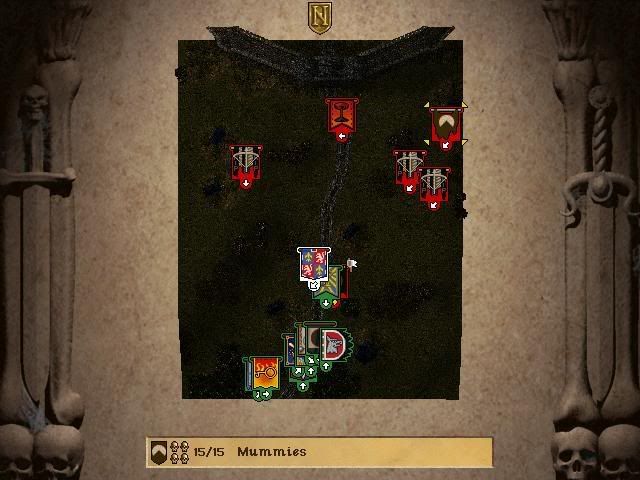
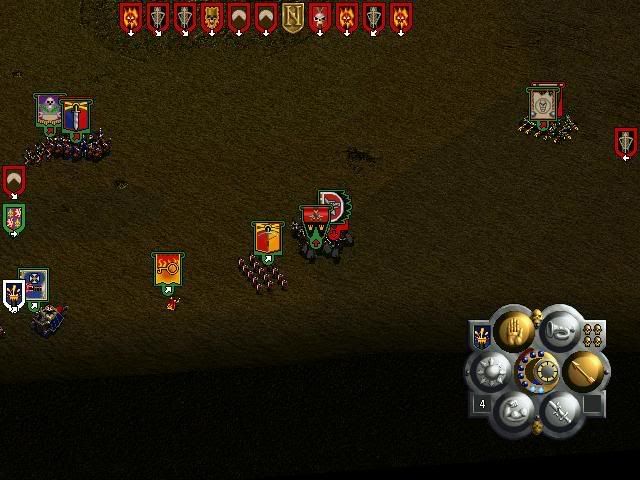
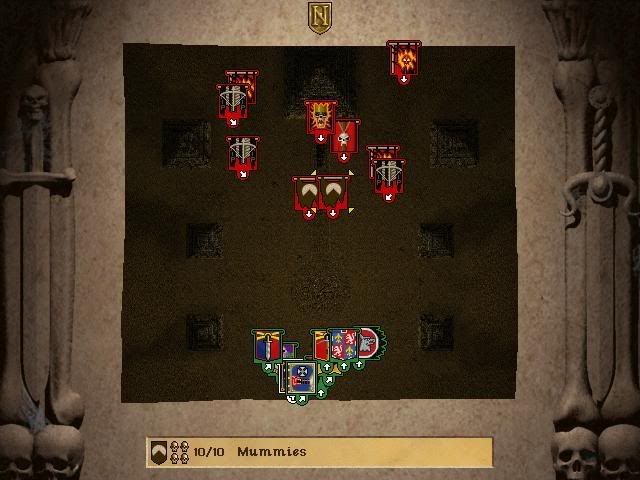
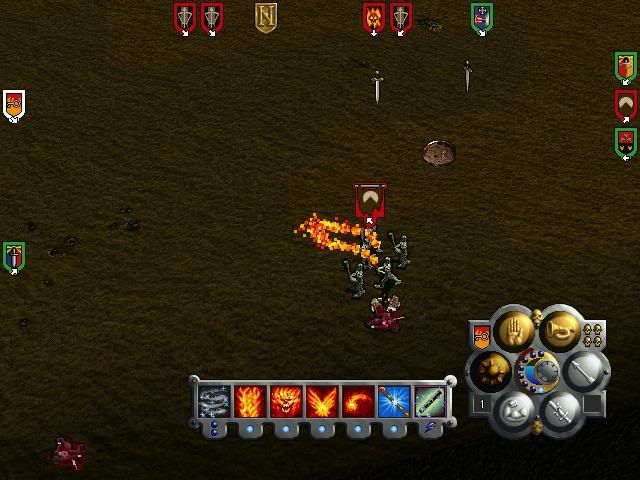
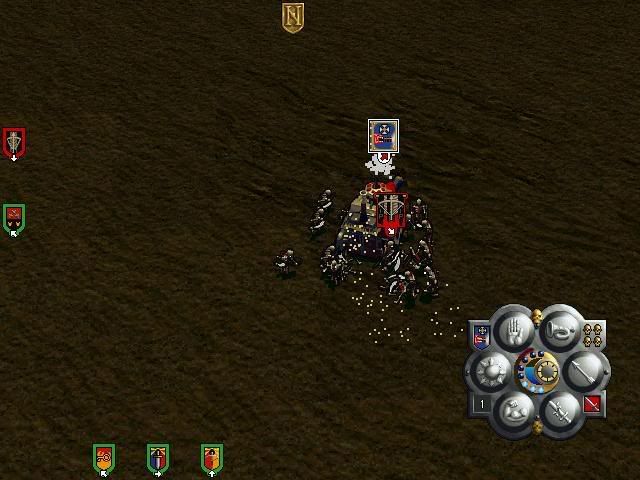
...in the company of mummies, the toughest undead unit in the game. You simply can not expect to fight those guys without heavy losses unless you abuse the hell out of your fire wizard. They're that tough. And there's a dozen closing right in.
That makes 27 mummies total. 27 of the toughest enemy unit in the game, and all at maximum level. This will be costly.
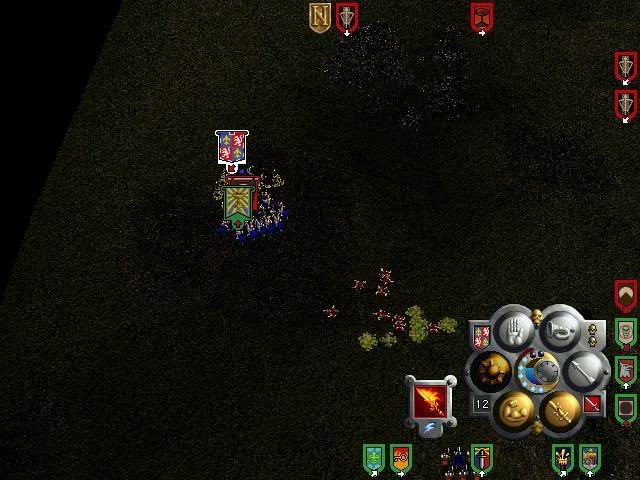
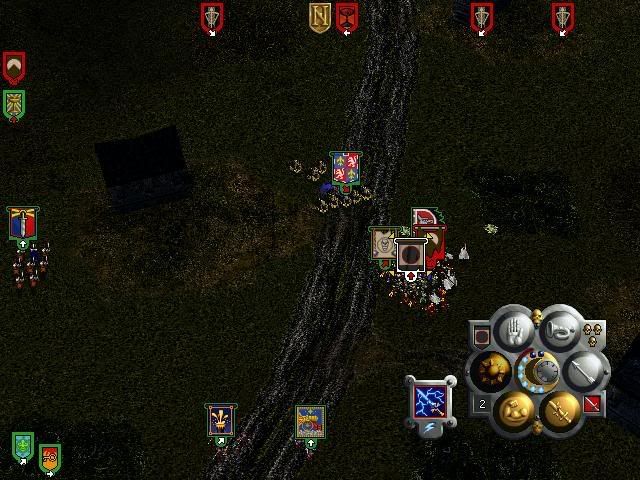
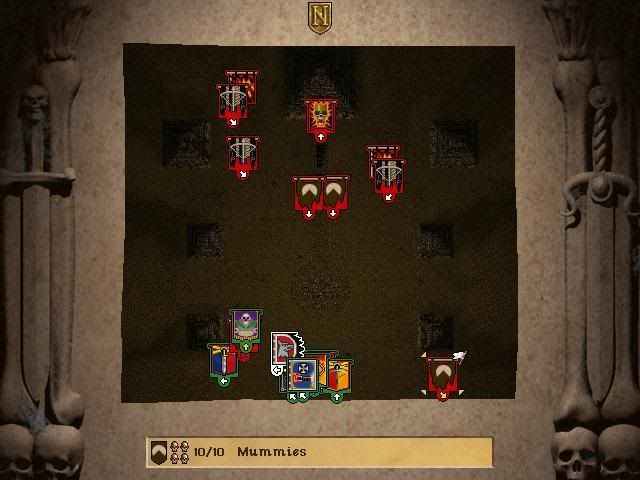
The knights and grail knights fight the "12" unit of mummies.
Despite outnumbering them and being mounted, the knights flee, fearing they lose the battle. I said those mummies were tough, didn't I?
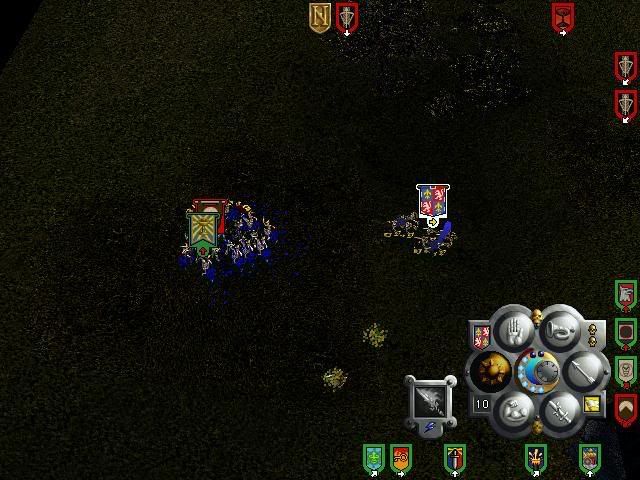
Grail knights are really good. The "15" unit of mummies is involved in a big melee.
Everything I have left, I throw at them, but they just won't die.
And then... the terrible sound of a magic item being dropped. We lost the ogres. I didn't even notice; I trusted they wouldn't die since we had so many units fighting the mummies. But they did. They're dead. Gone. They'll not ever come back. I am serious. This battle is a depressing one. But bloodlust fuels us now... sure... the ogres were dim, and just helping us for the money. But they saved our lives with their sacrifice, and they will be avenged. Blood for blood, death for death.
Even as I am still shocked by the fact I actually lost an unit for good, more enemies break through. We must act quickly to prevent further losses.
Yes, I leave the artillery undefended. So what? We've already learned the game "triggers" reinforcements and I happen to know nothing dire will head towards them. Abuse? Yes. But after losing our dear ogres, this is only reasonable.
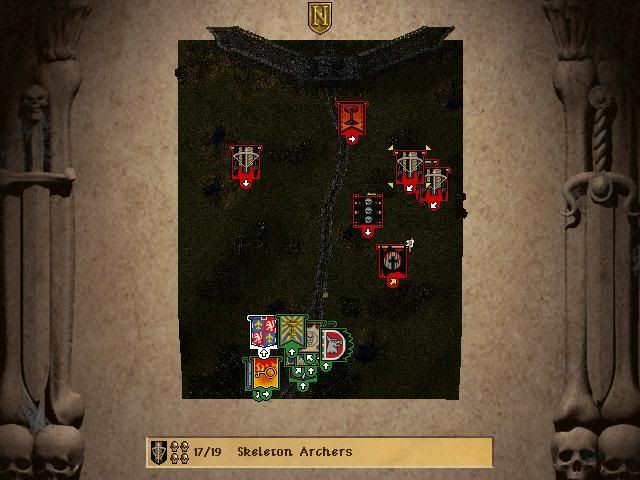
However, if you do this, be quick! Another unit of horsemen approaches from the east! As you may notice we have to fight a lot of units this battle. That's because we spent so much time doing sidequests. Yes, this mission becomes easier when you skip them.
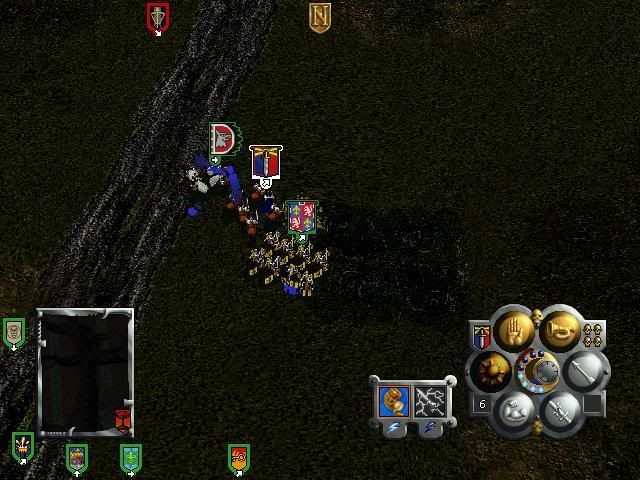
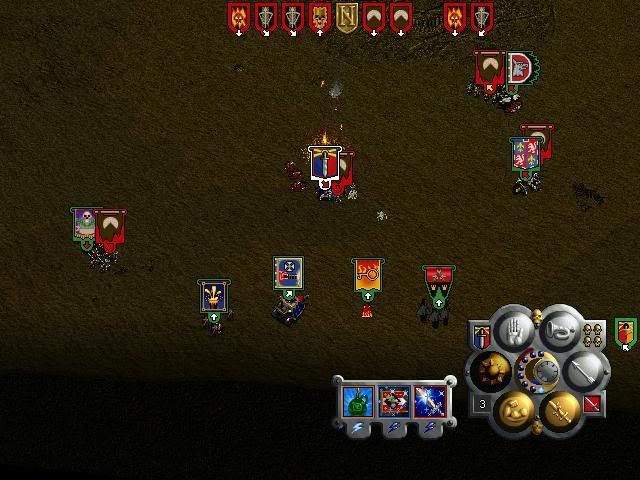
We intercept them in time.
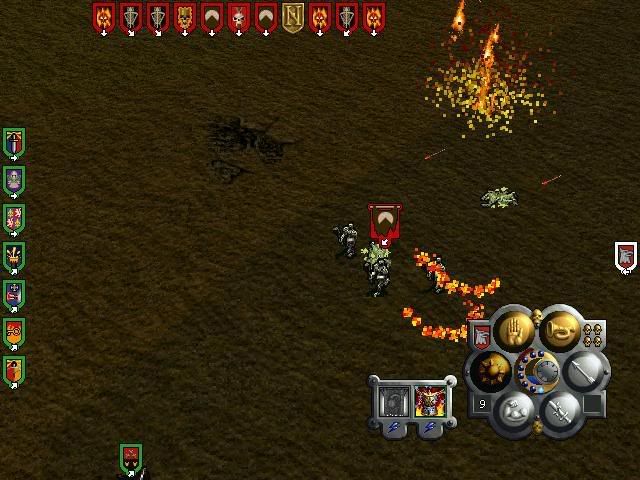
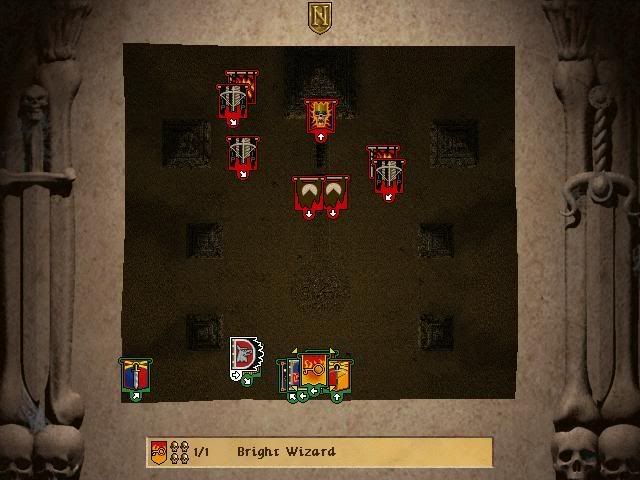
Some precious XP for the Bright Wizard: burning up the leftover undead archers.
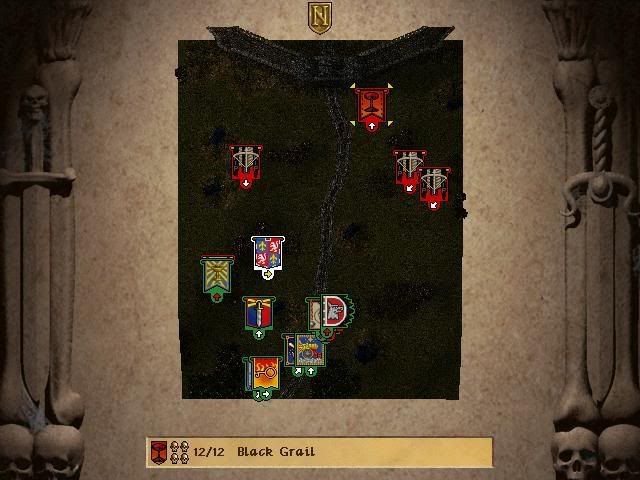
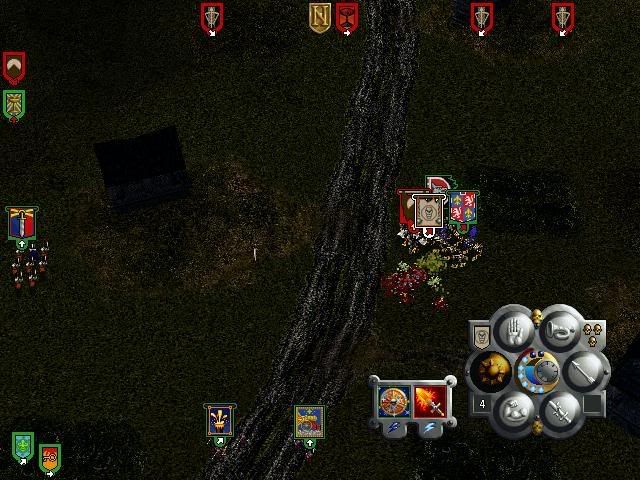
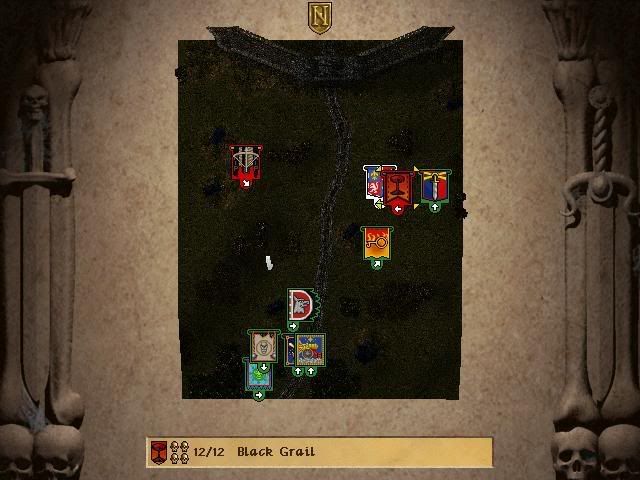
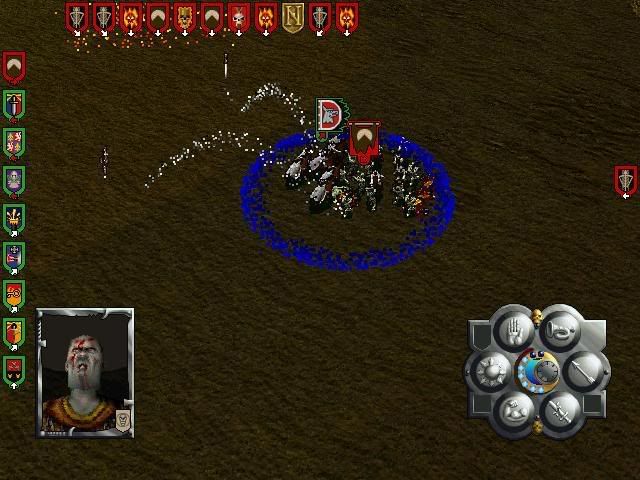
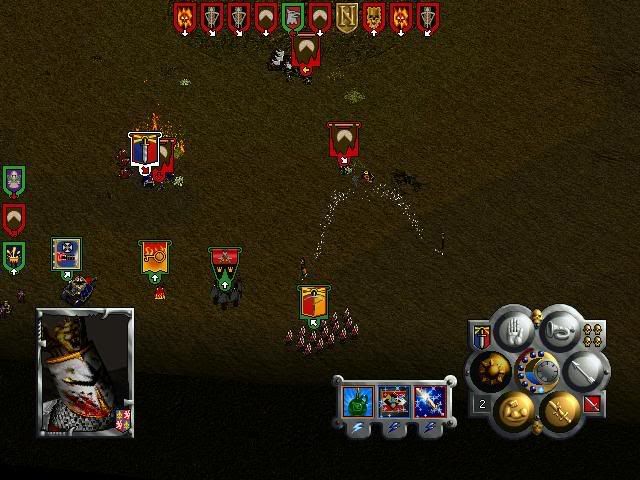
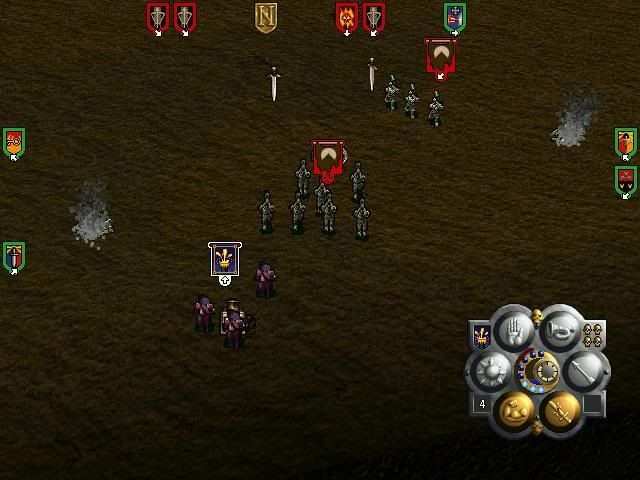
This finally triggers the Black Grail's attack. The heroic Bretonian Knights... promptly flee.
The Bright Magic holds the Black Grail in place. Without this spell, we would lose dozens of men. But we have this spell and can minimize losses as much as possible, allowing the Knights to regroup.
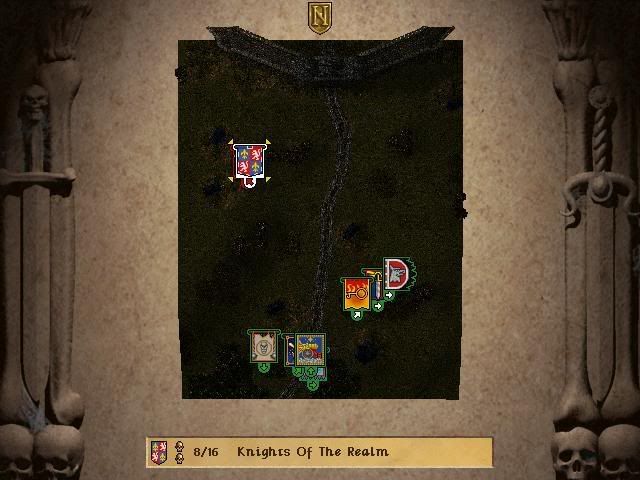
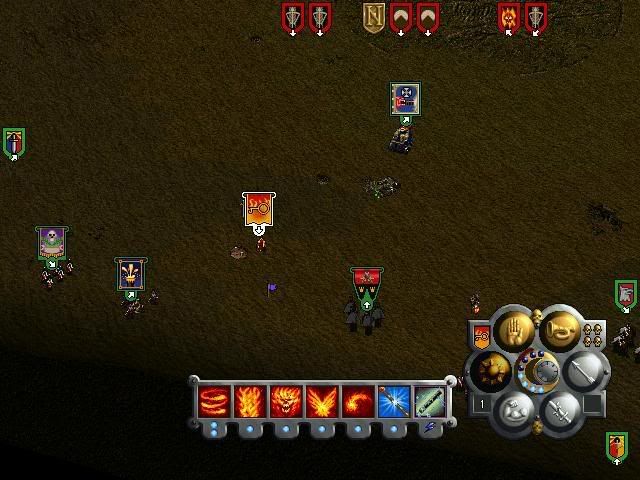
We await the Grail in an ordered defensive formation.
He falls quickly due to this. Good thing we had the Bright Magic to delay the Grail and assume formation; else this would have been a lot more painful.
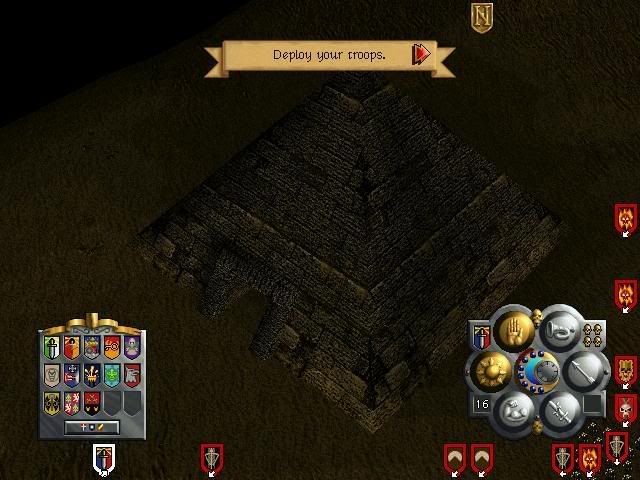
Burning this house, right near where you deploy your troops, reveals a potion of strength.
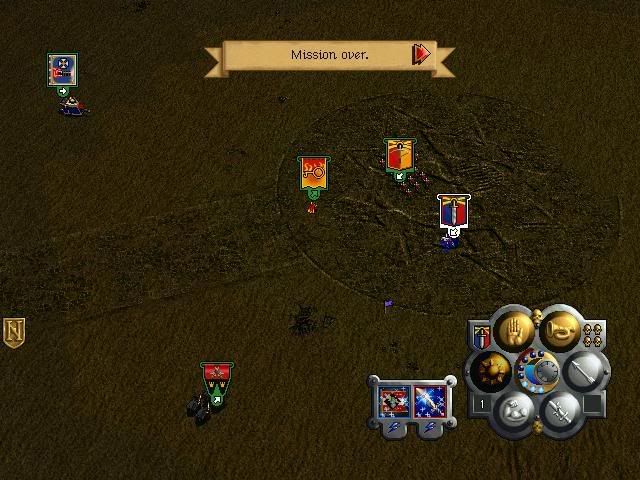
And with this, Moussillon is taken; the Black Grail is defeated.
But at what price?
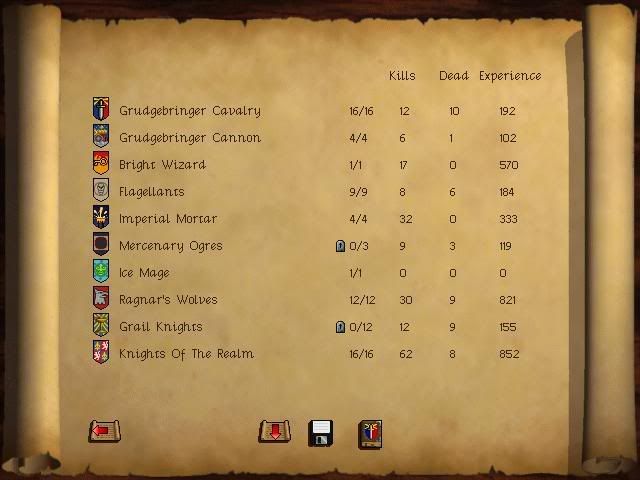
Terrible losses this battle. Not for lack of trying.
Even with the nearly 5000 coins we made we make a net loss.
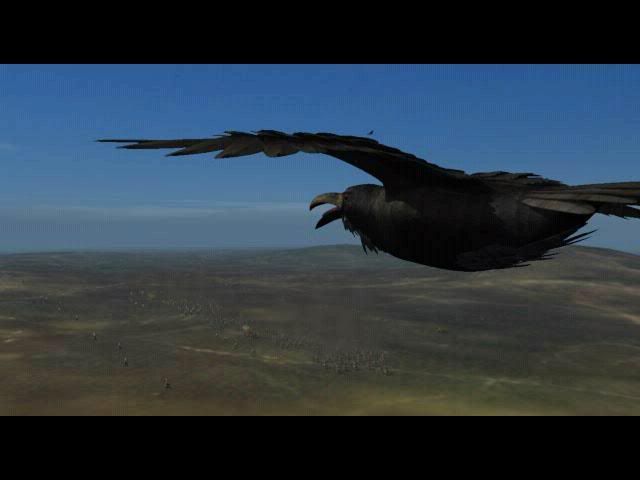
:evil: Another battle done, another feast for the crows.
But this time the crows feast on bodies that were never truly alive.

Of course they never were alive! Remember what Volkmar said: the Black Grail is many and one. Many ressurected knights, one driving will. The Dread King's!
:evil: They are dead now, for good.
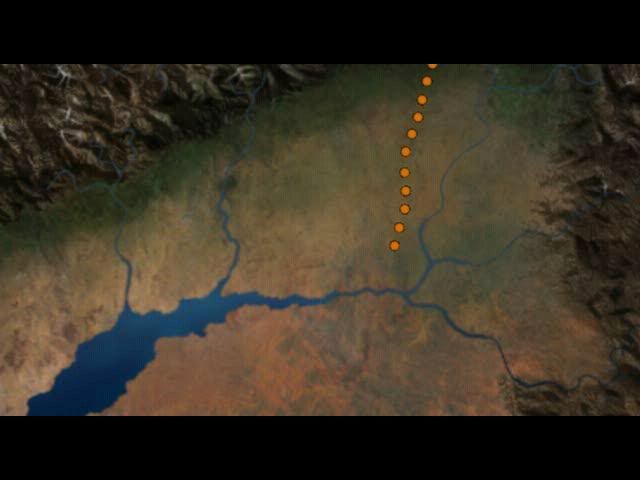
What are you waiting for, fool? We must return to Altdorf and report the news at once!
Morgan, the Grail Knights are returning back to the king's court.
:evil: Very well; give them my thanks. Ride! To Altdorf!
:!: Once again you return, Commander, and still have all your limbs. You lead a charmed life.
:evil: Not that charming, my Lord.
We found the Black Grail, m'Lord. It proved to be a host of ressurected Grail Knights, corrupted by the forces of dread.

Ah yes! Now I understand: many and one. The Dread King's power ressurected those troops to bolster his army.
:!: Was the mission a success?
Yes, my lord. Not in the least owing my spiritual guidance, the Black Grail has been destroyed.
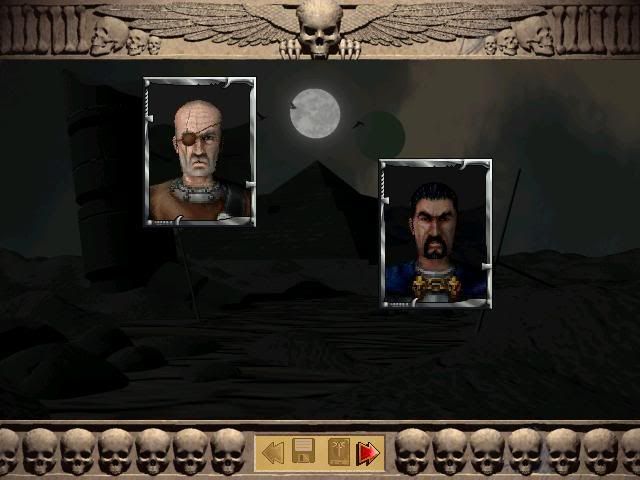
:!: We must look now to the final battle with the Dread King. Volkmar, I believe you have an inkling about his whereabouts?
.
.
.
Blablabla! This dialogue is really long. I'll give a summary now.
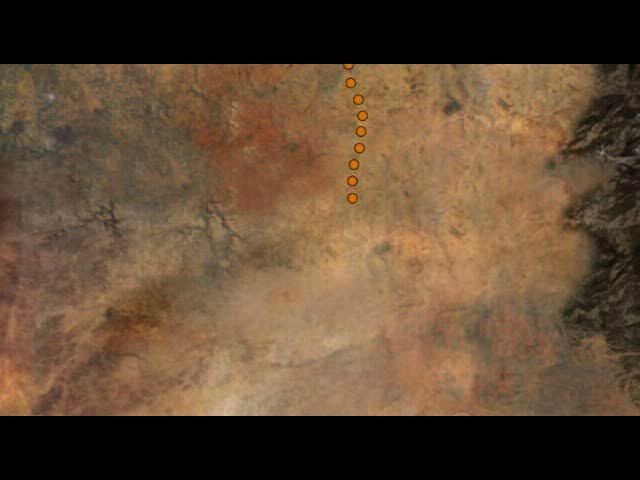
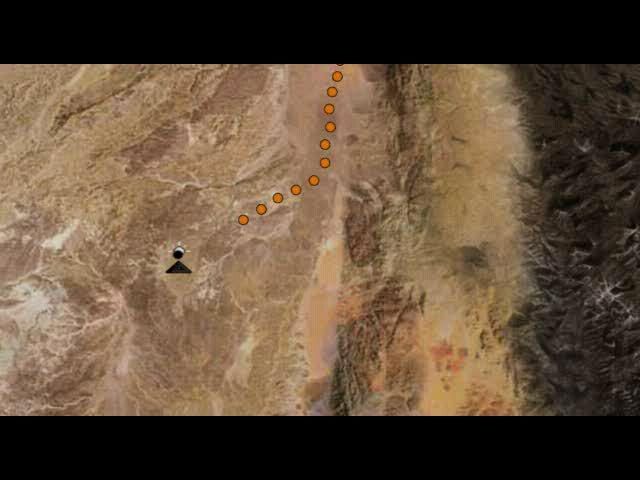
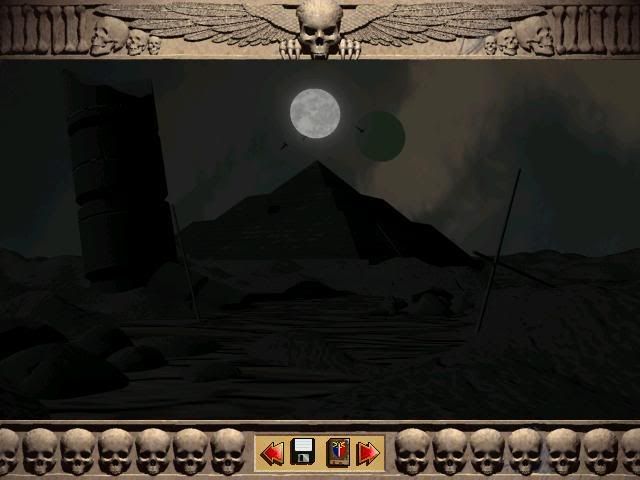
Black, err, Dread King is in Southern Desert, near Black Pyramid. I know this because... well. I just do. Seriously, trust me.
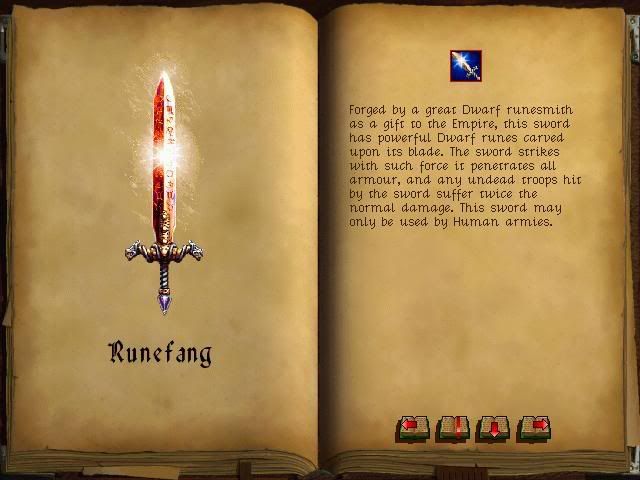
:!: Well. Yeah. Okay then. Go there and kill the Dread King then! Also take this sword Runefang which is totally sweet.
:evil: Cool!
:!: Also, you're awesome for wanting to face the Dread King! He's all evil and stuff. I love you. Have a Steam Tank!
:evil: <3
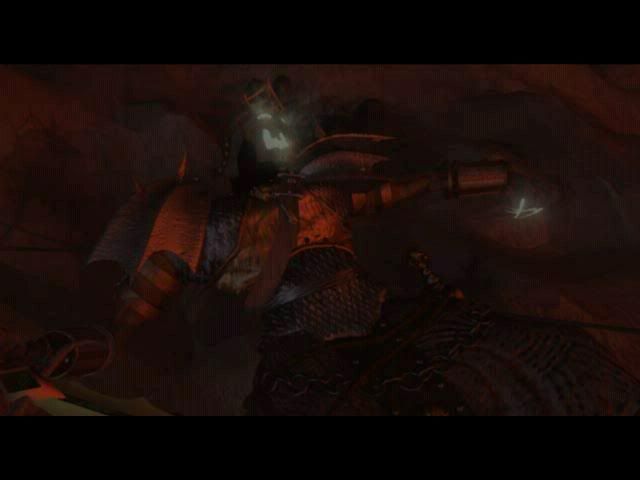
You will die, Bernhardt! You will go to hell!
:evil: ...
I WAS BORN THERE. AND CALL ME COMMANDER!!!
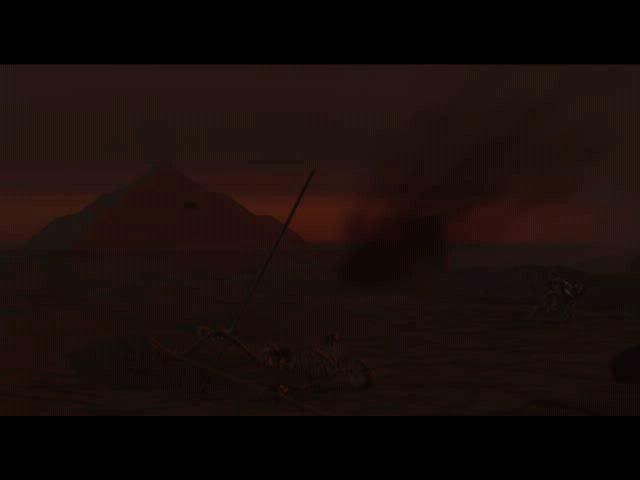
This is it, Morgan. They're coming. The Dread King, the whole damn dead army... this is it...
:evil: Yes. It ends here.
We're both crazy, you know. Why the hell are we even here? It's not for the money, that's for sure. Is it for the glory?
:evil: I don't give a damn about glory. I do what I must.
That's no answer... why must you do it?
:evil: I don't know... the truth is, I don't know. With my army at my back I should have a good reason... well... maybe I do know one.
And what's that?
:evil: I fight to cheat death.
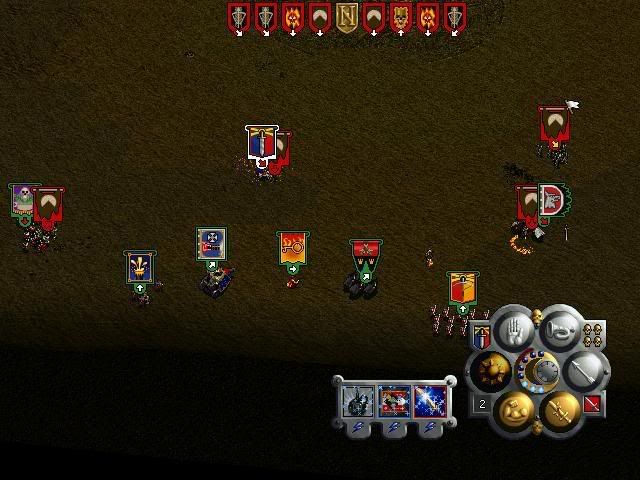
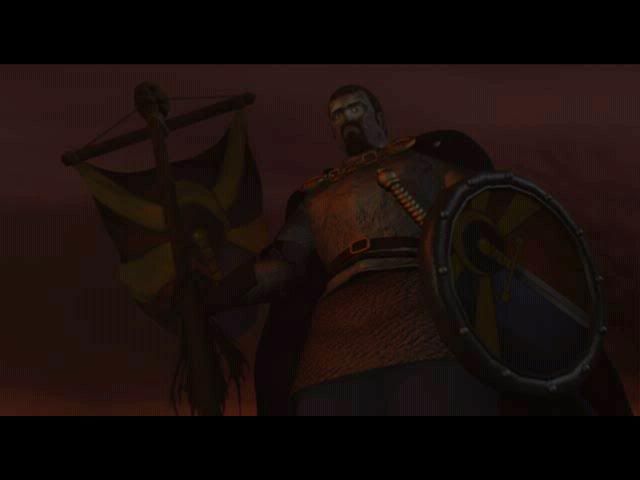
:evil: Men! Today we confront the Dread King and his legions. The taste of fear is on your lips. I say: spit it out! Drive out fear with bloodlust. Slay and slay again and you might live. Now... attack! Death to the undead! Give no quarter!
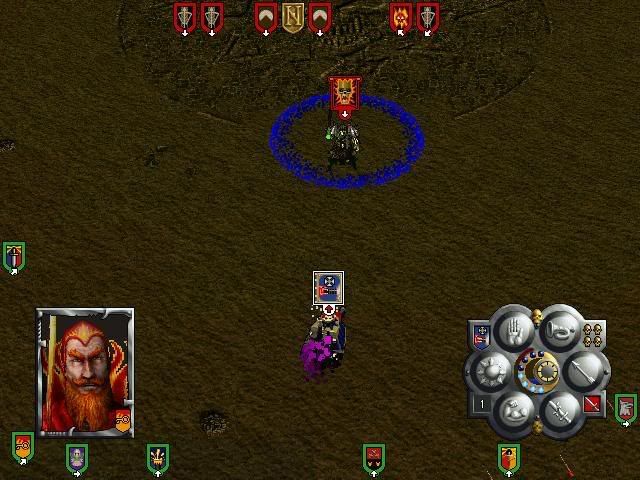
Runefang, the strongest weapon in the game, a gift from the emperor himself.
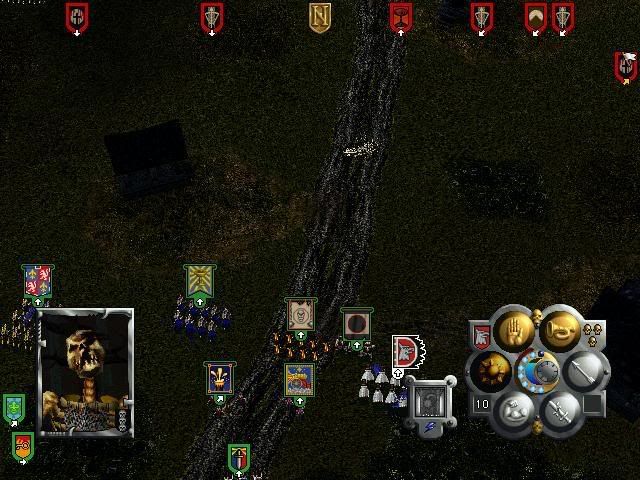
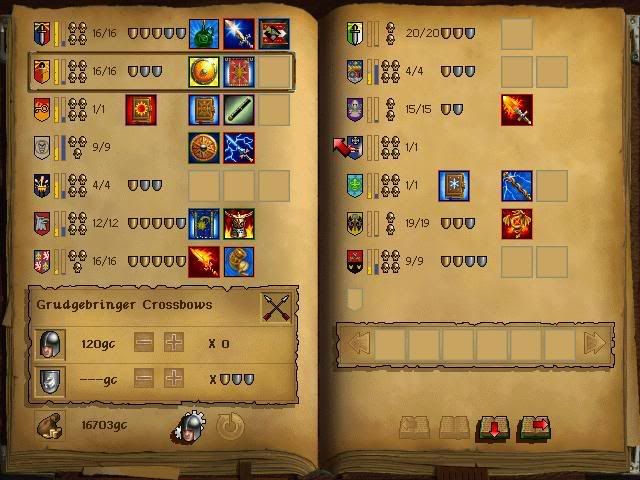
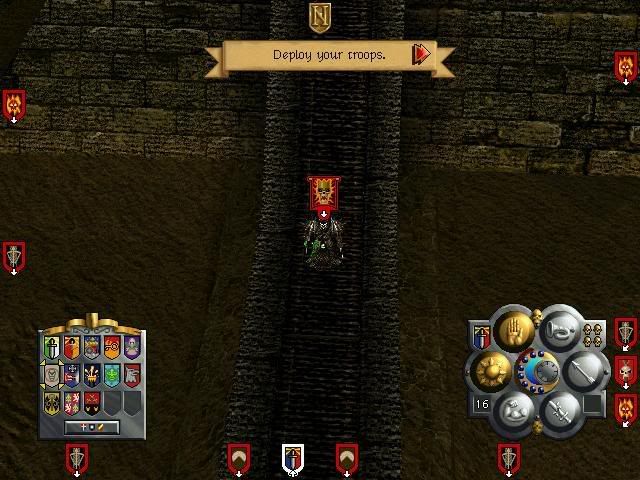
Giving out equipment and a last look at our army.
Tonight we really do dine in hell.
:evil: Slaughter! Destroy! To battle!
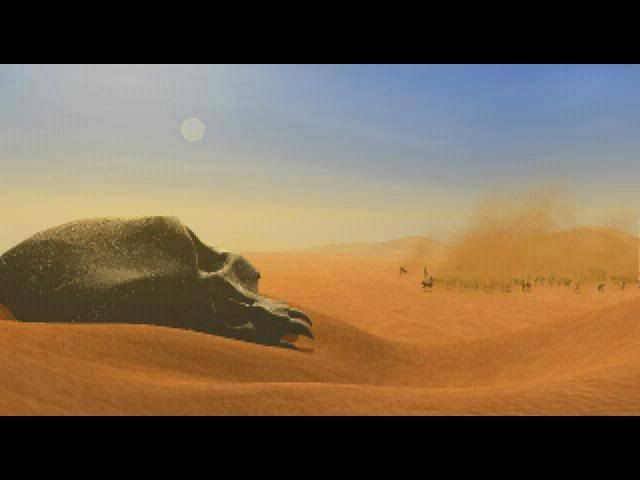
Battle 26 - Catharsis
This is the final conflict. To make this exciting to read, I have played this mission blind. This means that I never played this mission before. This is my first time playing it.
It is also my last time. There will be no replaying.
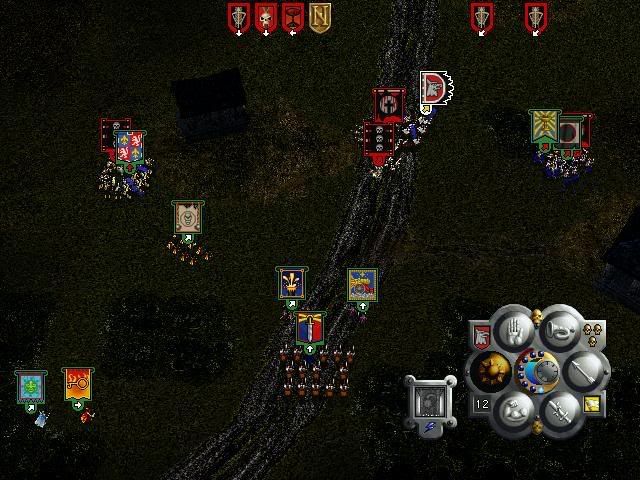
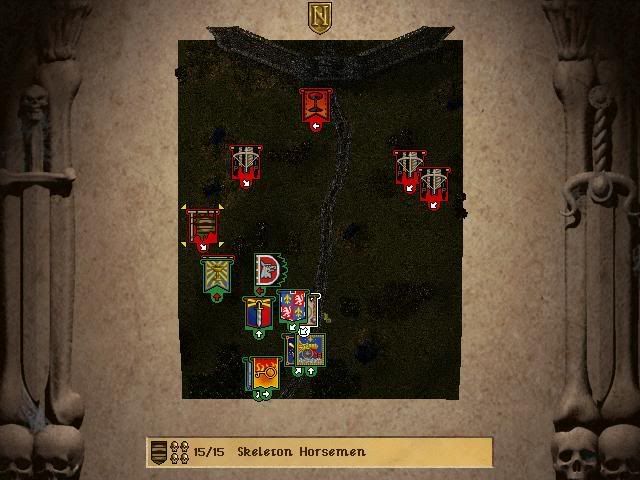
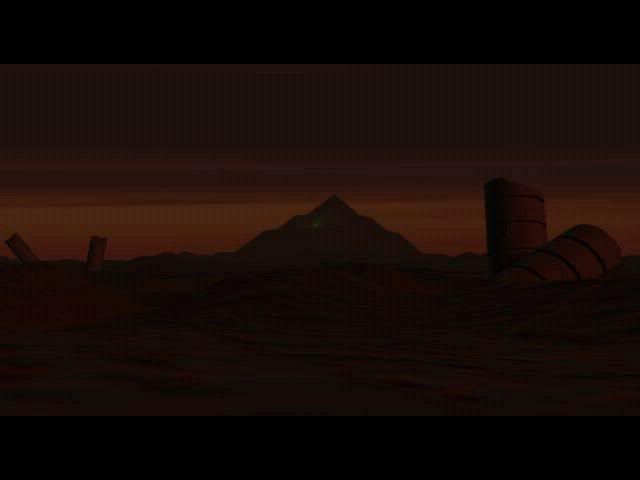
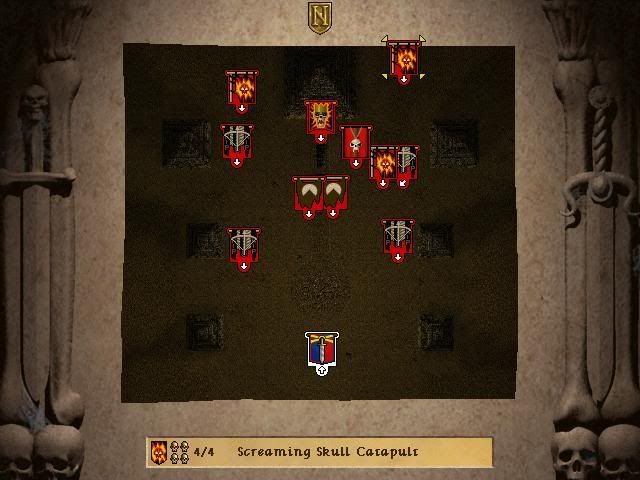
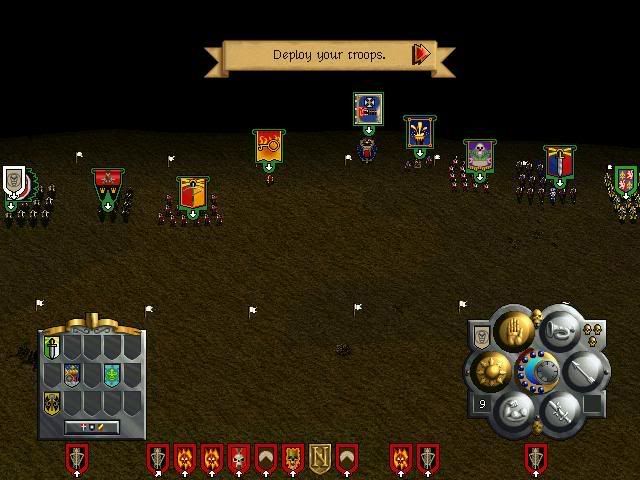
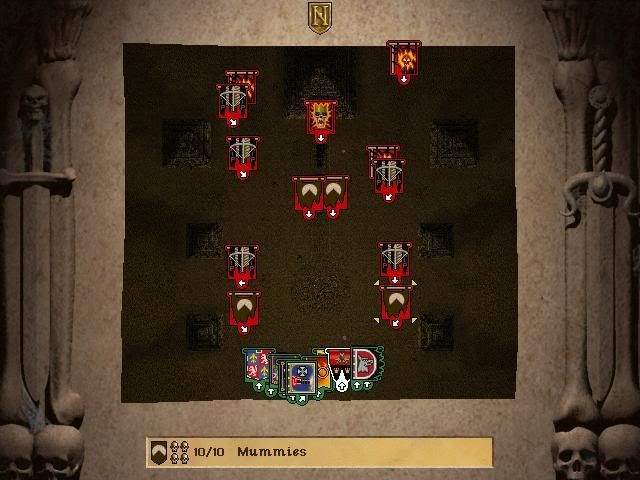
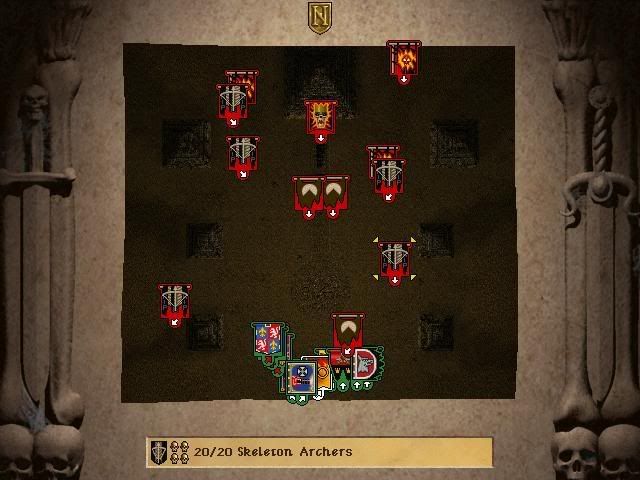
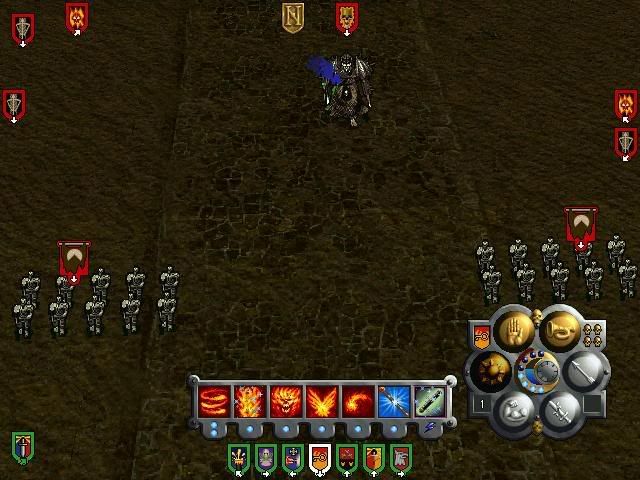
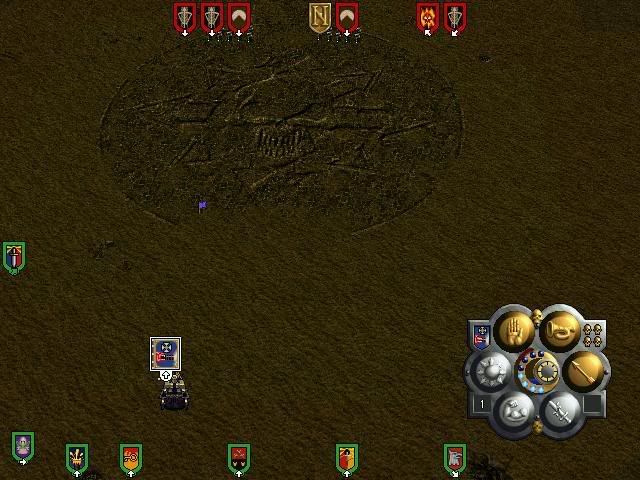
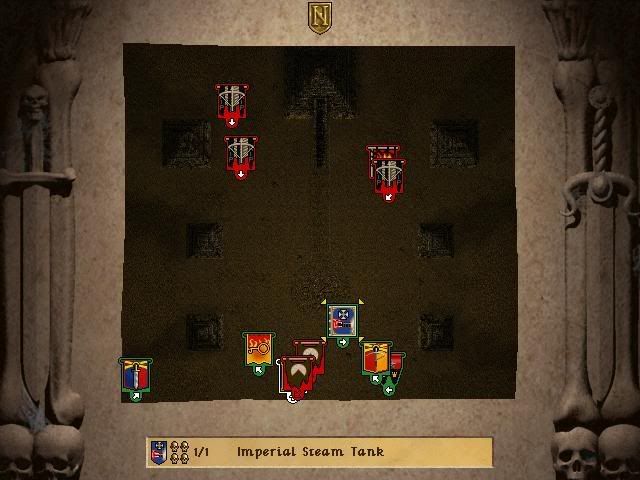
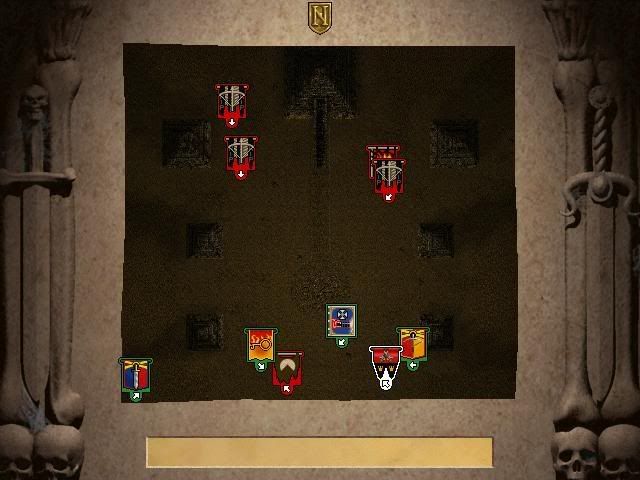
An overview of the battlefield. All the enemy units are at level 3. Level 3 mummies are stronger in melee than any of our own units if fought one on one. On the picture there are twenty mummies in two units to ten mummies each; they form the Dread King's royal guard. We start outside the range of those three Skullscreamer Catapults.
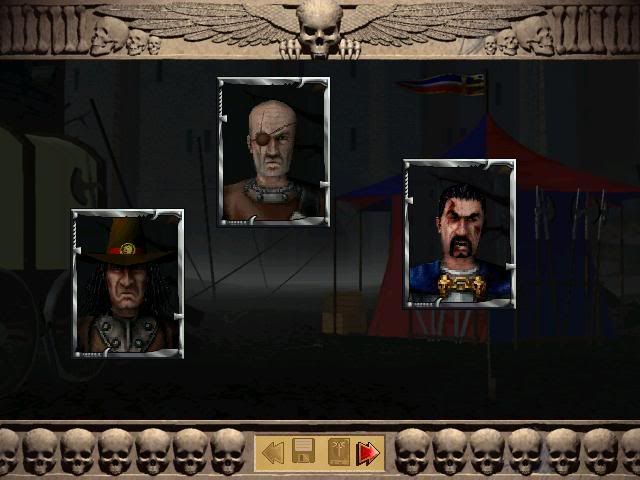
Nemesis.
There are seven pyramids on the map. Undead reinforcements will pour out from them. Mummies. Many, many mummies.
I would deploy more units but there is a deployment limit. I choose the greatswords over the cannon or the ice wizard because it is difficult to control two wizards and the cannon can only fire in a straight line. With the battlefield being this open I do not know if that is good or bad. I avoid placing it to prevent hitting our own troops.
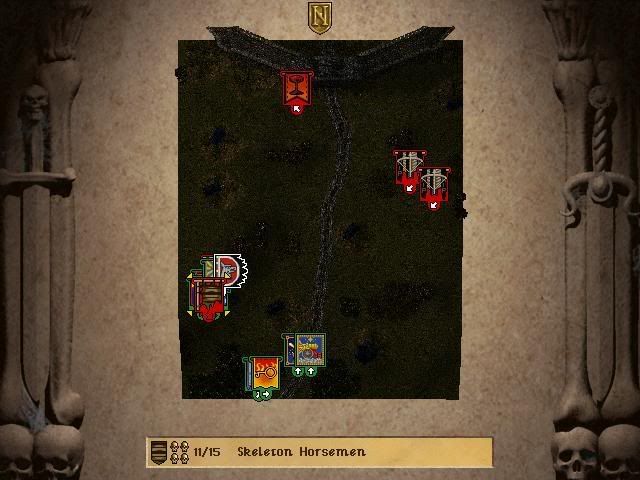
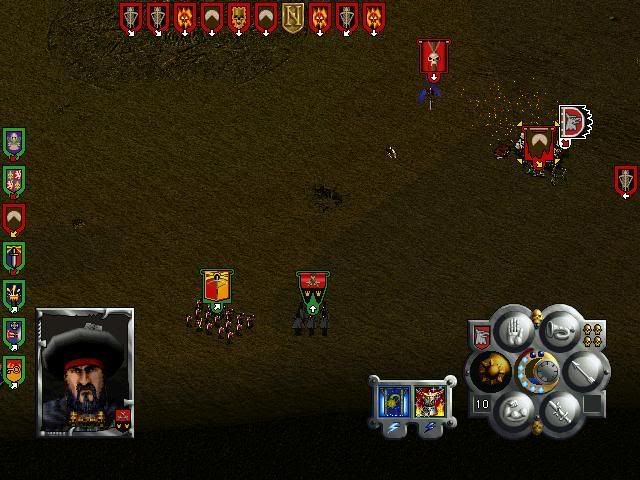
As soon as the battle begins, mummies pour out from the left and right pyramid. They are very hard to kill. At the same time, the lower two units of archers approach us, getting ready to fire. We attack the archers with our mortar, but not the mummies. Mummies can take a direct mortar hit and keep walking with no visible harm to them. Read that sentence again.
Grudgebringer Cavalry and the Knights fight the left unit of mummies. The right unit we hold using the Bright Wizard's Crimson Bonds, then pummel them with missiles by the pistoliers and crossbows.
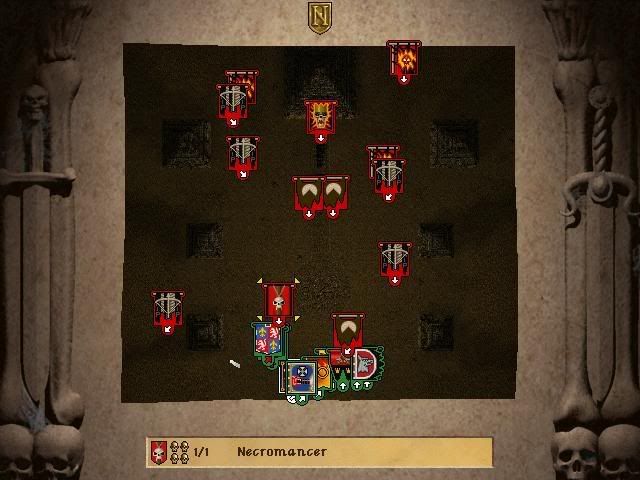
The enemy necromancer teleports to us, casts a "Fear" spell, and teleports out. He will do this very often and very quickly and teleport away very fast; it is very hard to nail him.
The Knights flee, afflicted with fear. Greatswords and Grudgebringers continue fighting the left mummies; the right mummies are still being held.
I forgot to take a screenshot of it, but as you can see, two new units of mummies attack from the left and right, even though we have not dealt with the first wave yet. I hope to avoid the left 2nd mummy unit while I trust my flagellants to be stong enough to deal with the 2nd right mummy unit.
The flagellants succumb to the mummies. They are dead now; nothing will bring them back. I keep on fighting.
The necromancer teleports in. Our ranged units fire, but even before the crossbows arrive at him, he teleports away.
I hope to destroy him with Ragnar's men, but just as they want to charge him, he teleports away again.
The mummies Ragnar caused to retreat regrouped and shamble towards our defensive position.
At last they perish. Fire and steel, steel and fire.
Stalemate. If we move in closer, the undead will most likely attack. And we will be in range of the catapults.
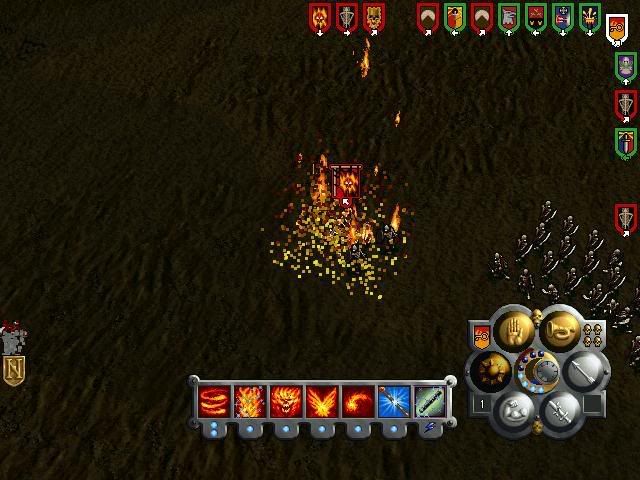
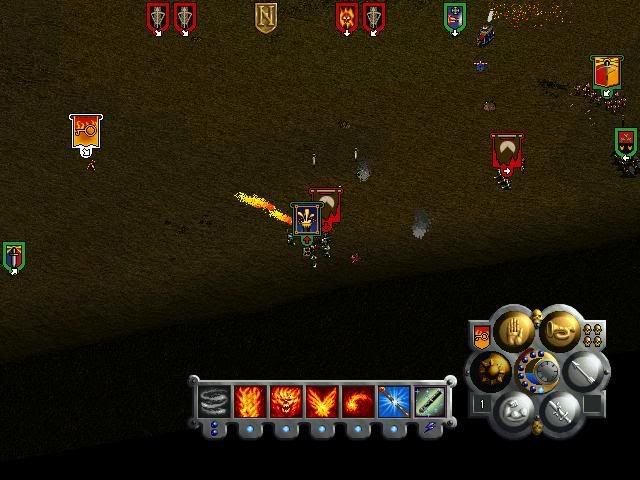
Luther has an idea: he teleports beyond the enemy lines, planning to...
...cast Firestorm on the stationary catapult and teleport away.
It worked very well. I feel like I can win this easily, despite the lost flagellants.
Then I see this. Four units of mummies, ten each. Level 3 each. All moving towards us. I am not sure if I can win anymore.
We attack with everything we have. Mortar, tank, fire magic, quarrels, bullets, magic storms and fireballs... but the undead just keep moving.
The battle will be lost if the mummies reach our line of mortar, tank, crossbows and pistoliers, so I throw every man who can still fight against the mummies to hold them back.
My mortar fires right into the melee between Grudgebringer Cavalry and mummies. We lose seven men at once. I have no excuse.
The knights of the realm gave their life to keep the mummies from reaching our defensive line. And now they are gone.
Two cavalrymen left. When you lose this unit, it is game over. The last mummy of this melee dies and only Commander Bernhardt is left standing.
He retreats to the south-west corner of the map. I do not want to risk a game over, even though we are severly wounded at this point.
The greatswords do amazingly well, but eventually, they have to flee the mummies. Before they decimate the troops, the mummies are charged into their backs by the reliable Ragnar's Wolves.
Ragnar saved the greatswords.
Regrouping, catching breath.
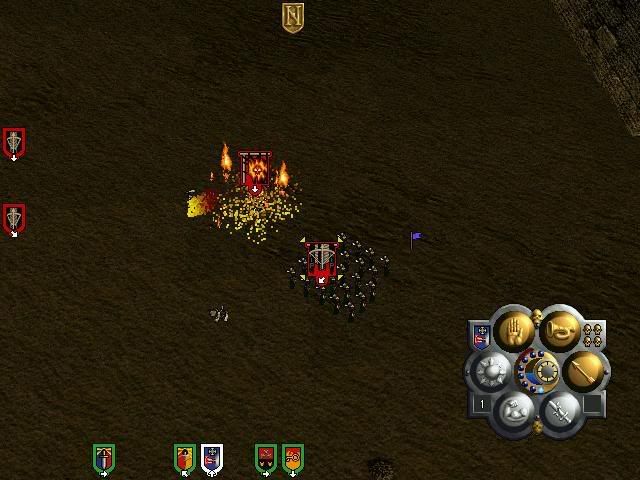
Luther lights another catapult of the undead ablaze.
And with that, the Dread King marshes upon our position.
I heard many stories of the steam tank running over the Dread King so I try doing this.
Chaaarge!
Dread King: Chaaaarge!
He is unharmed by the tank. I timed it wrong. And then he suddenly drops dead. I have no idea what happened. Either my pistoliers got lucky or the Dread King got run over by the tank, but died 10 seconds AFTER charging the tank and already being way past it. I do not complain.
I pause and catch my breath.
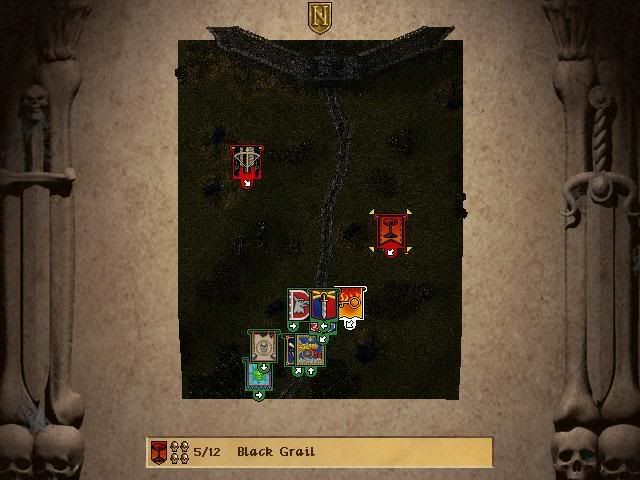
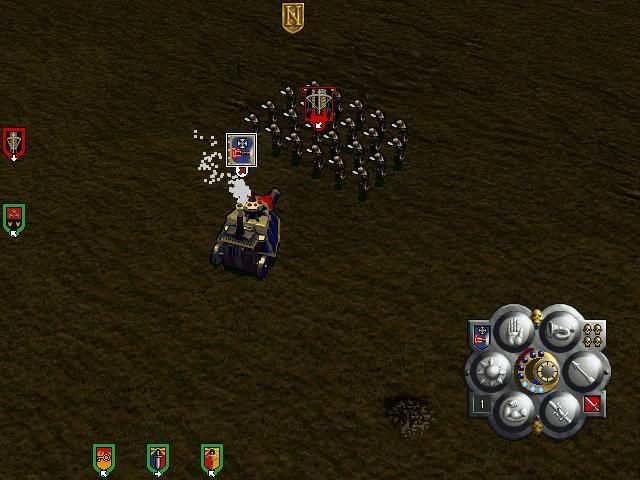
And then Ii notice the Dread King's royal guard marching towards us. Twenty mummies, and the only troops we have left are a handful of greatswords and Ragnar's men.
I try to run them over with the tank (use "Charge"), but miss again.
Since I didn't plan on missing them, my mortar is undefended aside of Ragnar and the swords. Both die. A quiet death; not even a screenshot of it. Prepare to see these mortar men die too. There is nothing we can do for them, now that the mummies are upon them. They are doomed.
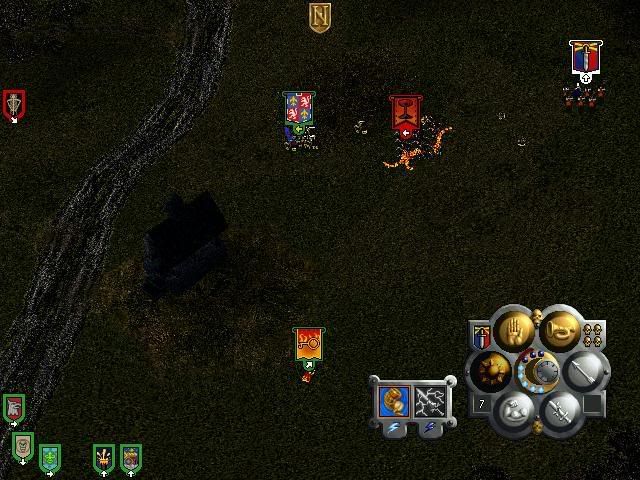
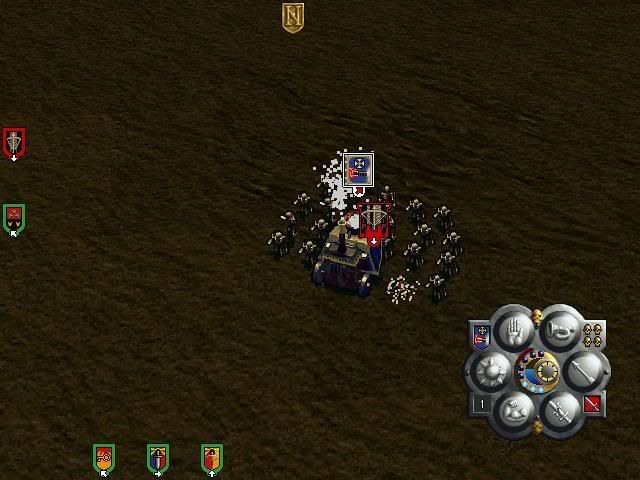
I desperately try to destroy the mummies using all I have left.
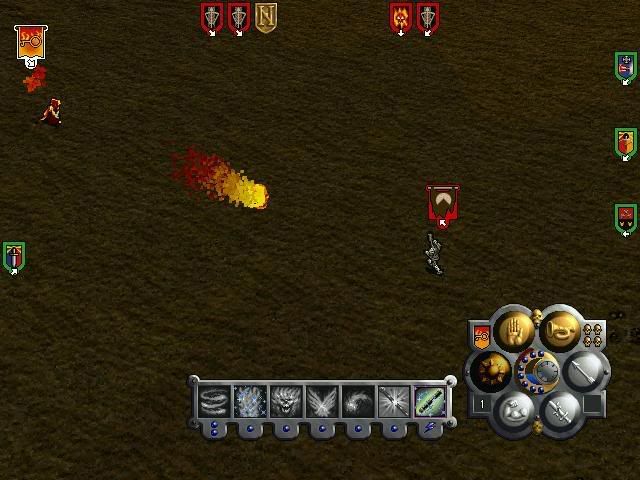
The Bright wizard tosses fireball after fireball, igniting one mummy after another.
Meanwhile tank, crossbows and pistoliers fire desperate last flurries against their own unit of mummies. With success! Soon they perish.
Now it is just wizard versus mummies.
No mercy.
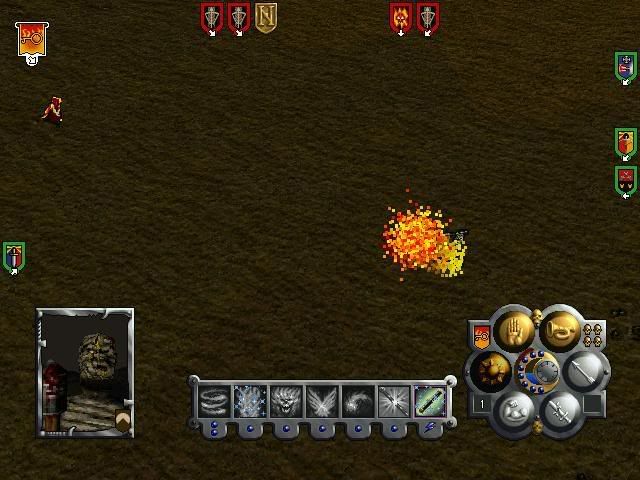
And with that the battle is won. All that is left is cleaning up the survivors using the wizard and the shield of Ptolos protected pistoliers.
Here are some impressions of the cleaning up:
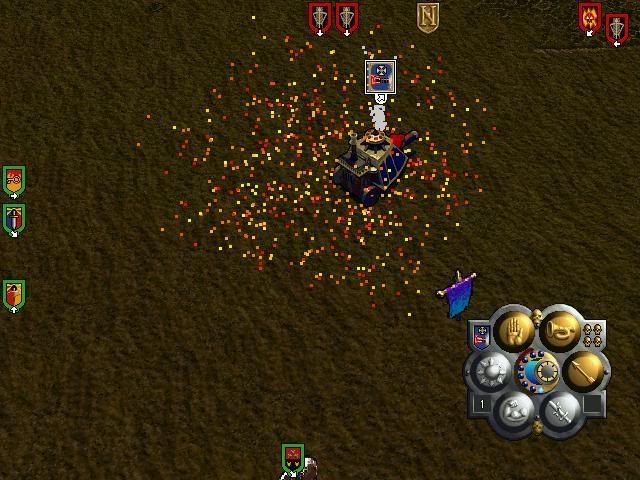
Steam tank being directly hit by a catapult. Yet it moves on.
Catapult, ablaze.
Finally I manage to run an unit over. Too late, alas. Far too late.
It is done. Survivors pictured. Everyone else is dead. Flagellants, dead. Knights, dead. Mortar crew, dead. Ragnar's men, dead. Greatswords, dead. They are all dead.
---
The battlefield was a raven's feast, littered with the lifeless bodies of the fallen. The scent of blood, smoke and death lingered in the air, disturbed by the cries of the wounded and the dying.
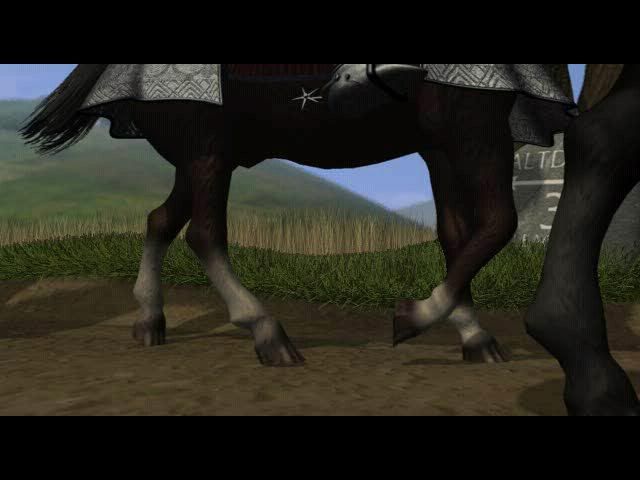
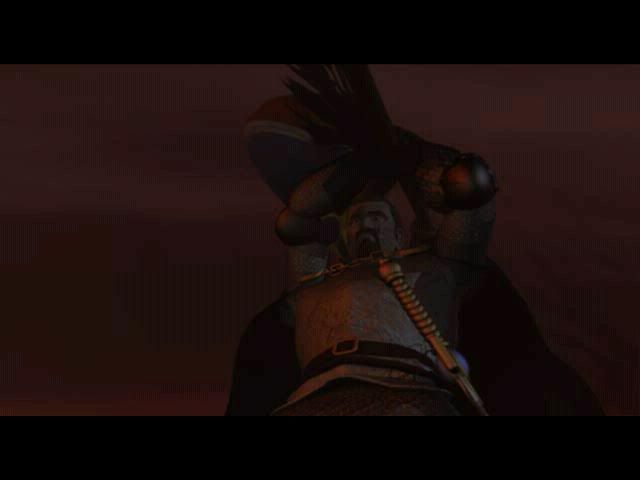
Morgan Bernhardt was the only survivor of the once so proud Grudgebringer Cavalry. His horse, wounded fatally, carried him into safety when it was looking like the undead hordes would win. Then it was gone. Bones shattered under his heavy footsteps.
In front of him lay the Dread King; legendary figure of myths and old fears. Now he was wounded and helpless, his armor penetrated by the bullets of the trusty pistoliers. His unholy breath went slowly, needlessly. The living dead do not have lungs.
Commander Bernhardt raised the banner the troops had fought under - the banner of the Grudgebringers.
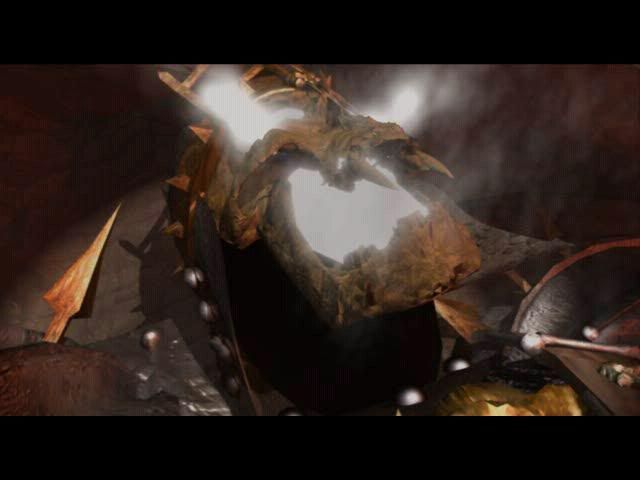
Its pointy tip jutted deep into the Dread King's unholy flesh.
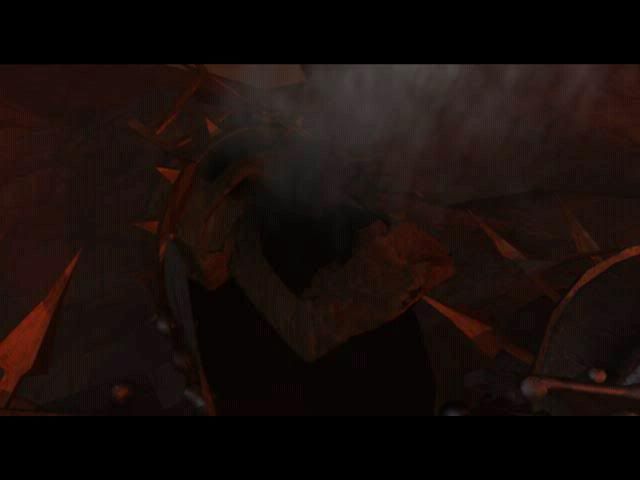
And then he was gone.
-- The End --