Endemic
Arcane
- Joined
- Jul 16, 2012
- Messages
- 4,474
Update 14 - Chapter 2-2 - Combat Training
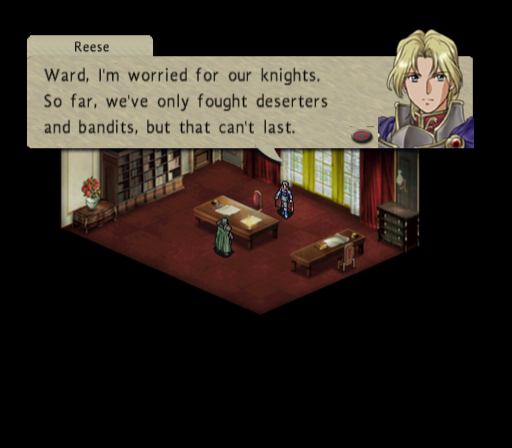
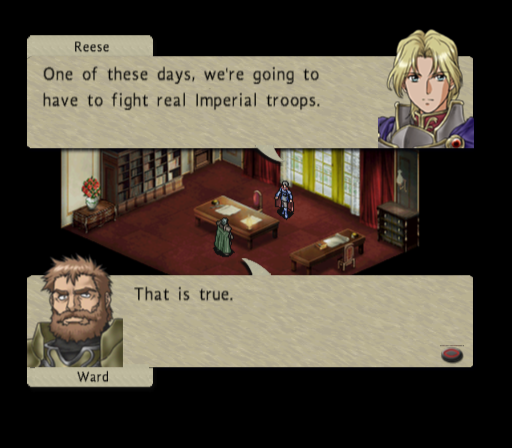
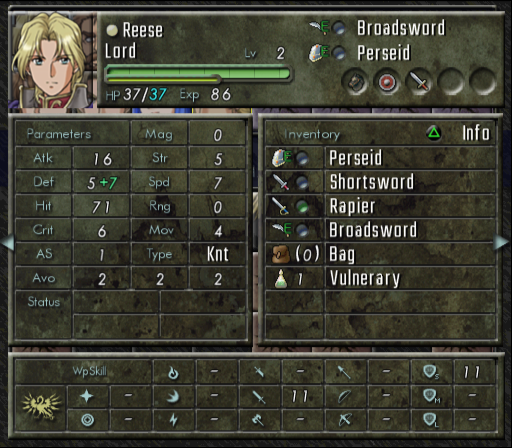
Reese: We need to be stronger, Ward. It pains me to say it, but we're not even close to experienced enough.
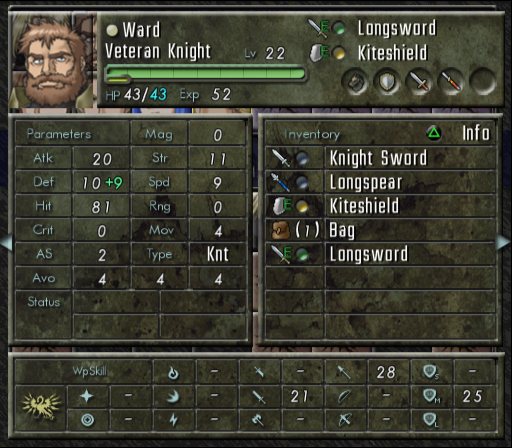
Ward: In that case, do you want to hire more mercenaries to supplement our troops' abilities?
Reese: That won't fix the issue, though. We need them to get some quality, hands-on training against the Empire. I was thinking of organising a group of soldiers for a special mission.
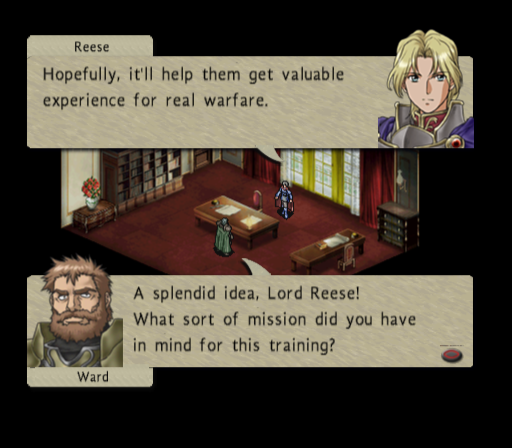
Reese: I just received intelligence from Duke Roswick that an Imperial supply camp was recently established north of here. It's only a half-day's ride away, and it is apparently poorly guarded at present. I personally asked the Duke to let our soldiers handle the mission of destroying this base.
Ward: Are you certain you want to entrust this vital mission to our inexperienced knights, milord?
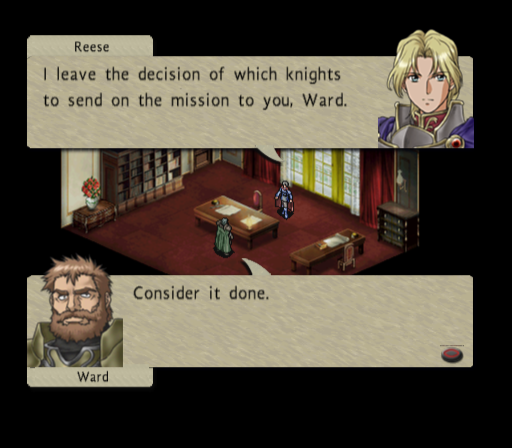
Reese: The circumstances are not ideal, since His Majesty may also hand down additional orders to us at any time...and if that happens, we won't be able to fight at full strength for as long as our soldiers are away.

Reese: Thank you. Besides, it'd be hard to back out of this after specifically asking for it...
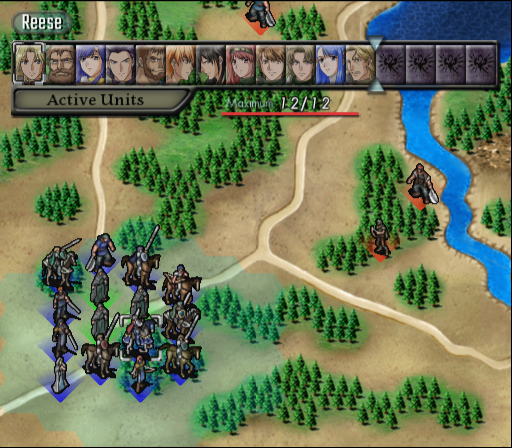
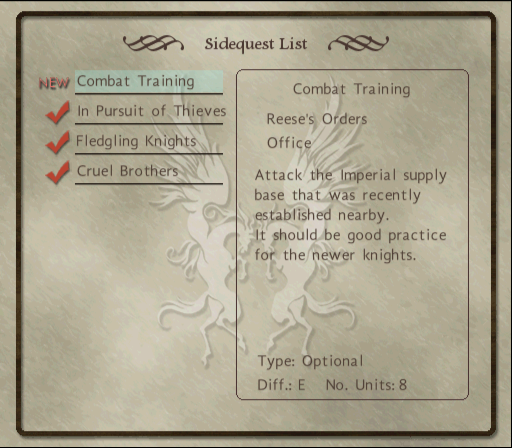
The limit is 8 units for this mission:
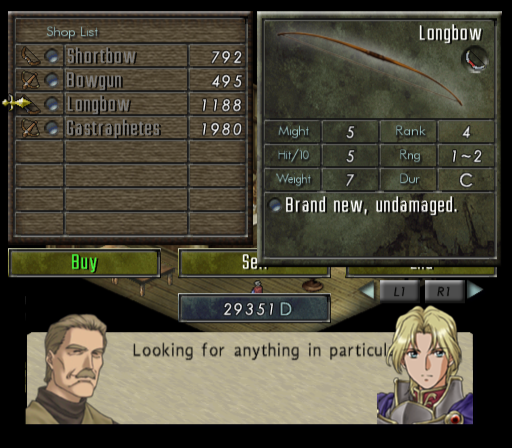
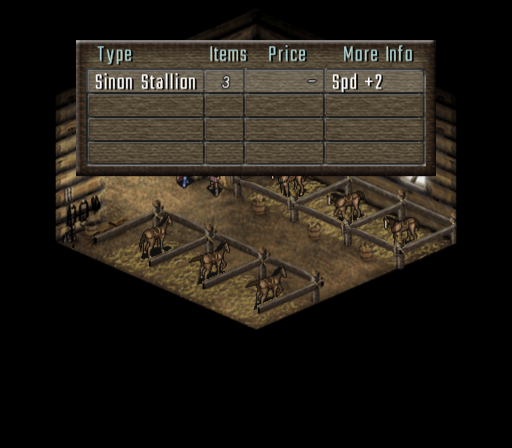
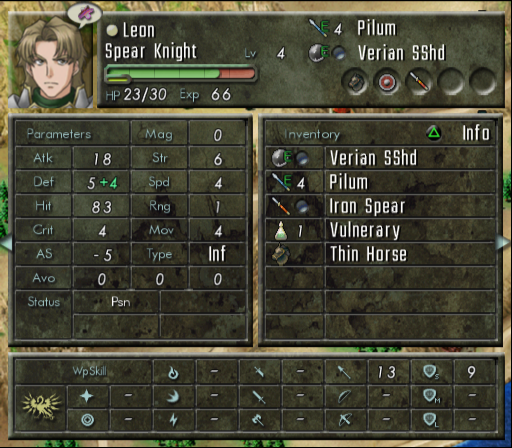
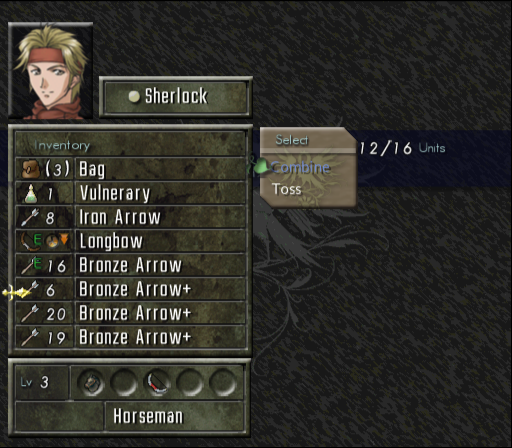
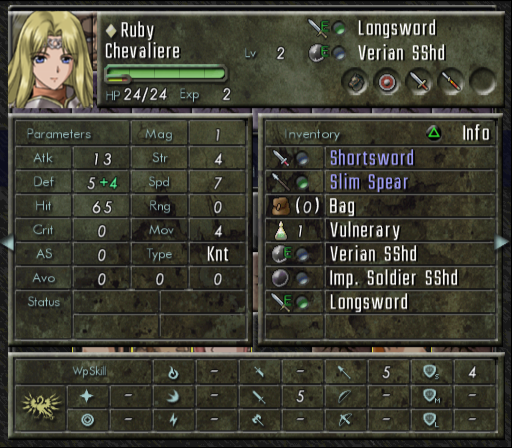
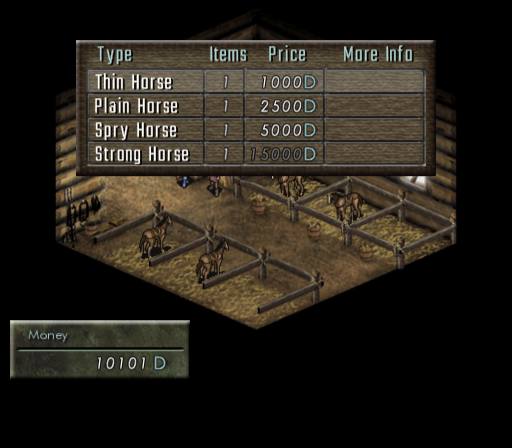
I buy a thin horse to give to Ruby, since I'm saving the good Sinon ones for chapter 3.
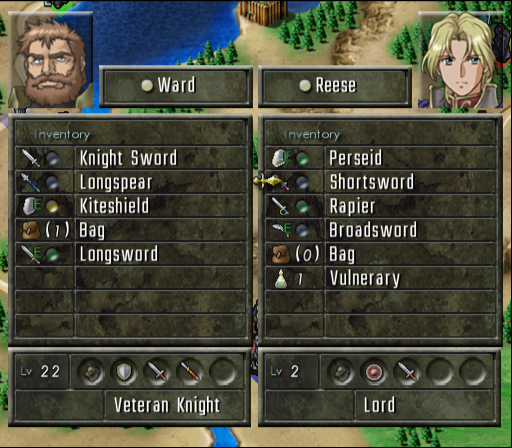
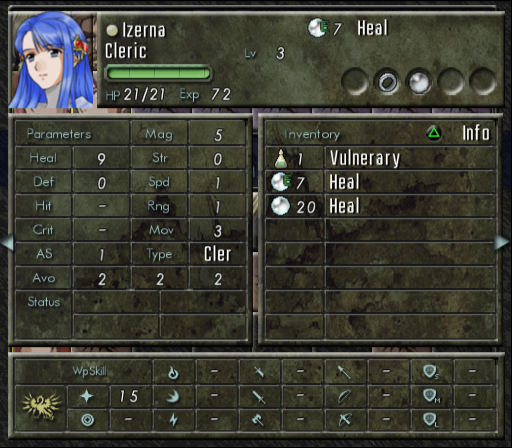
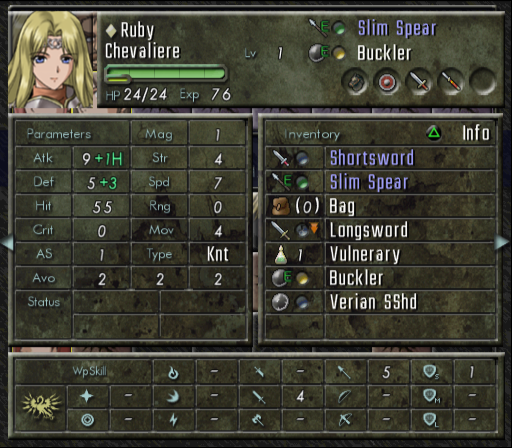
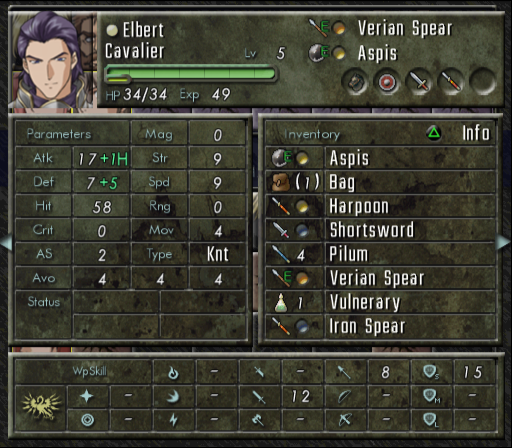
After some shuffling and inventory management, we're ready to depart:


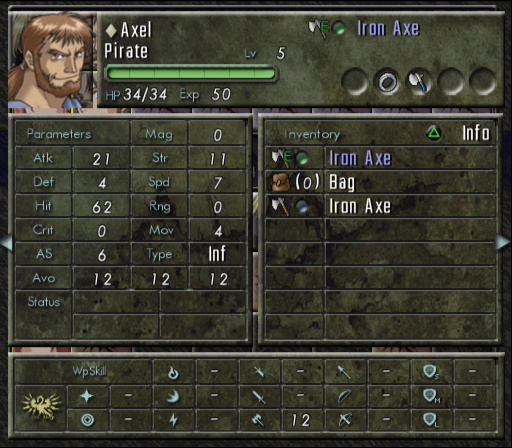
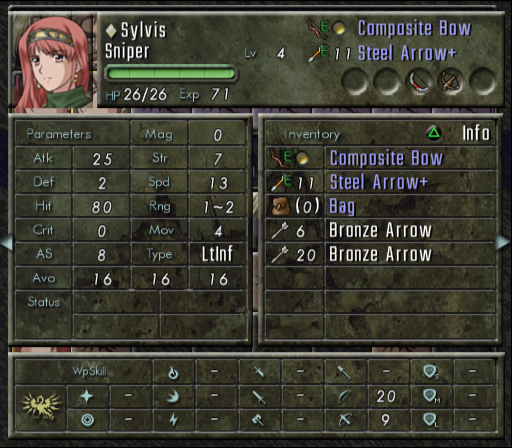

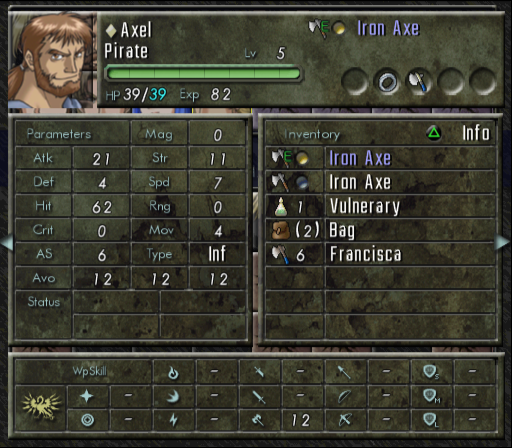
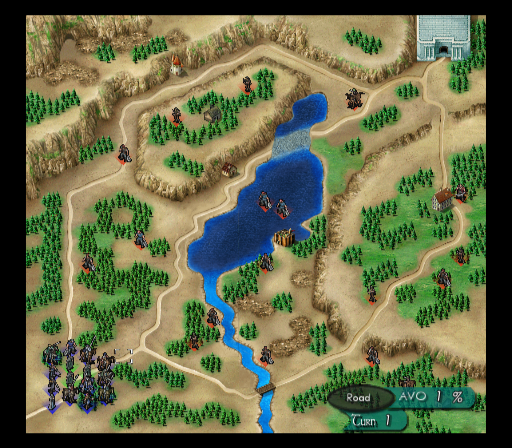
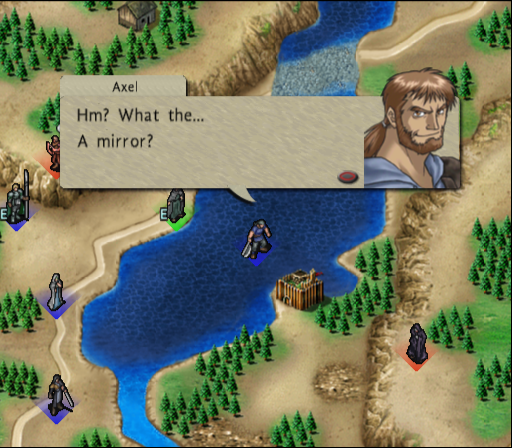
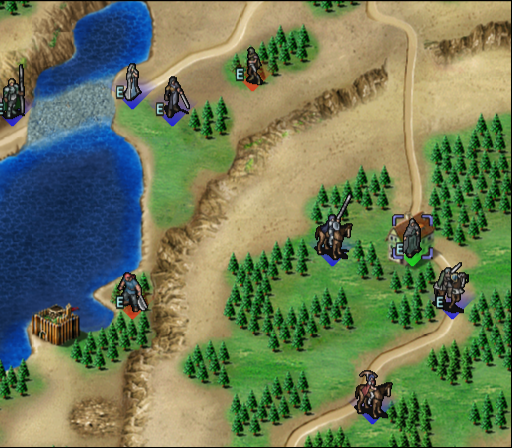
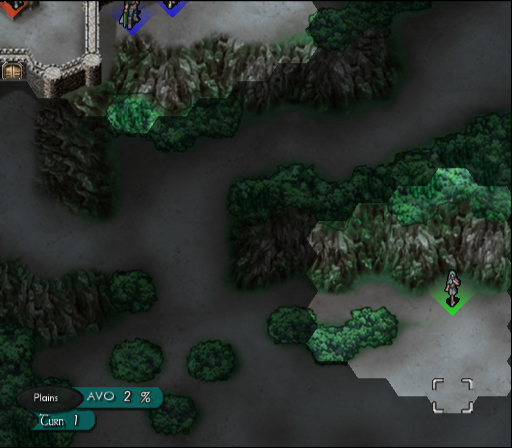
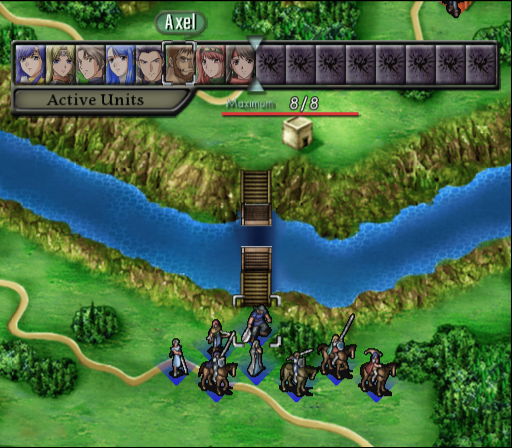
Looking at the map, it's a good thing I brought Axel along:
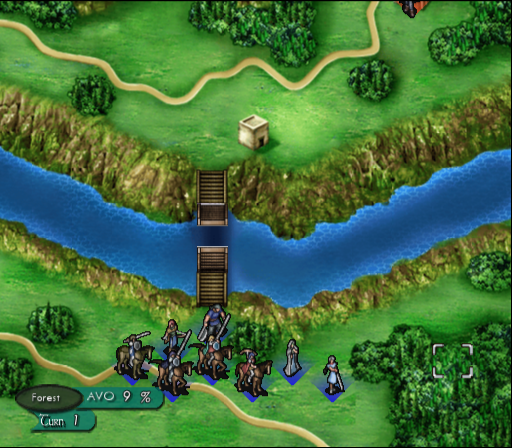
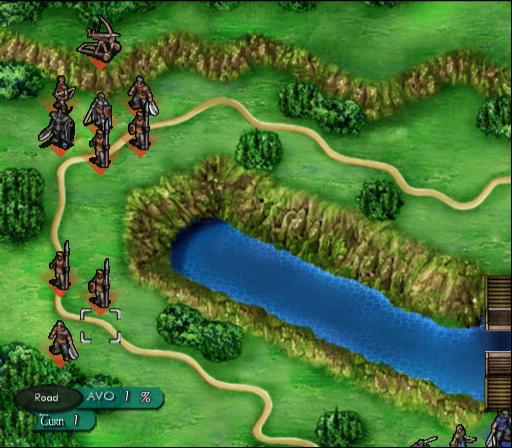
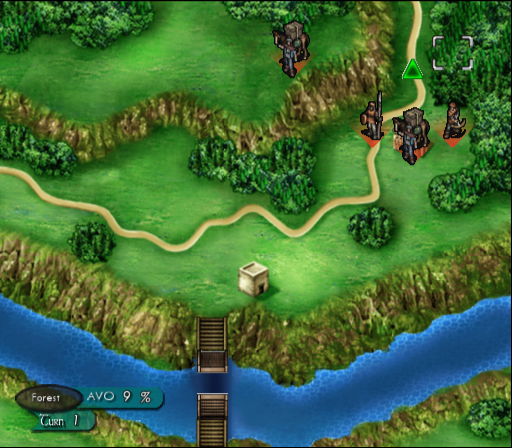
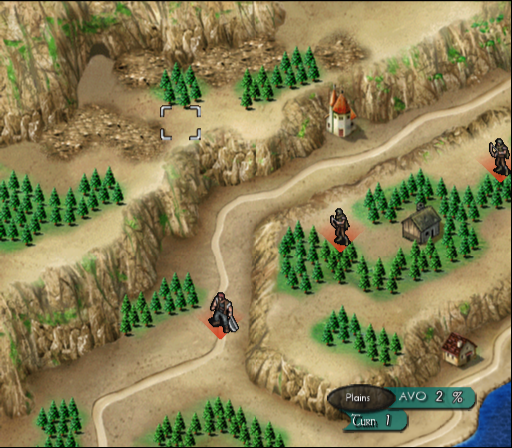
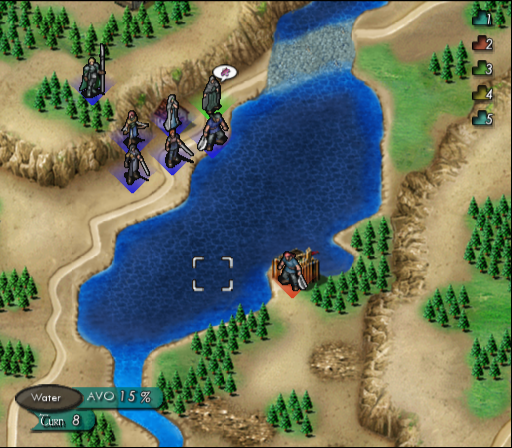
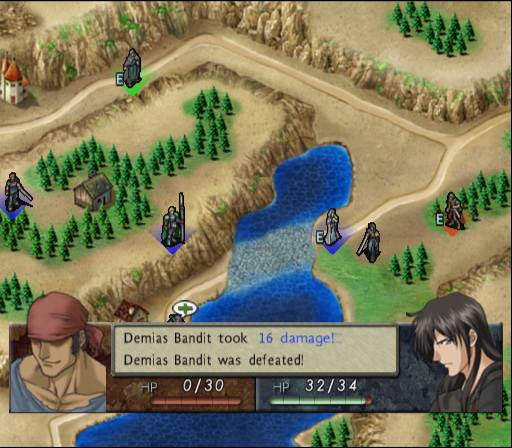
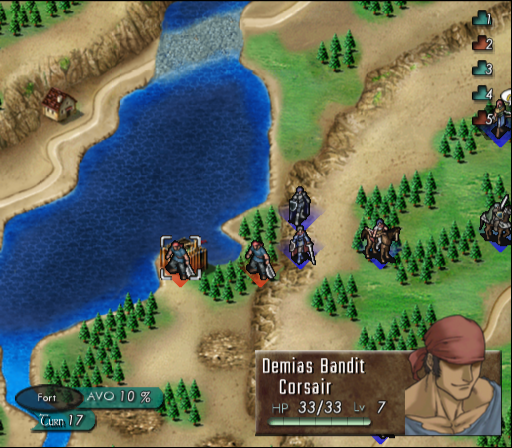
Rather than charge headlong into the Imperial troops and ballista guarding the road, I'll have Axel swim across the river to lower the bridge for everyone else to follow. Taking out the caravans swiftly would be a good idea, because one is carrying repairstone:
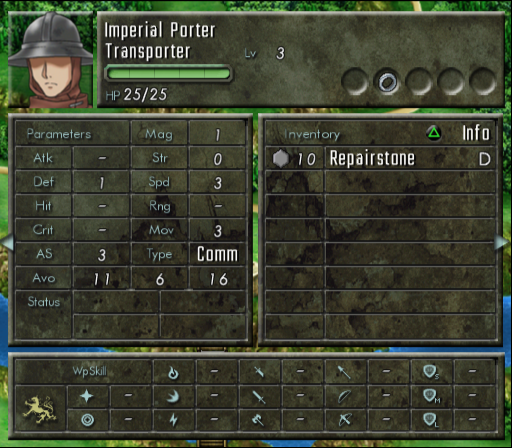
The other is carrying bolts for the ballista, which currently doesn't have any ammunition:
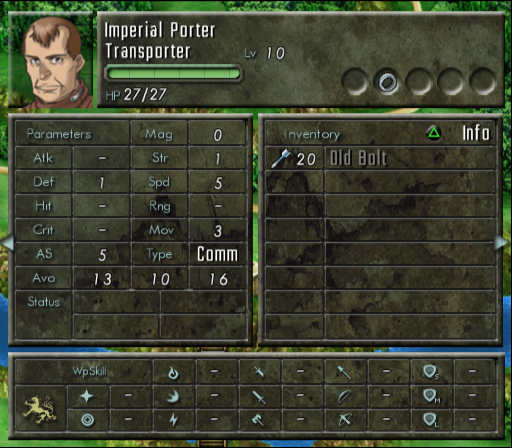
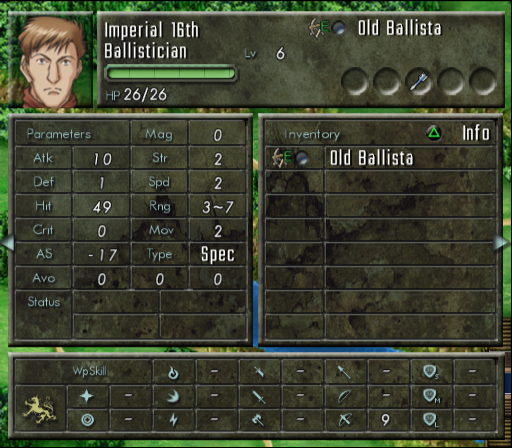
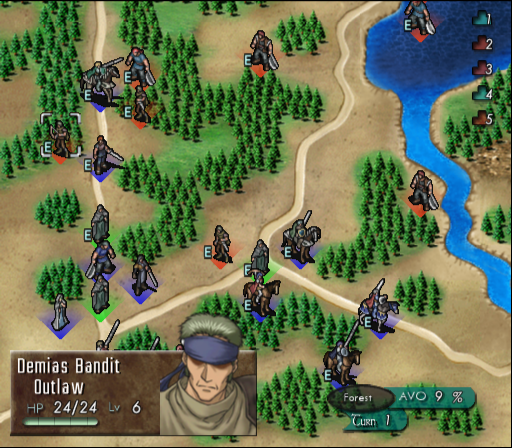
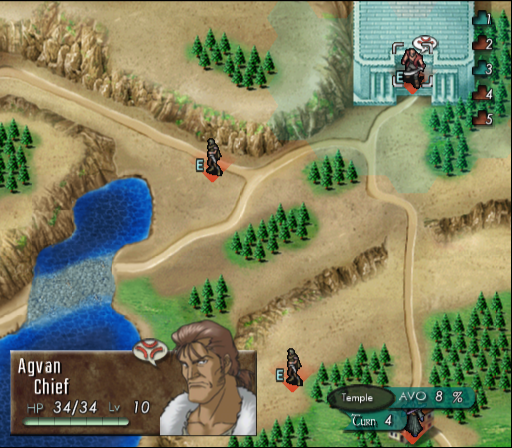
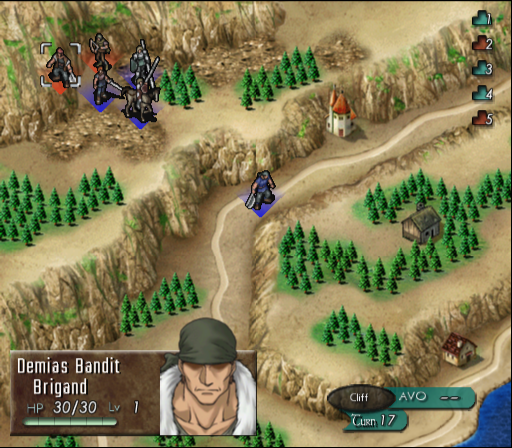
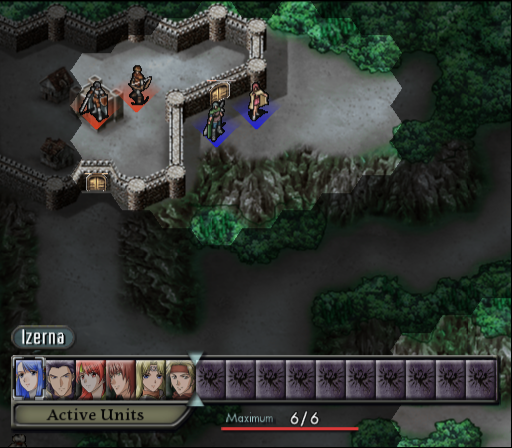
Hamilton, the enemy commander, is a bit tougher than the other troops here:
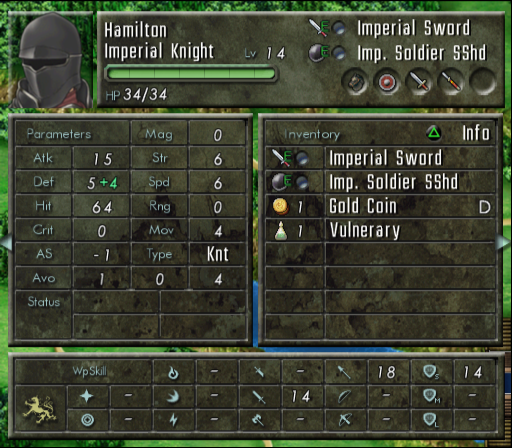
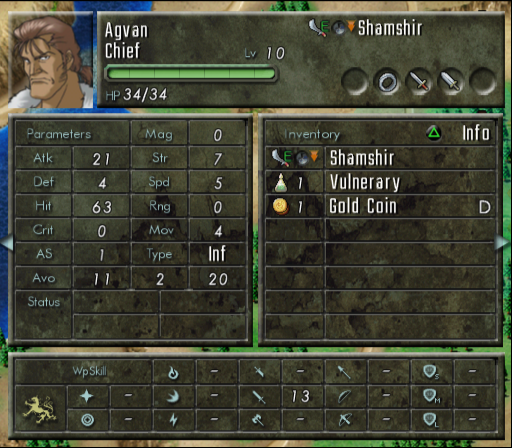
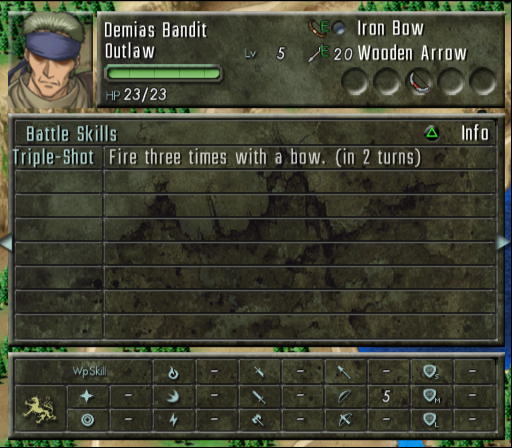
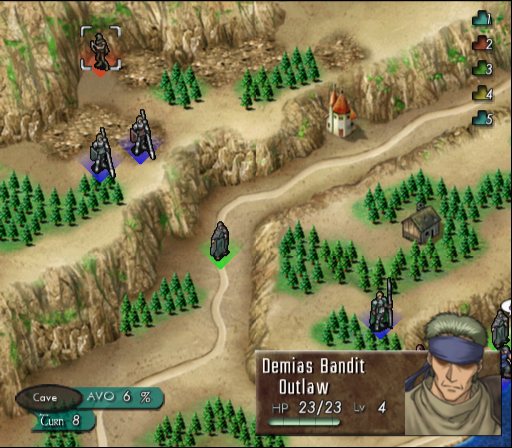
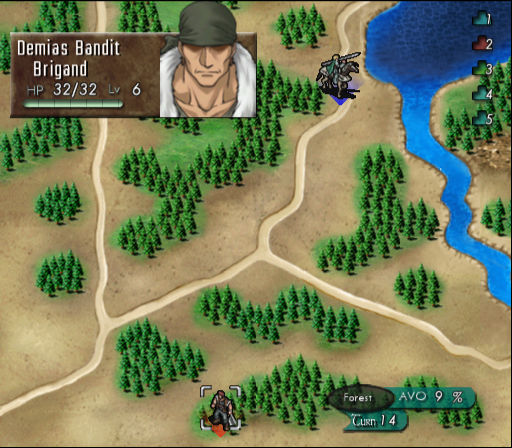
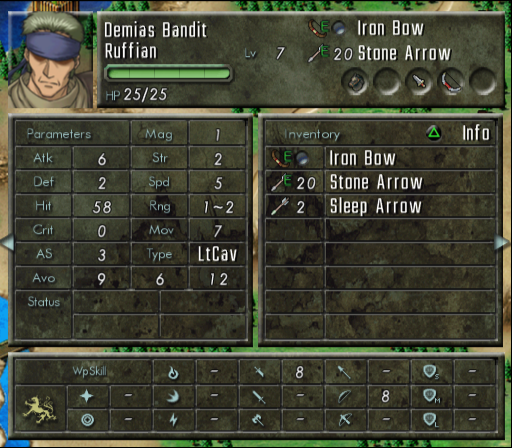
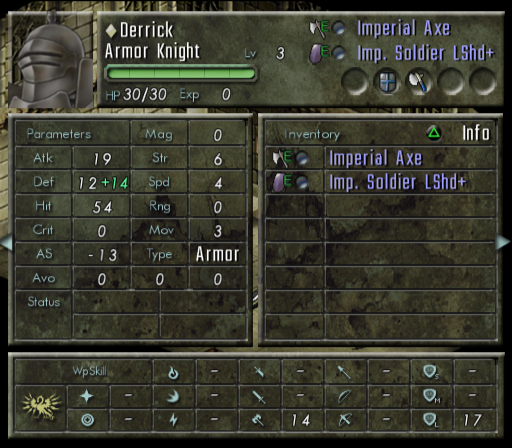
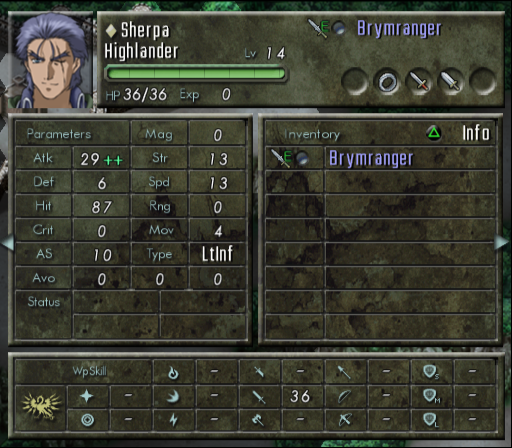
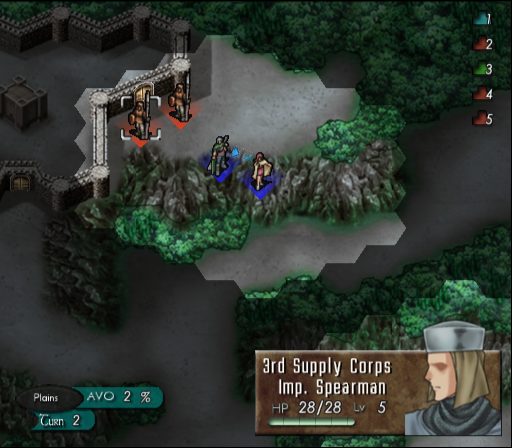
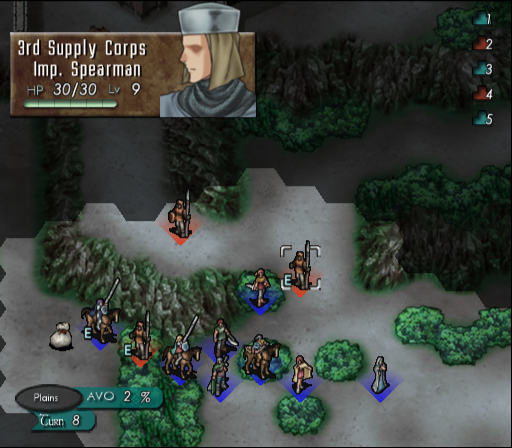
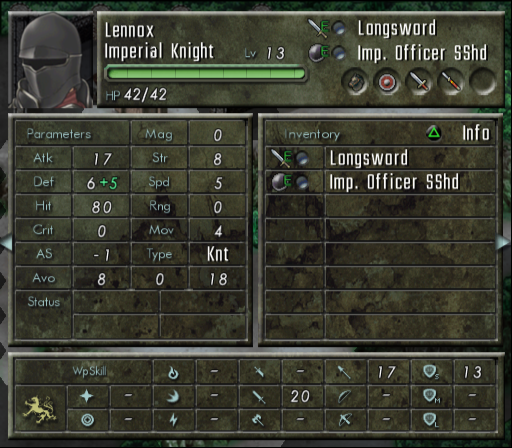
Let's take a closer look at the heavily armoured guy:
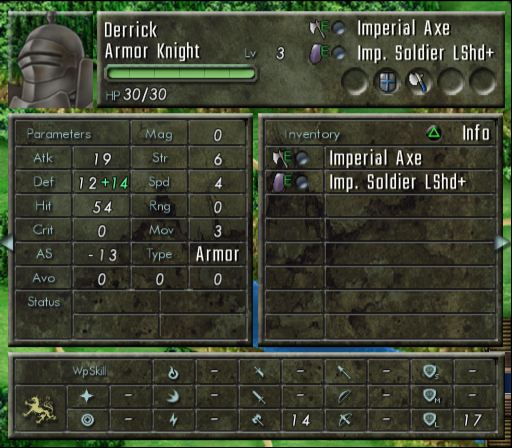

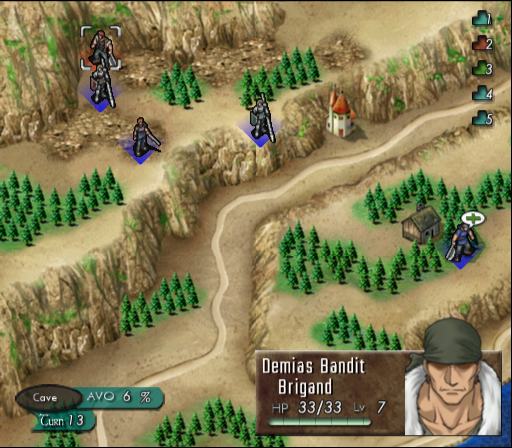
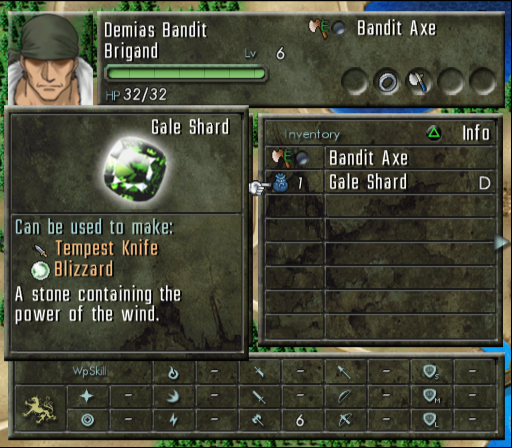
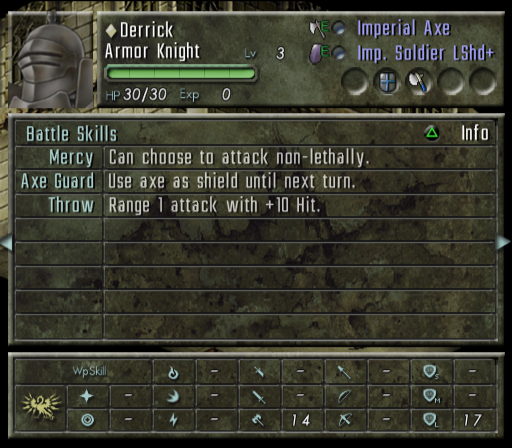
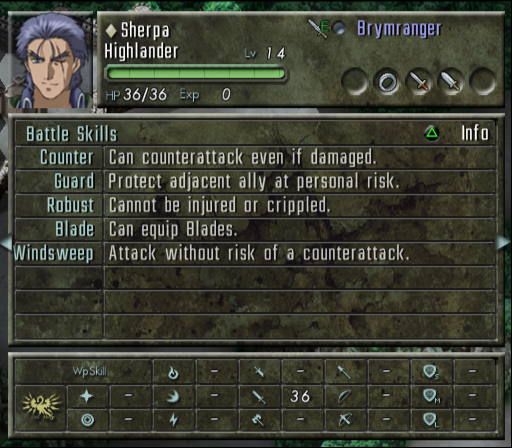
I wonder why he has the Mercy skill...I'll keep an eye on his behaviour during the battle.
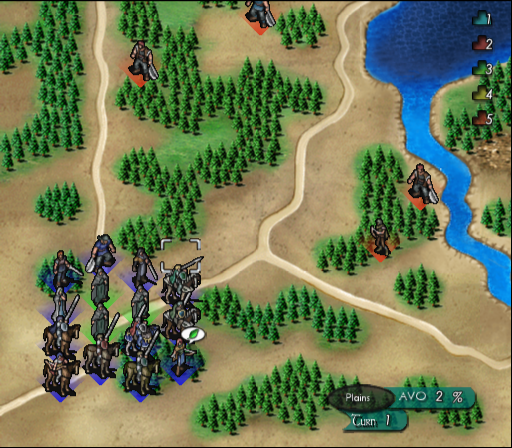
After some repositioning of units, it's time to begin the operation:
We get to listen in on a conversation at the supply base:
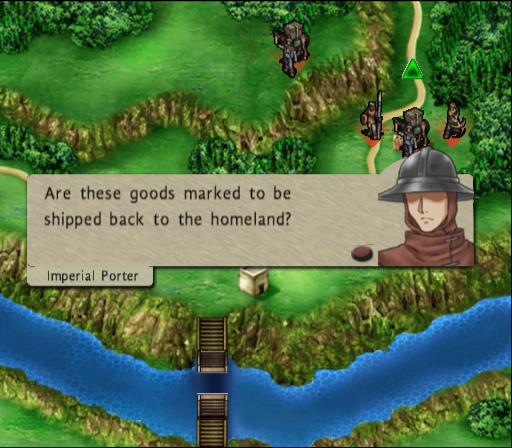
Clerk: That's right. I'll work on getting them loaded onto the wagon for you. It'll take me a little while, though.
(The player is told this will take 5 turns)
Imperial Porter: Guess I'll have to wait. I'll keep watch until you finish loading them.
Clerk: Oh, and take good care of this special stone!
Imperial Porter: This rock? What's so special about it?
Clerk: That's a Repairstone, a product of the alchemy they practice here in the Duchy of Narvia.
Imperial Porter: "Alchemy"? Interesting... what does this stone do?
Clerk: It's used to repair weapons and equipment. Seems to be some sort of magical technology they've invented here. Although who knows how well it actually works... I wanted to try it myself, but that was the only repairstone I could get my hands on. Hopefully this'll be able to help with the war effort.
Imperial Porter: Incredible... once we figure out how it works, it'll be an amazing leap forward! I'll make sure it gets to the homeland safely.
Clerk: Thanks. Oh, I should get back to it.
Imperial Porter: Right, right... sorry for distracting you.
Clerk: No worries. Now, let's get this stuff loaded...
Meanwhile, the troops guarding the road are also talking with each other:
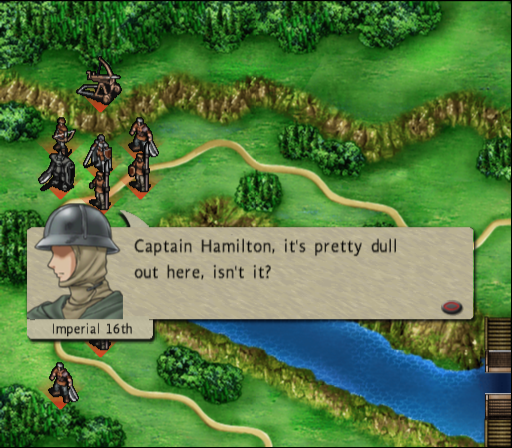
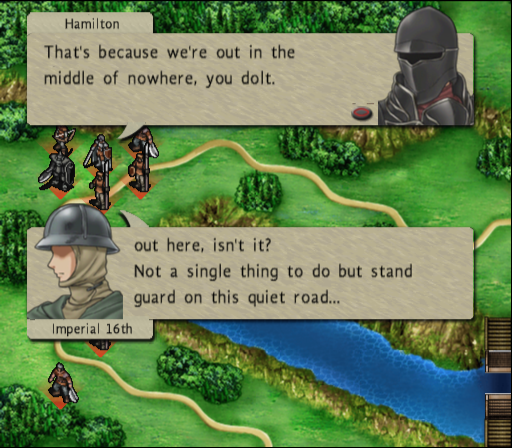
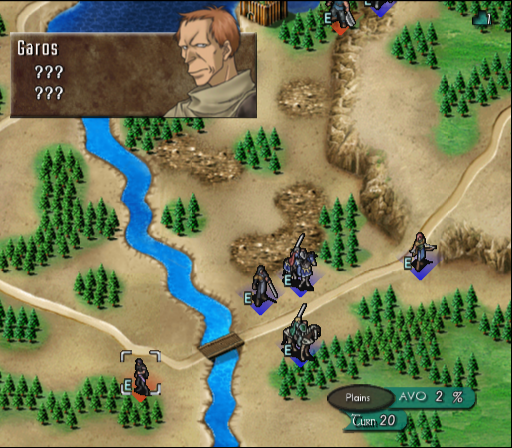
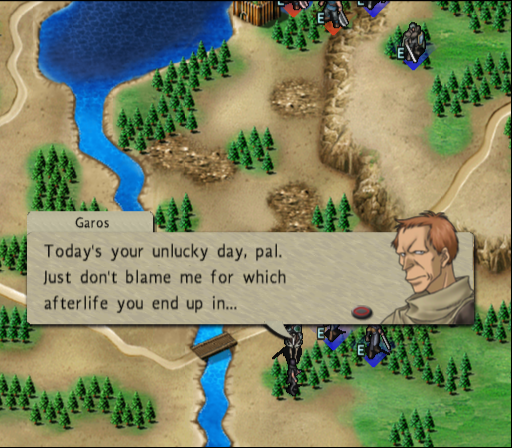
Hamilton: If things stopped being quiet, then we'd be in real trouble. Or do you mean to say that you would rather be fighting alongside your brothers at the front line? If you do desire, you may submit a transfer request to the front.
Imperial 16th spearman: N-no thank you, Captain...but regarding our stations, is it wise for us not to be near the bridge?
Hamilton: With the drawbridge raised as it is, this road is the only path to camp. There's no need to have anyone at the drawbridge station if the enemy won't be able to get that far. Anyone who wants to get across the river will have to get through us first.
Imperial 16th spearman: Oh, I see. Understood, Captain!
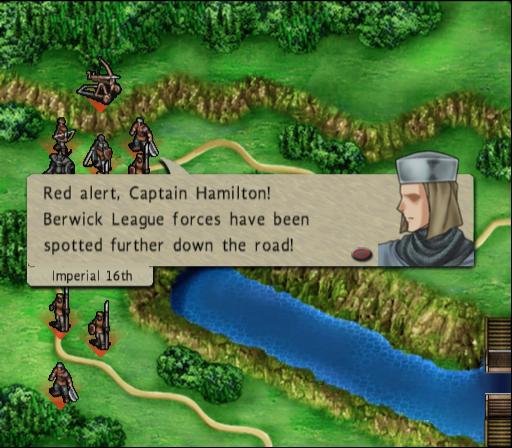
Hamilton: You had to tempt fate, didn't you? Don't stand there like an idiot! Take up defensive positions!
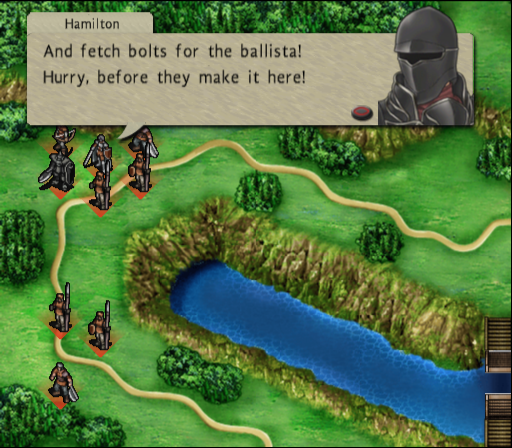
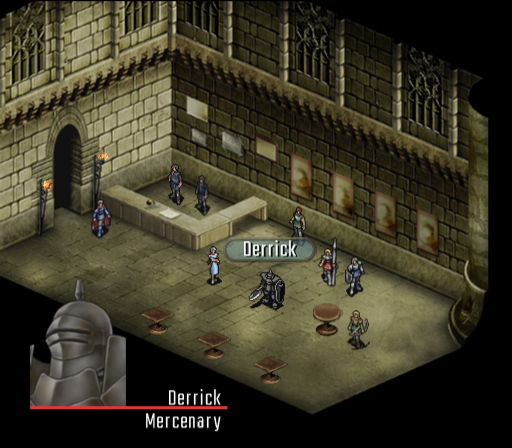
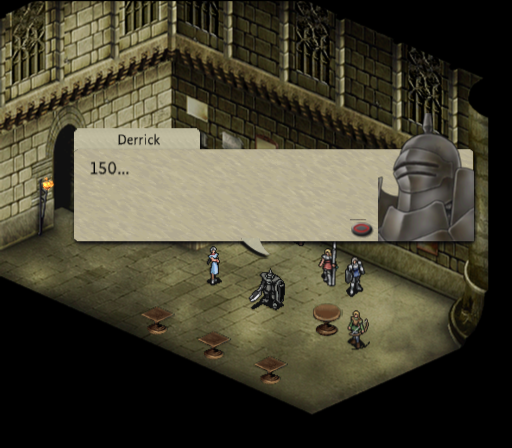
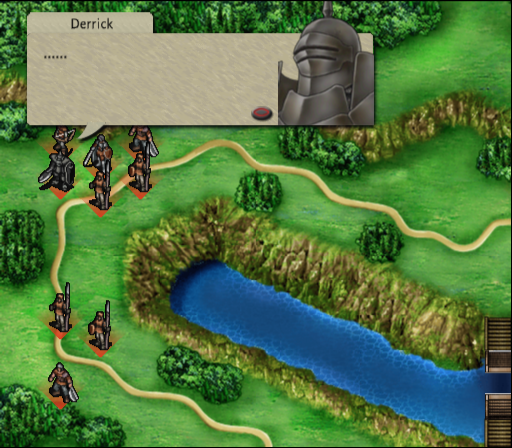
Hamilton: You there, armoured boy! Derrick, wasn't it? Get your arse in gear! You may be slow, but you can at least throw yourself at the enemy to buy the others some time!
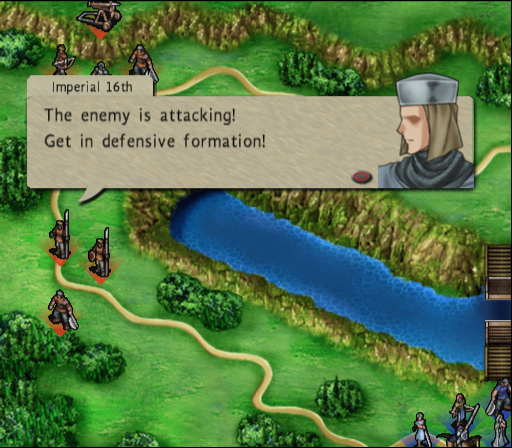
Imperial 16th spearman: Those Berwick League bastards...why would they come here, of all places?!
The soldier next to him responds:
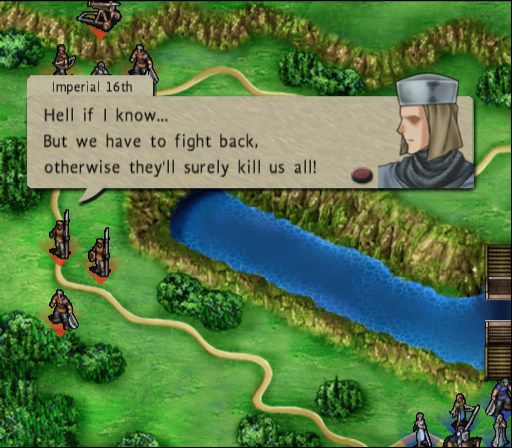
This does seem like a lot of "average Joe" dialogue at the start of a mission, but it does a good job of giving us some insight into the soldiers on the other side of the war.
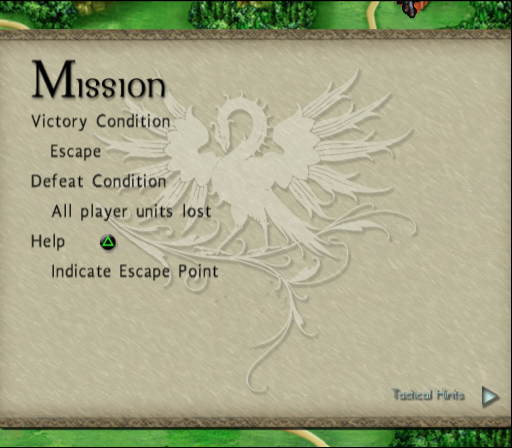
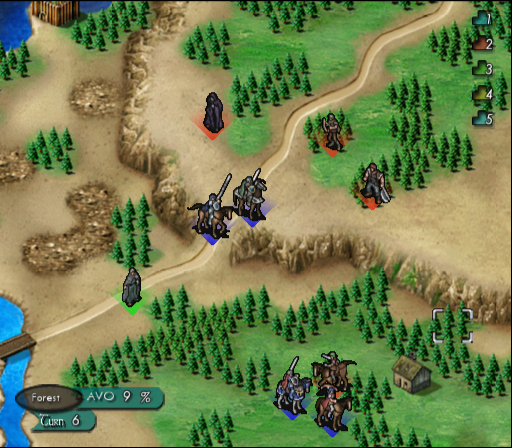
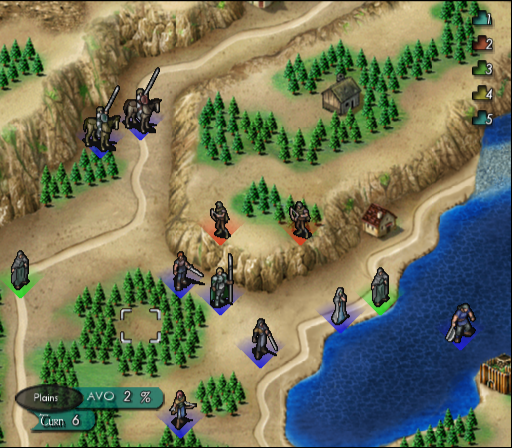
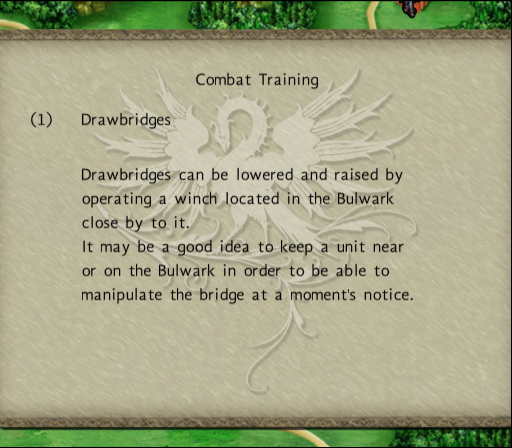
While the objective says we can just leave the map by the indicated exit point, I'm going to stick around to take out all of the Imperials. A quick note on drawbridges:
I send Axel across the river, but he'll need a second turn to reach the bridge controls. The rest of my units stack up at the bridge.
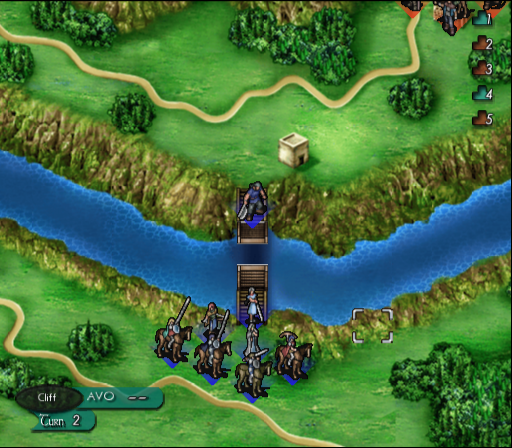
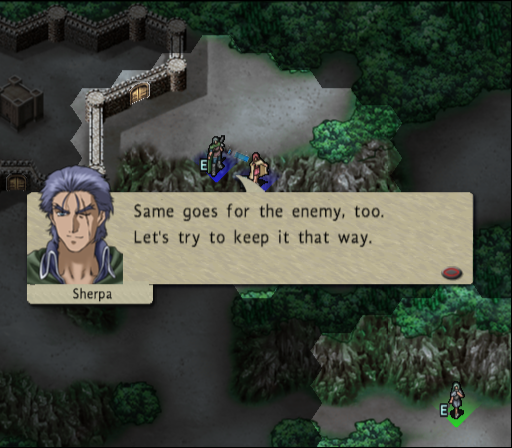
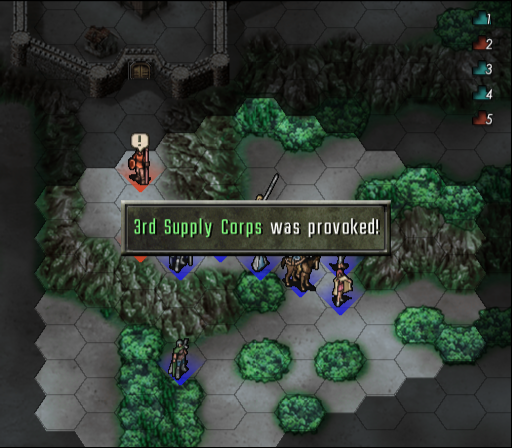
The Imperial troops have held their ground, except for Derrick:

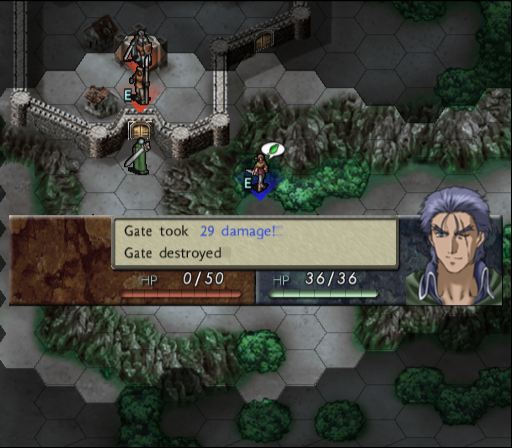
To start off turn 2, Axel lowers the bridge.
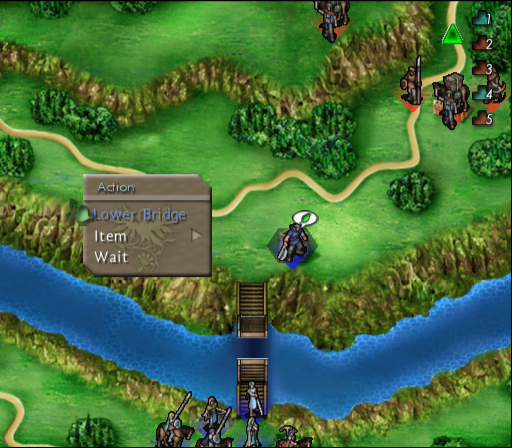
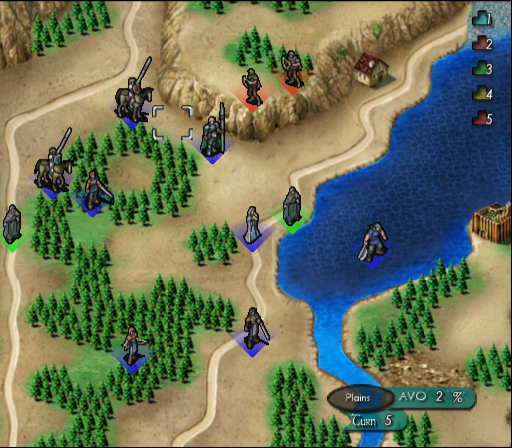
Faye moves across first, followed by Arthur, Elbert and Christine. Izerna goes up next, while Sylvis and Ruby form a rearguard.
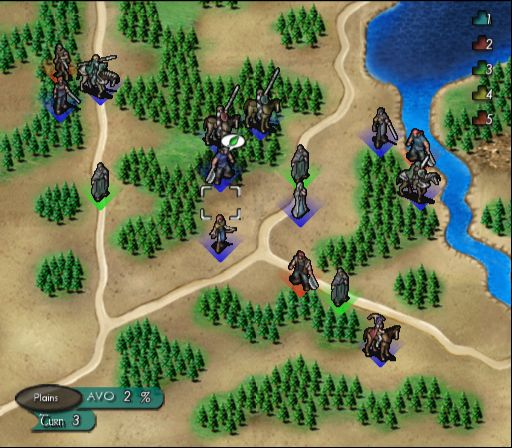
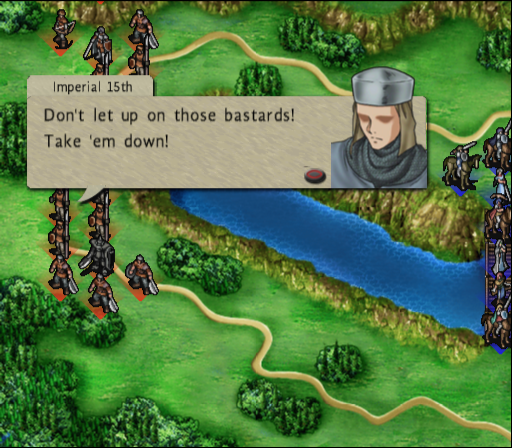
At the beginning of turn 3, numerous Imperial reinforcements arrive from the west and south:
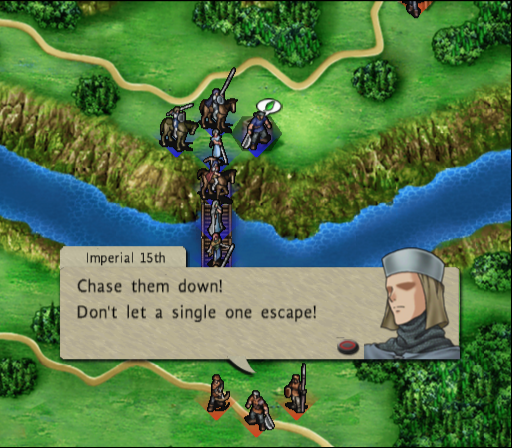
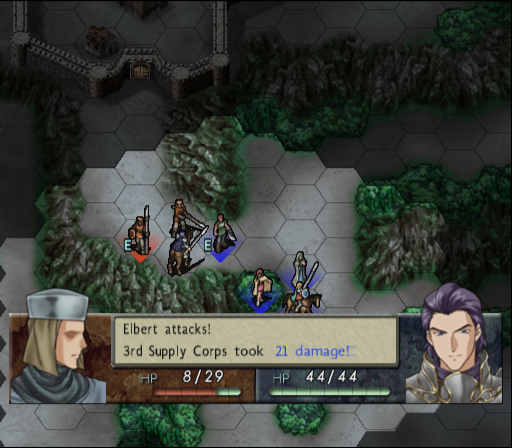
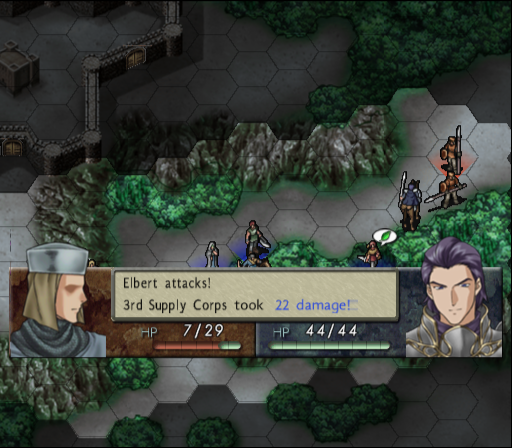
I send Elbert forward to attack the supply caravan:
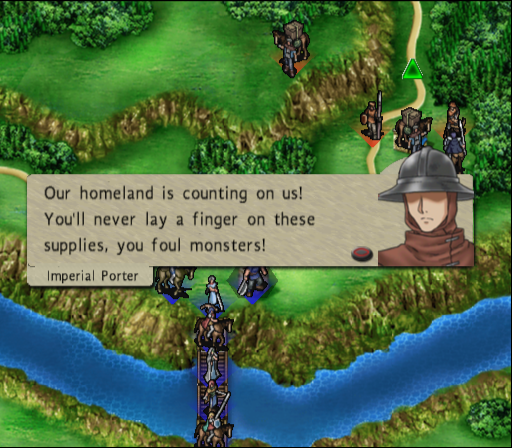
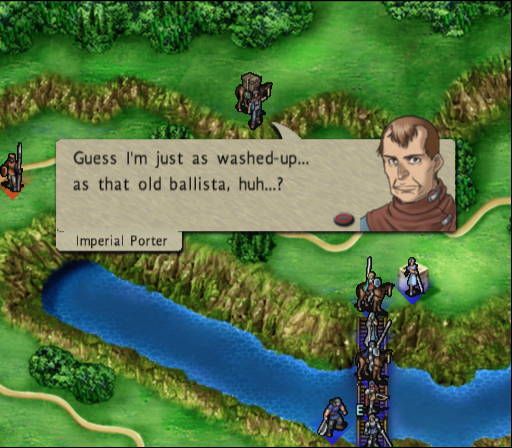
The caravan with the ballista bolts starts moving.
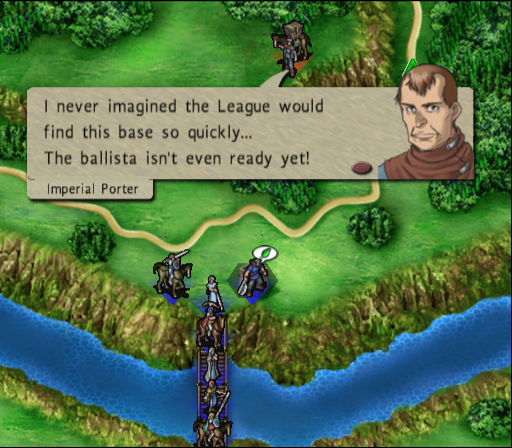
Imperial Porter: Guess I'd better get a move on. That old piece of junk's even more worthless without these bolts...
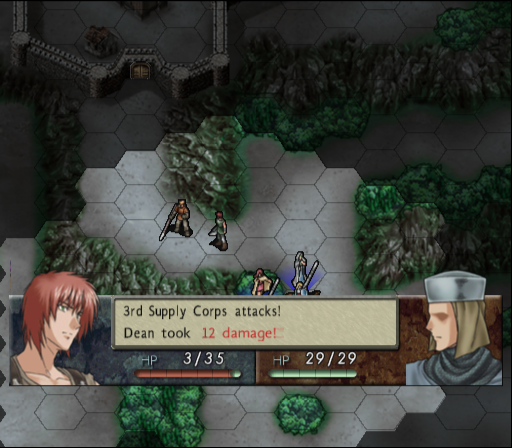
A nearby crossbowman goes after Elbert:
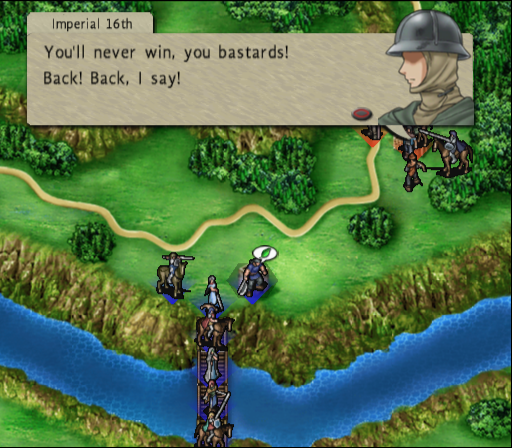
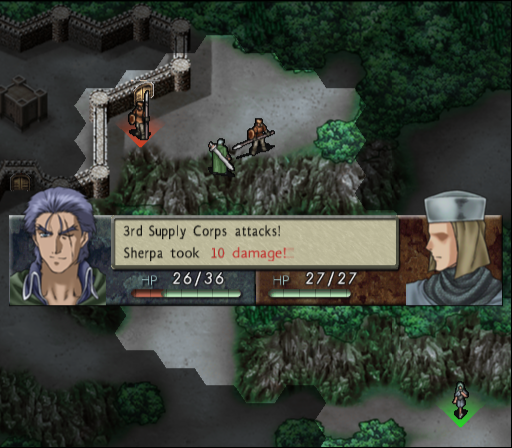
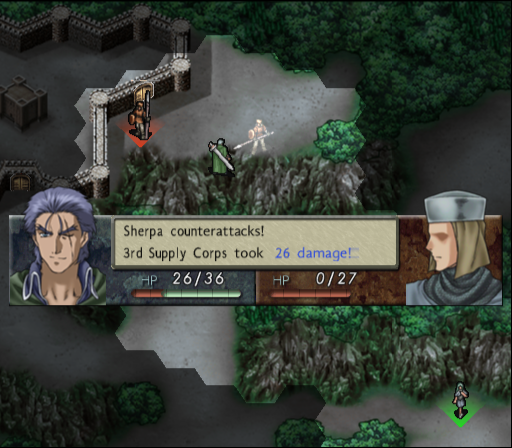
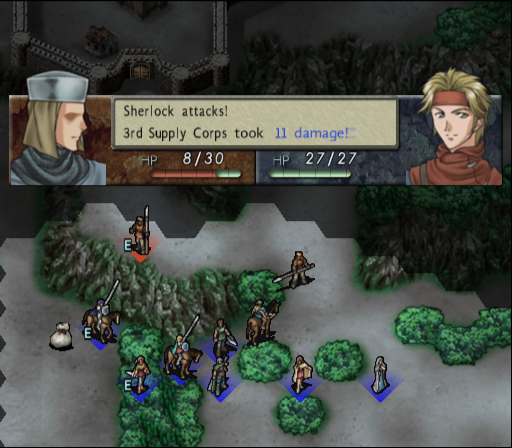
He fails to hit. However, the spearman does manage to inflict some damage:
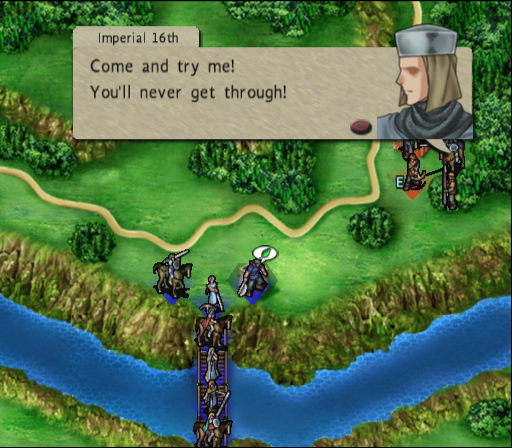
Christine is tasked to attack the caravan on the cliff with a longbow, but is unsuccessful.
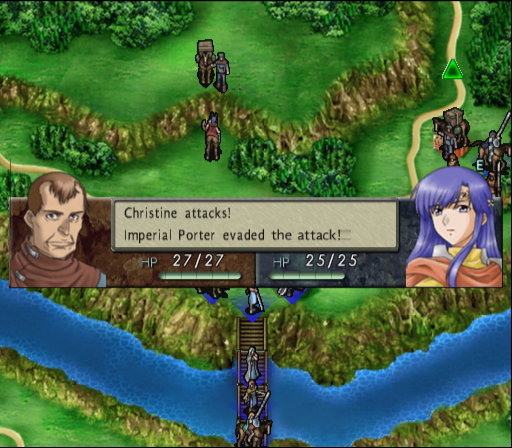
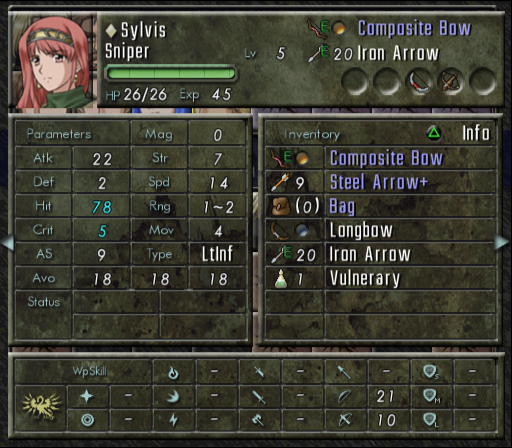
An axeman in the south goes after Ruby, but misses, as does her counterattack. Sylvis takes aim at him:
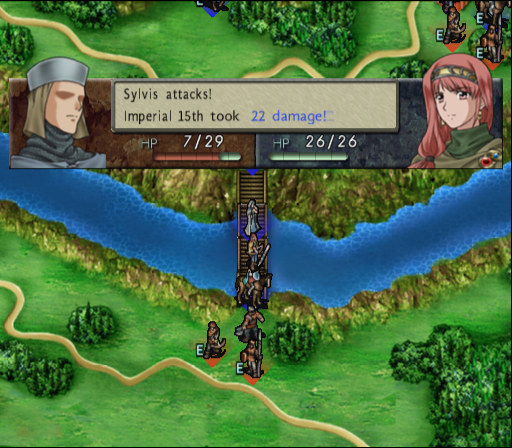
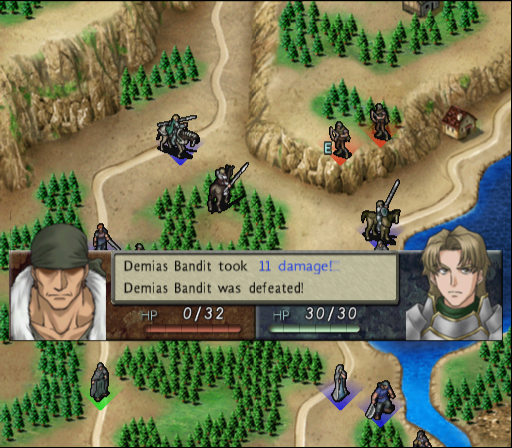
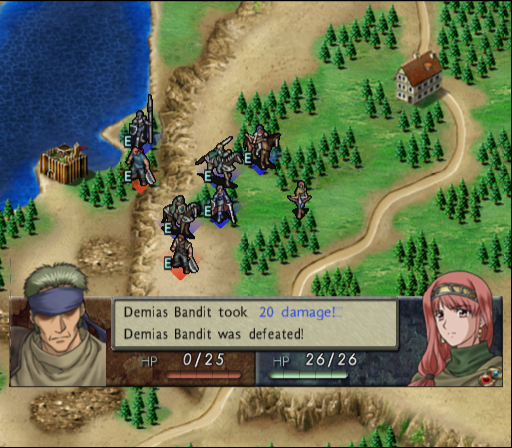
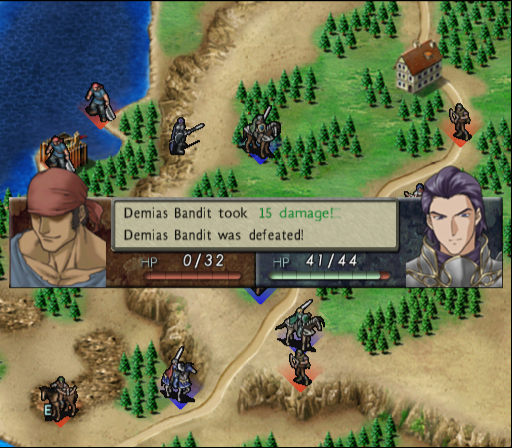
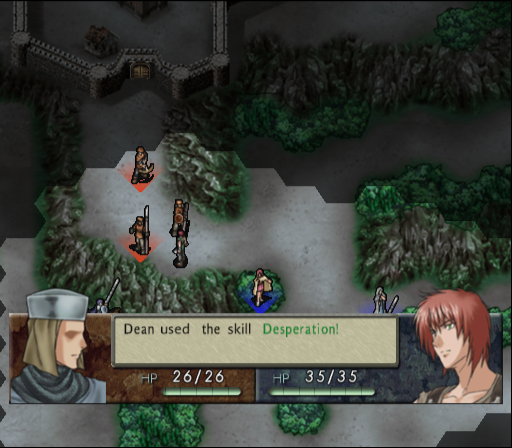
More of the Imperials move towards the southern end of the bridge. Arthur finishes off the axeman with the help of the desperation skill:
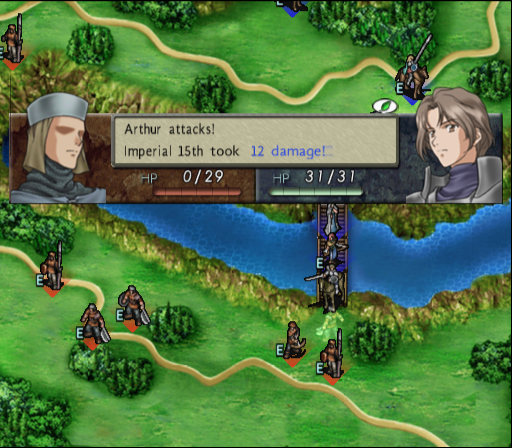
I send Ruby to help deal with the caravan in the northeast. Axel joins in, but his axe does not connect with the enemy:
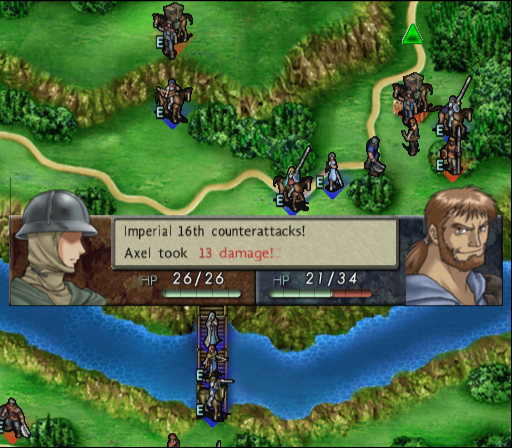
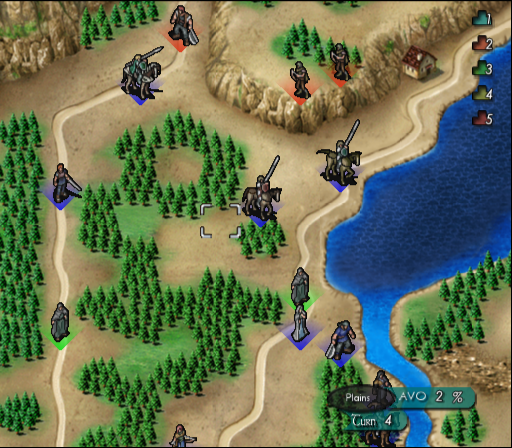
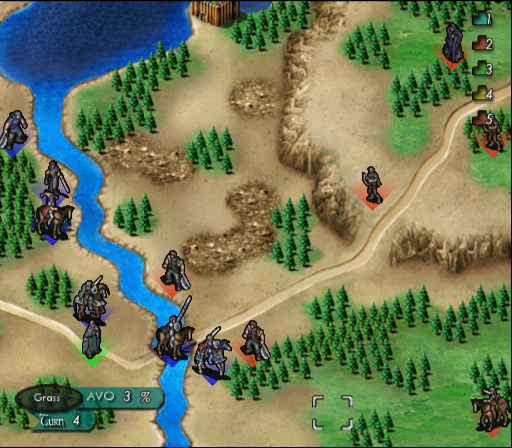
Situation at the beginning of turn 4:
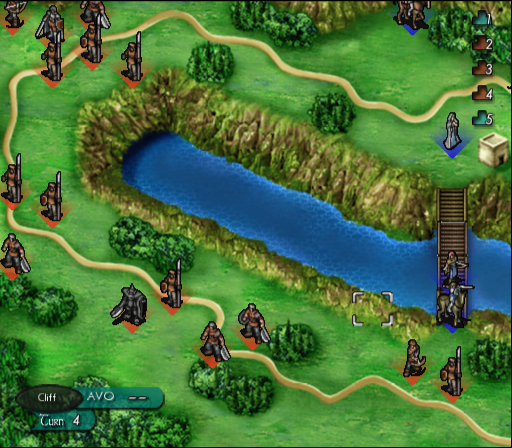
Faye attacks first, landing hits on the crossbowman:
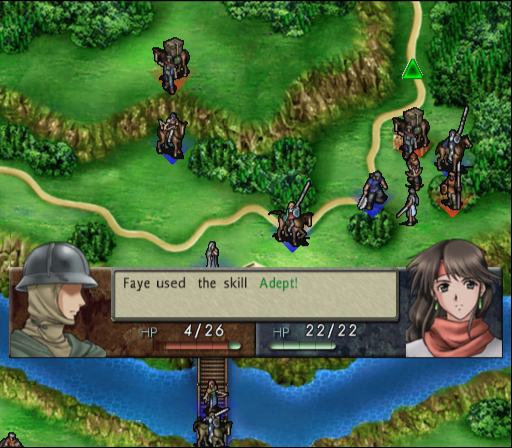
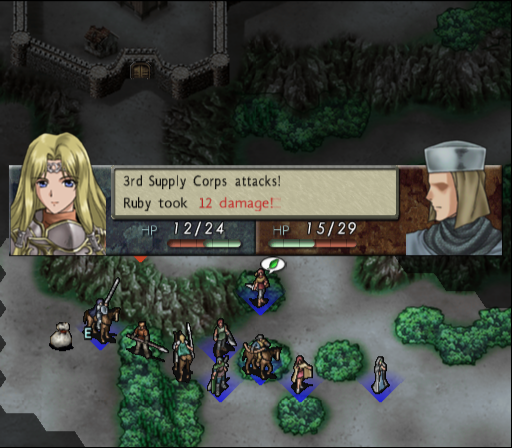
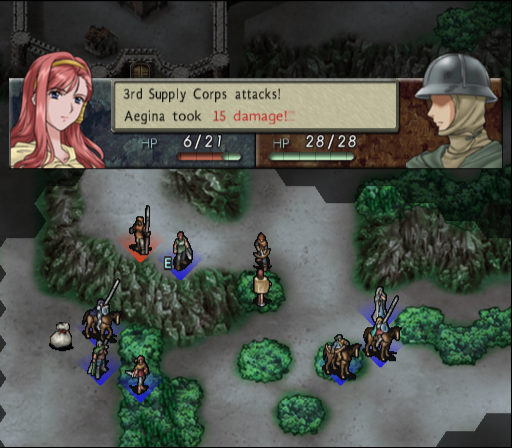
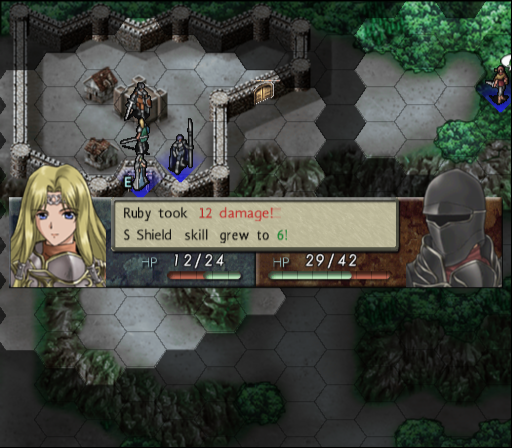
Most of the incoming Imperial soldiers miss their attacks, although a spearman does hit Ruby. Arthur dodges a spear and counterattacks:
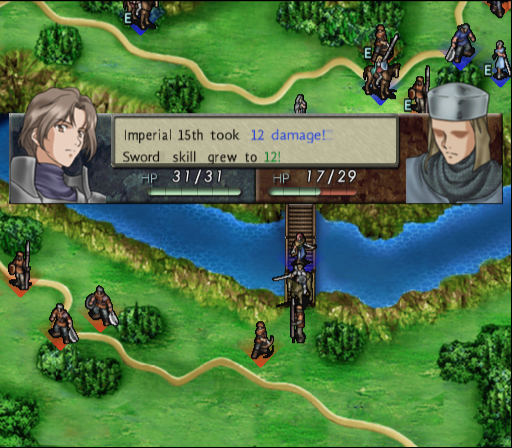
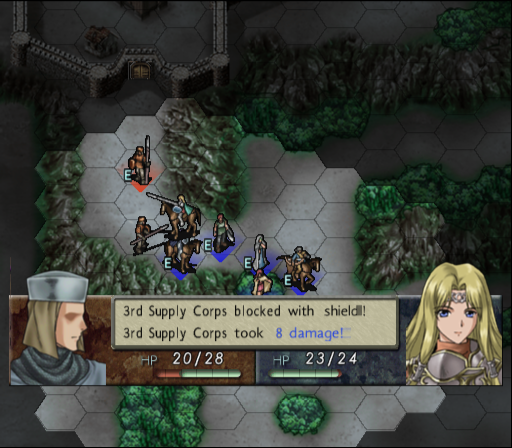
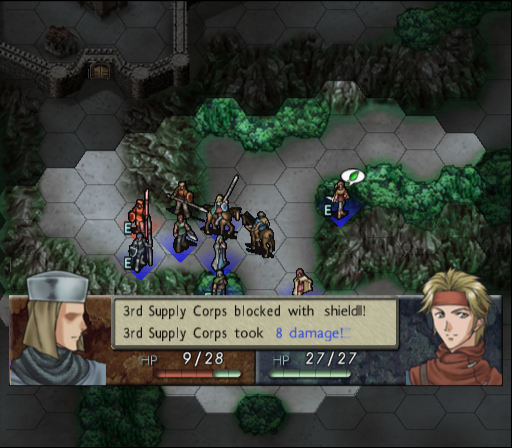
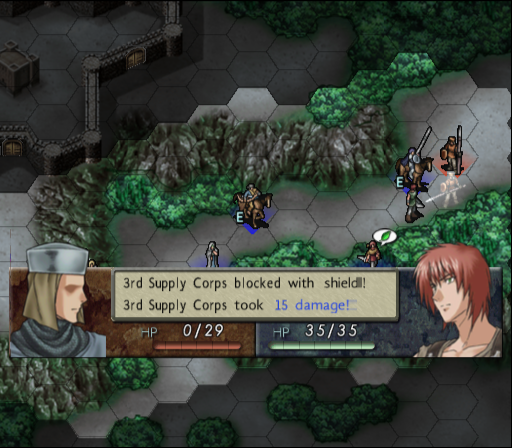
He then blocks a crossbow shot with the help of his shield.
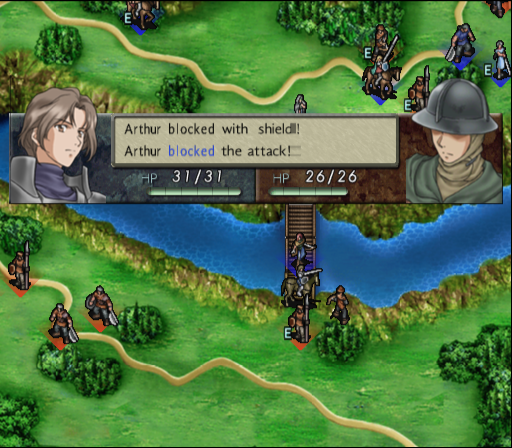
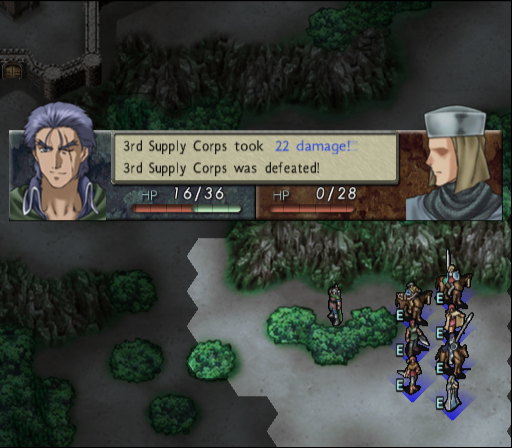
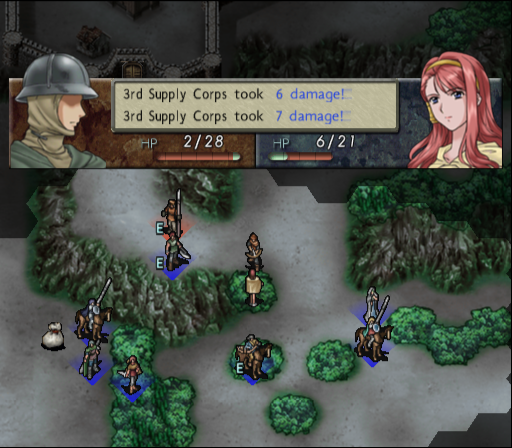
Sylvis takes a chunk out of the crossbowman, falling just short of killing him. A spearman in the northwest charges at Christine and hits, so I'll have to deal with a third front now. I'll have to factor in the ballista as well, since the caravan with the bolts hasn't been hit once yet.
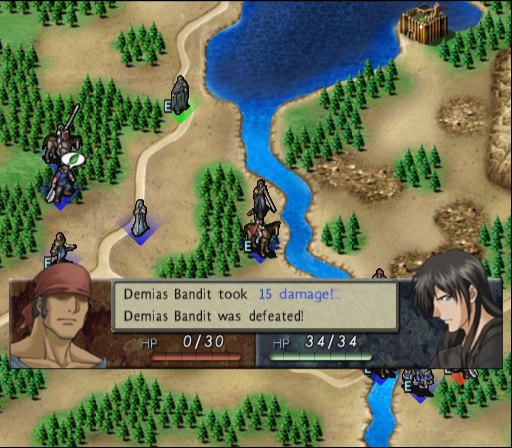
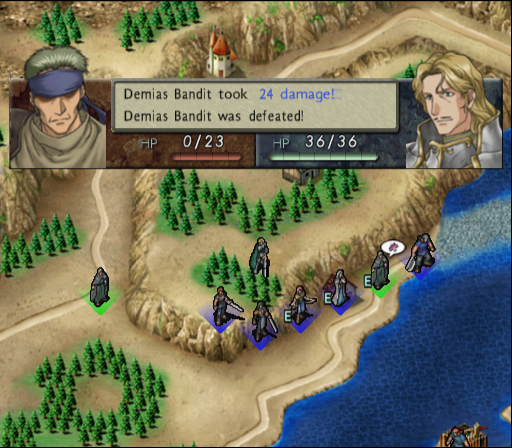
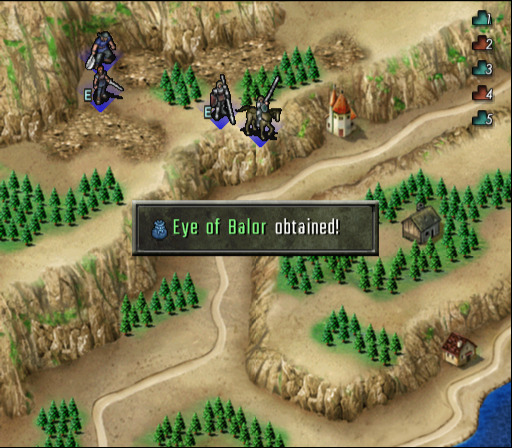
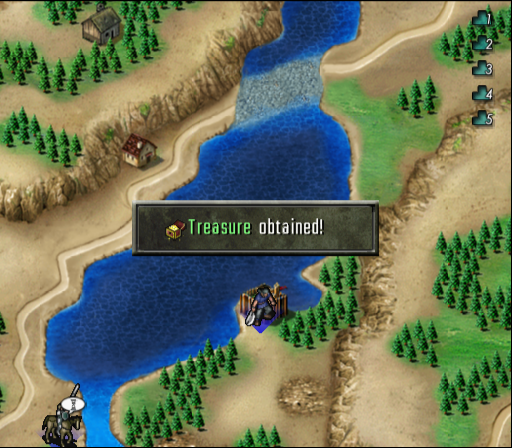
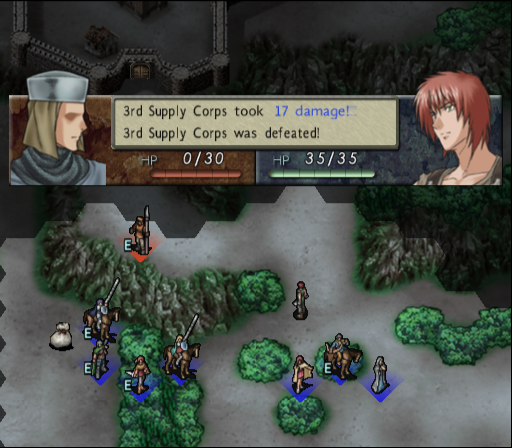
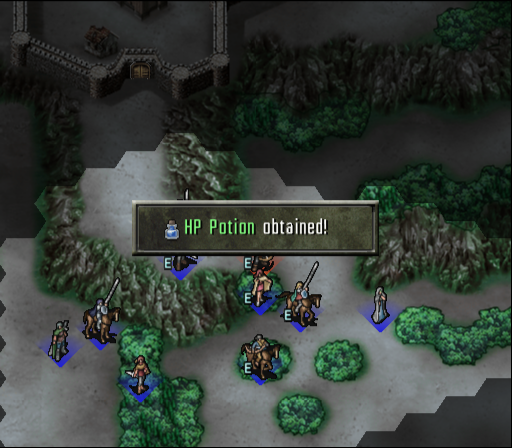
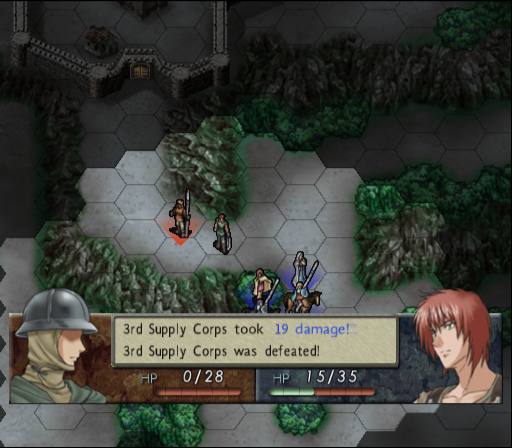
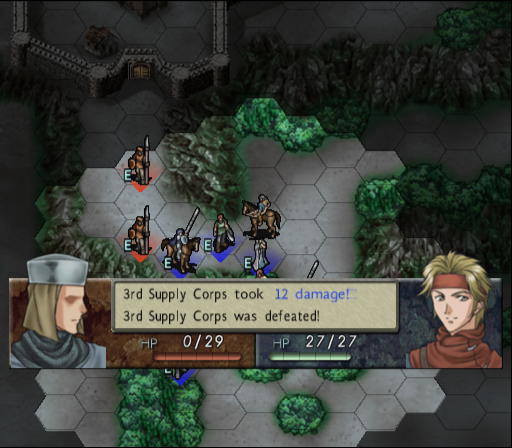
Elbert kills the porter and takes the repairstone:

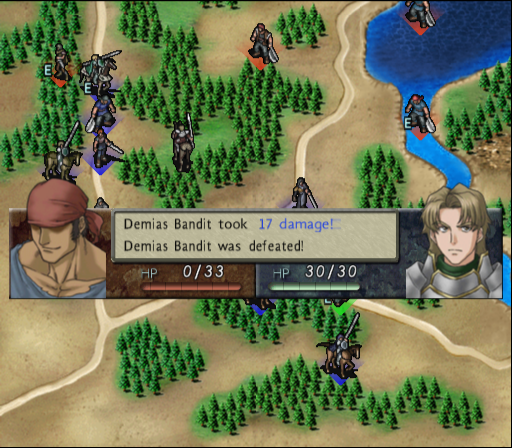
Arthur dismounts and eliminates another soldier via use of desperation, taking a hit in the process:
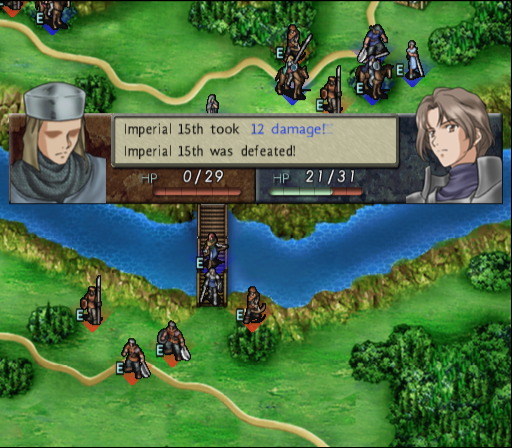
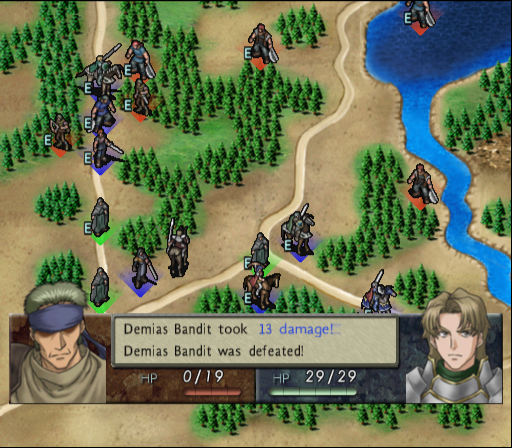
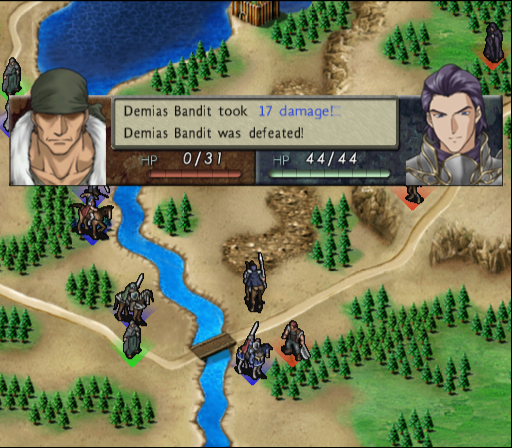
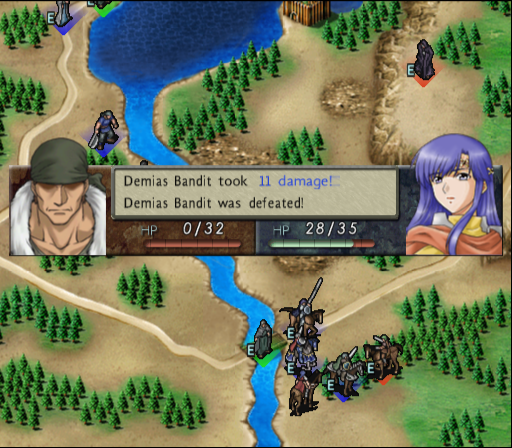
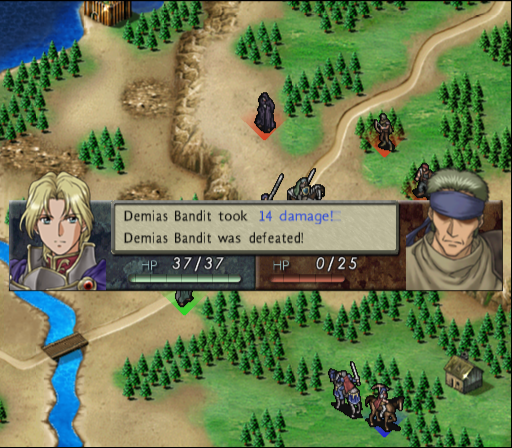
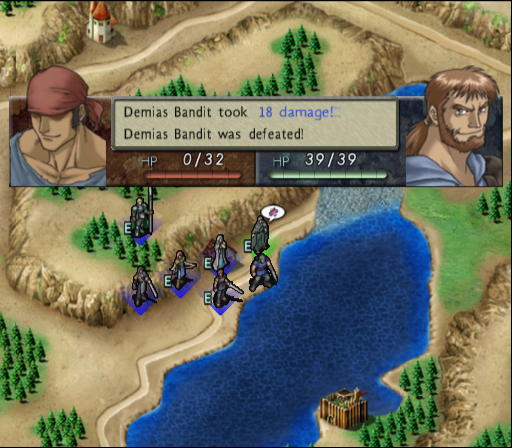
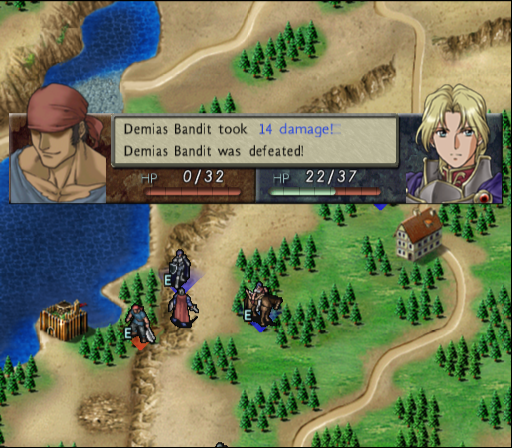
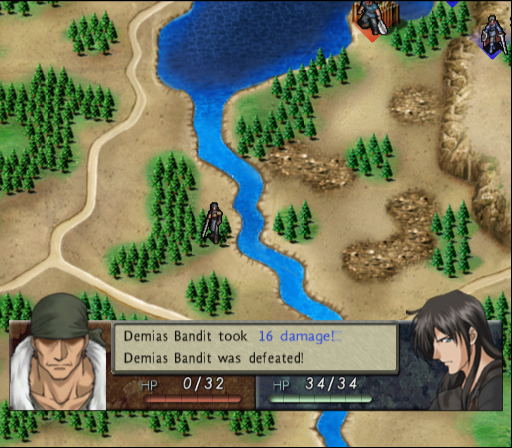
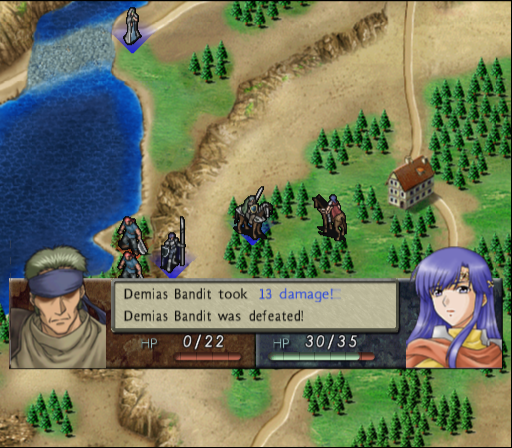
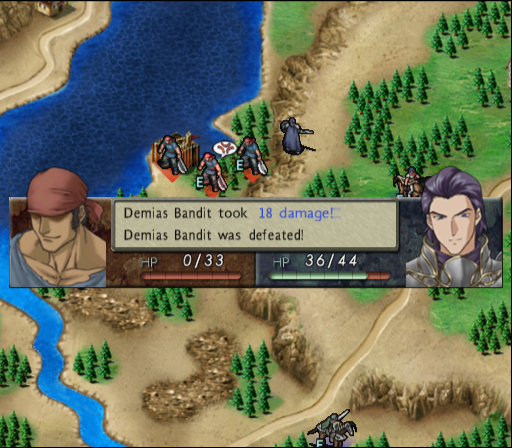
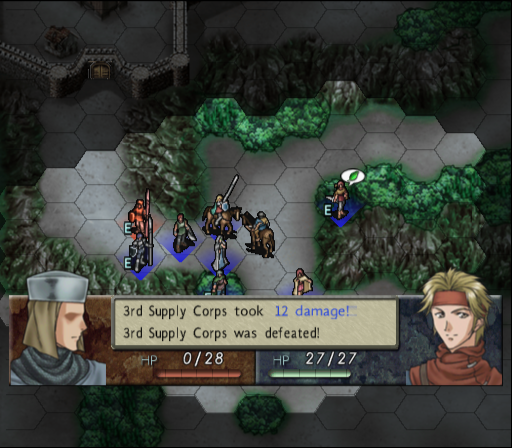
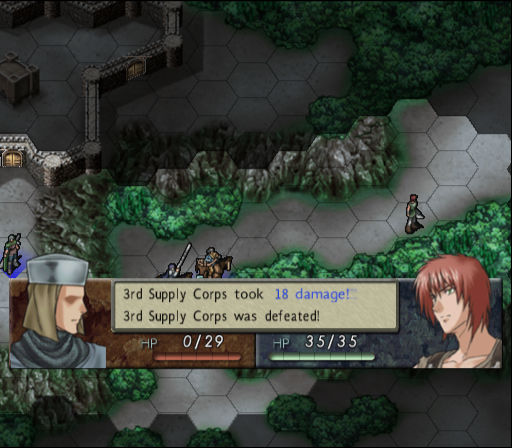
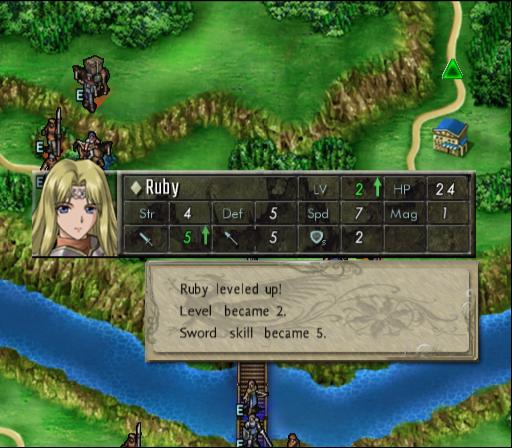
Ruby cuts down a crossbowman with her longsword.
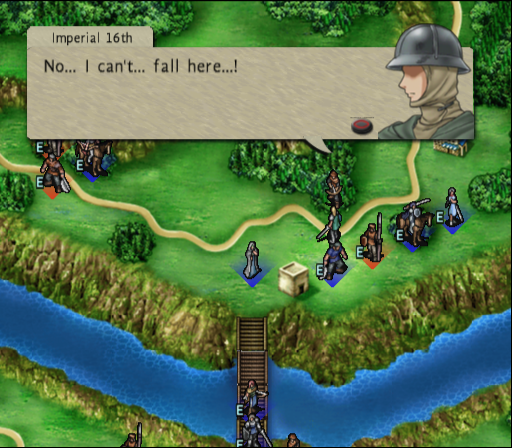
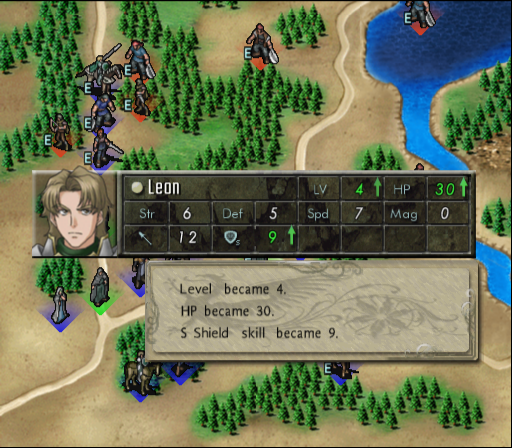
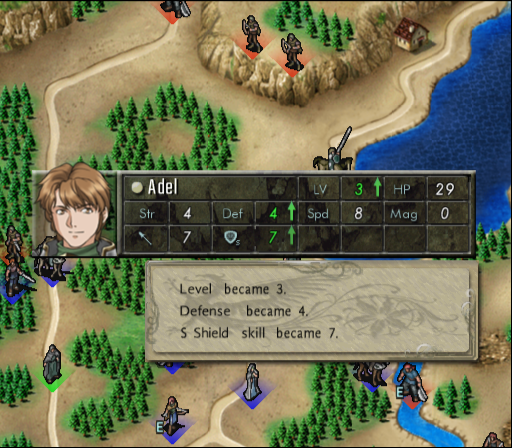
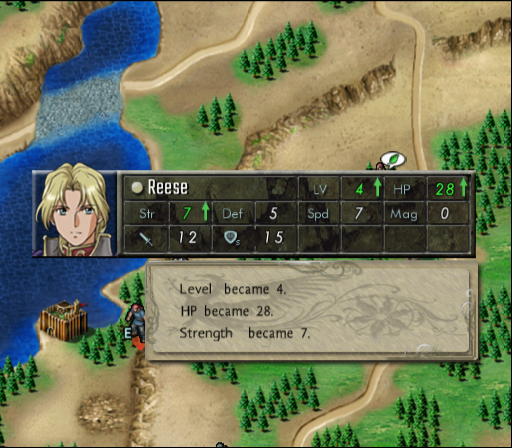
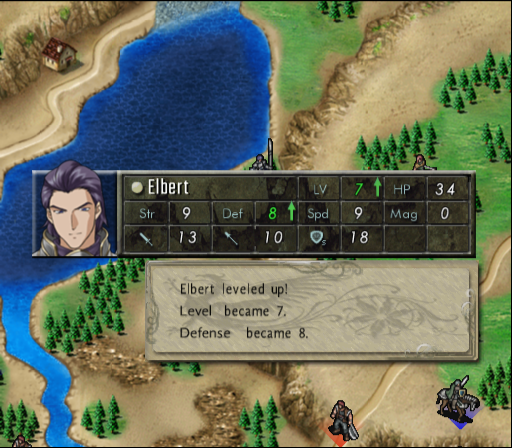
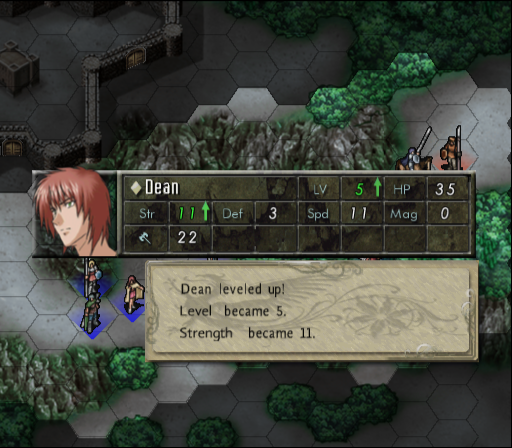
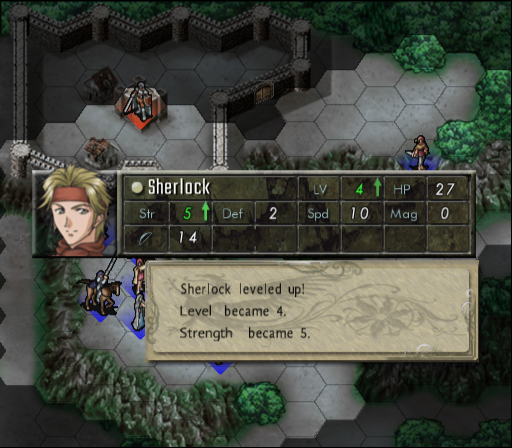
The level-up doesn't give much:
On turn 5, Christine is ordered to fire at the ballista bolt transporter again, this time striking the target. I retreat her to the bridge since she's taken a few hits. The caravan is now out of reach, so I'll have to deal with the ballista next turn.
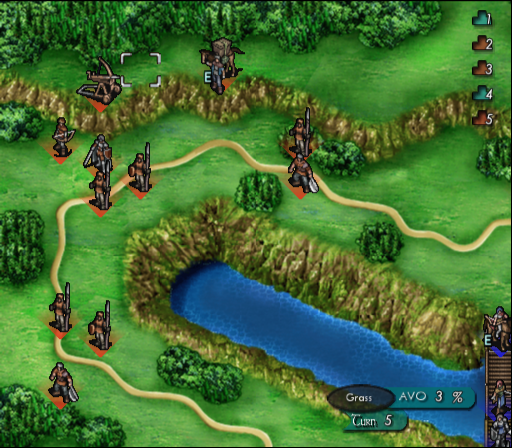
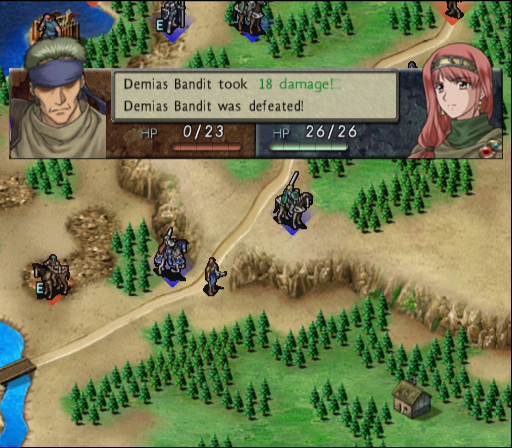
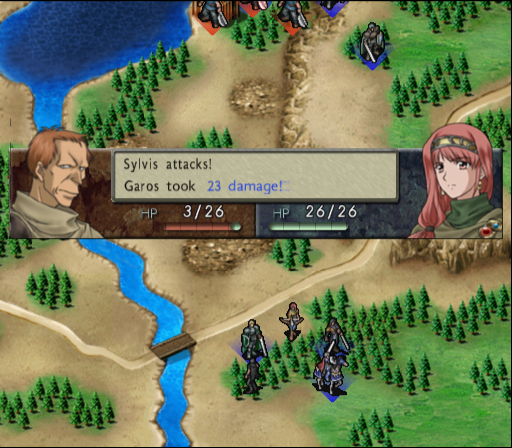
Sylvis notches up another kill:
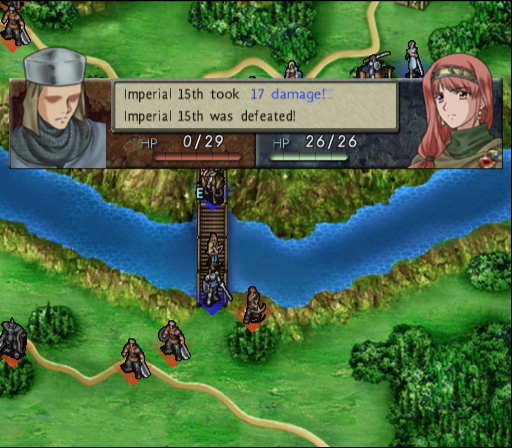
Arthur continues to hold the southern end of the bridge, although an axeman knocks away his shield. I have him use desperation to attack the crossbowman, but he misses the first strike and gets hit without blocking. The second finds its mark, but he's now critically low on health:
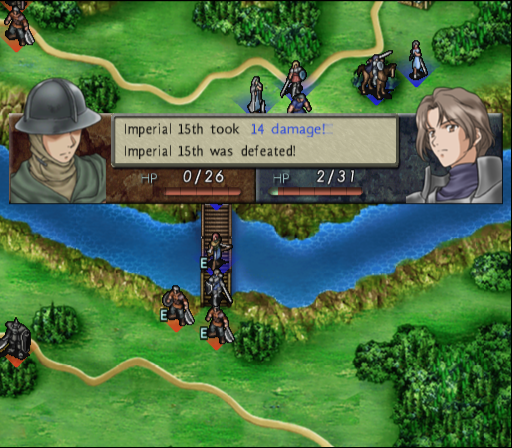
My units on the northern side of the bridge move in to form a protective line ahead of Izerna and Christine. Some blows are exchanged, but only Ruby takes some slight damage from a spearman, who is then felled by Elbert:
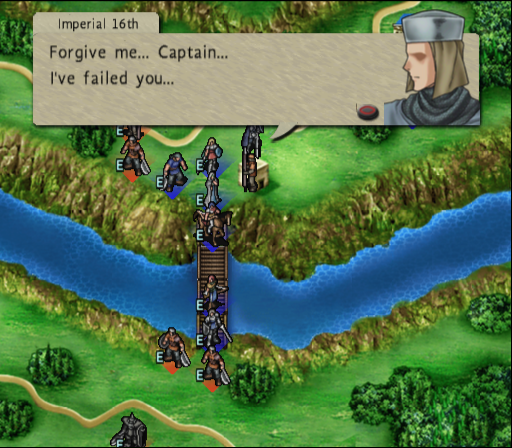
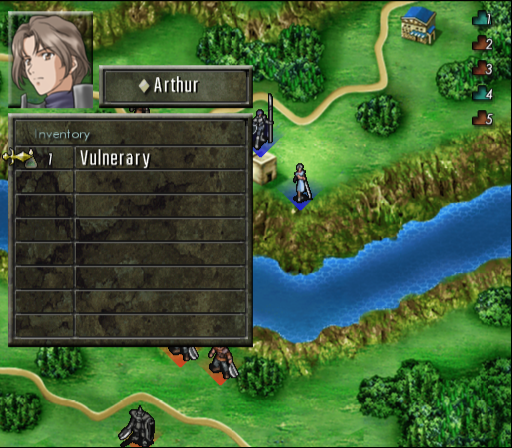
On turn 6, Arthur goes up first to heal with a vulnerary:
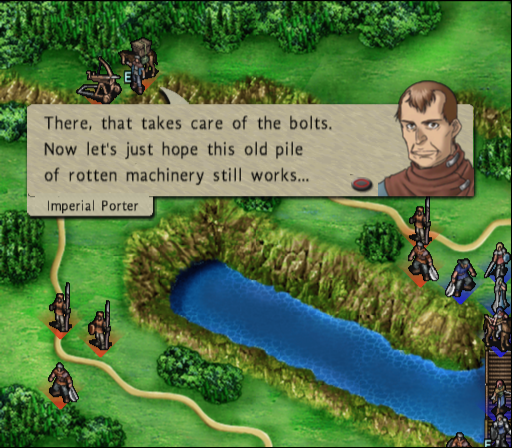
The Imperial ballista is now ready to fire.
Sylvis takes aim at one of the axemen harassing Arthur, and hits. Which prompts him to move next, retreating to heal with a vulnerary. Christine makes a hit-and-run attack on the second axeman, doing nominal damage as he blocks with his shield.
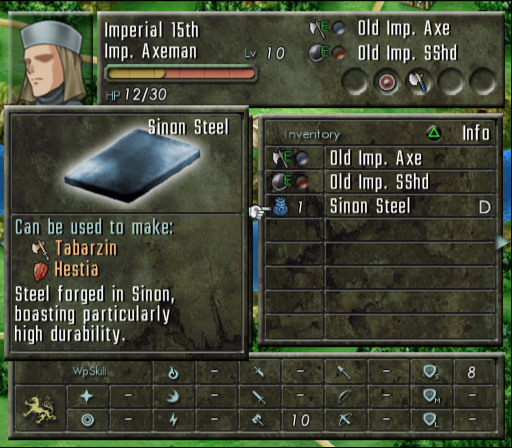
As it happens, he's carrying a crafting material. Faye kills the remaining spearman near the bridge controls.
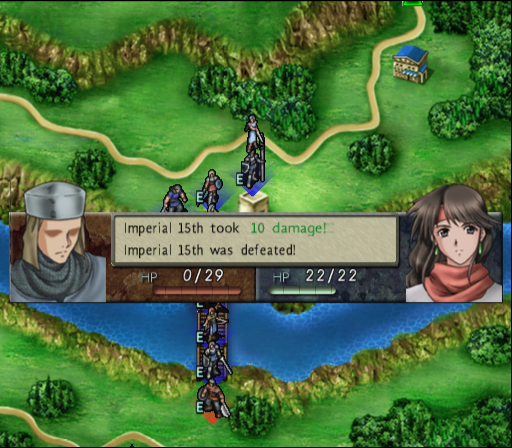
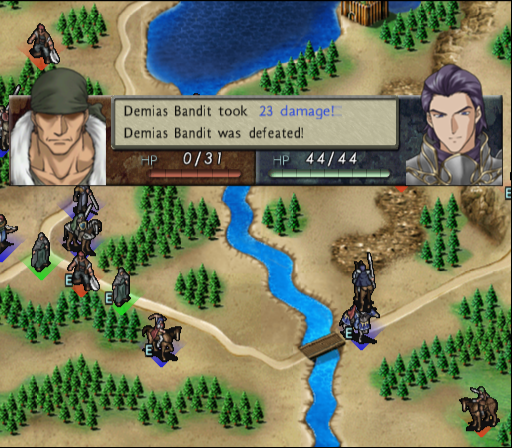
To start turn 7, Arthur breaks an axeman's shield. As the first enemy to move, said axeman attacks Arthur but misses, allowing the counterattack that fells him.
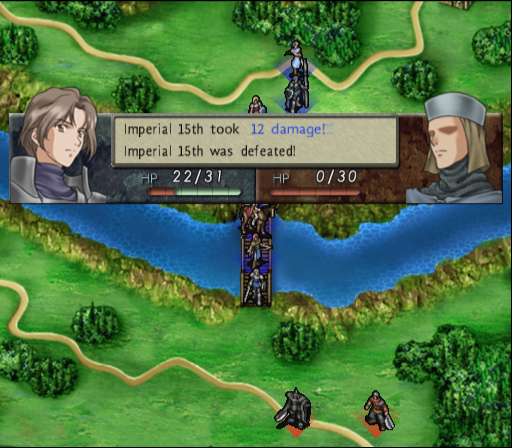
The axeman that healed last turn comes back to the bridge to take a swing at Arthur, breaking the latter's shield:
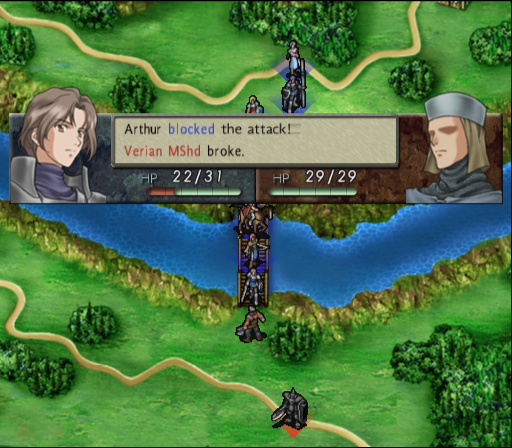
However, since Arthur fully blocked the attack, he can counter and gets a hit in. The forces guarding the curve in the road haven't moved from their positions, and the ballista fully covers the approach:
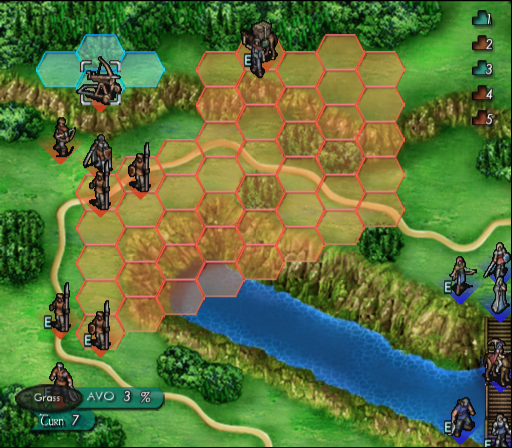
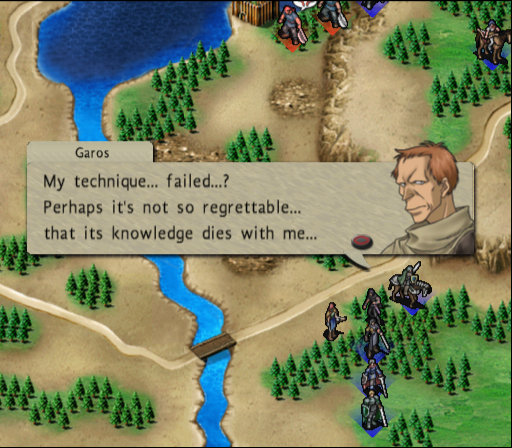
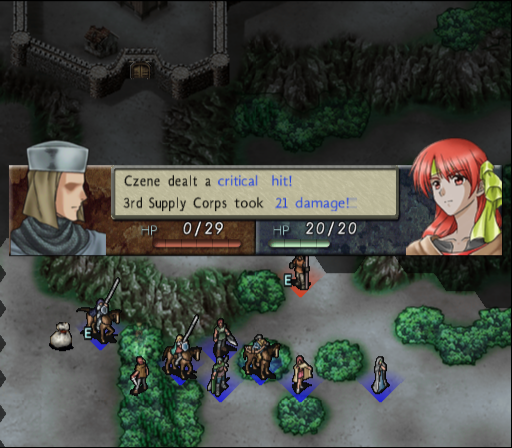
Derrick leaves the battlefield.
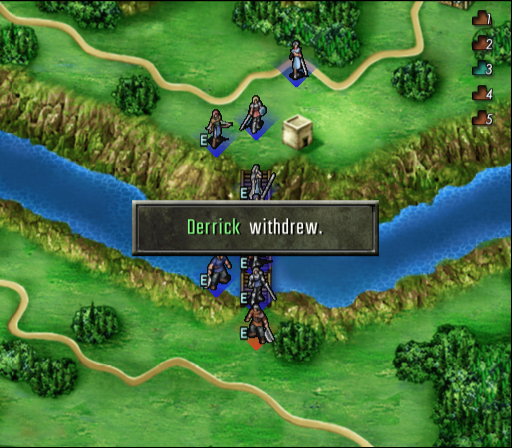
Since the caravan is moving back after delivering the ballista bolts, I have Sylvis fire at it:
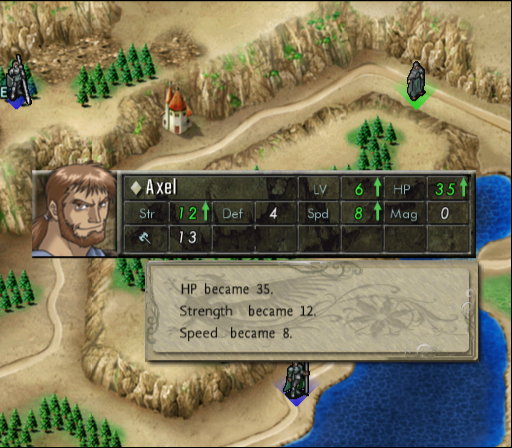
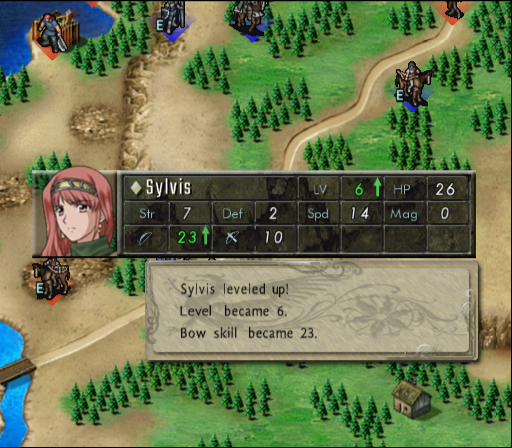
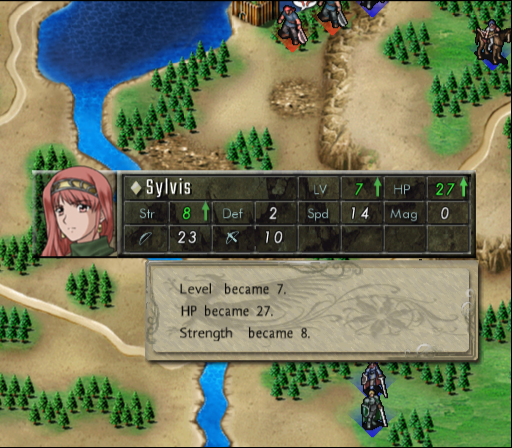
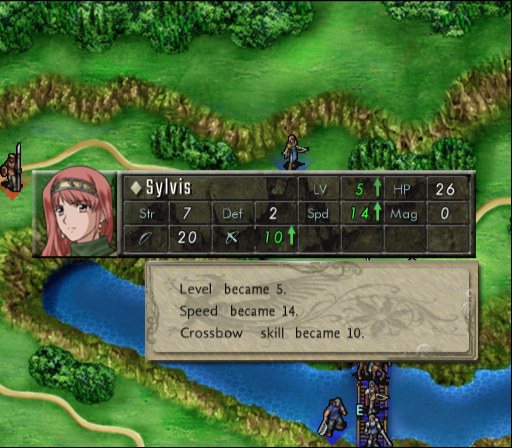
She gains a level:
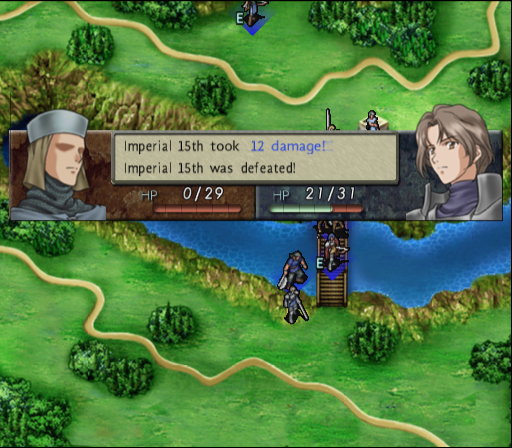
Arthur finishes off the last axeman at the bridge, also getting a level.

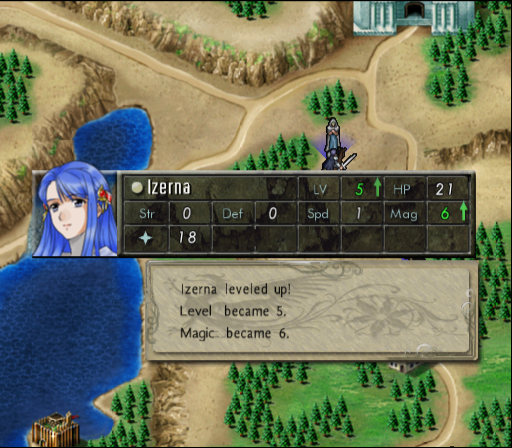
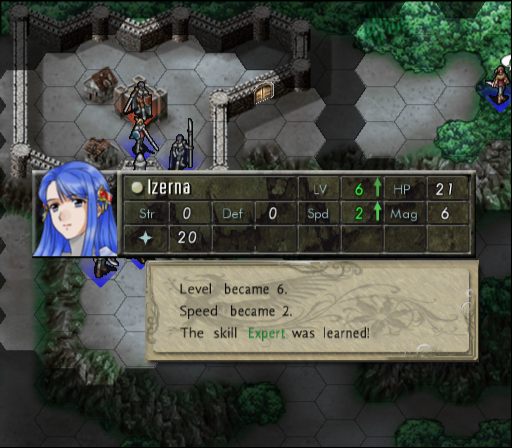
Izerna joins the level-up brigade:
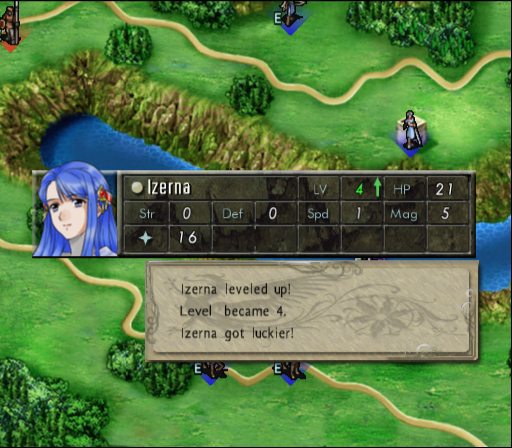
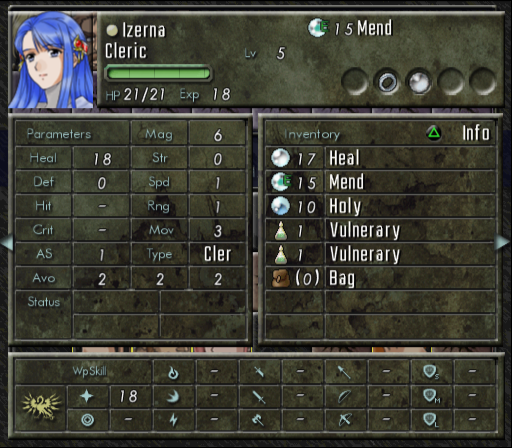
If you recall from earlier updates, luck is not a hard stat, but a consumable resource spent to protect the unit from harm.
I decide to approach the ballista and defenders from the south, where there is more space. Elbert successfully lures in 3 Imperial soldiers, taking minimal damage:
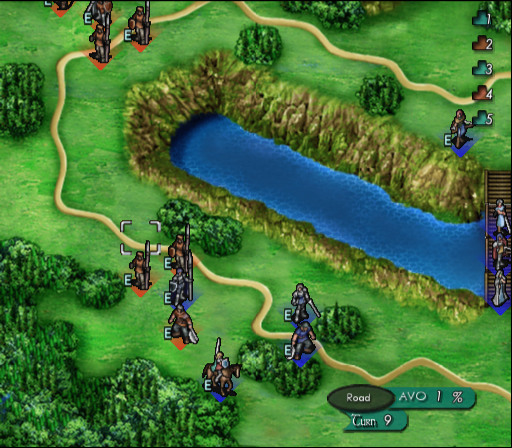
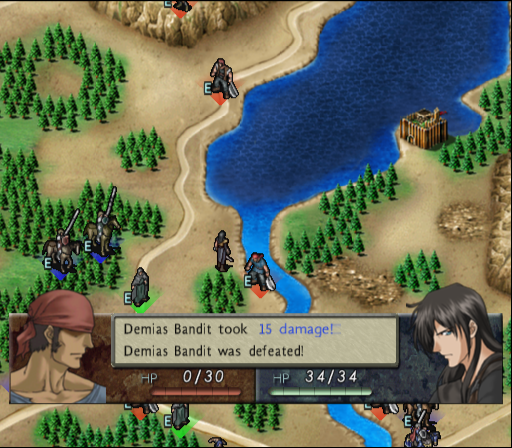
Turn 10 now, and Christine puts down the enemy axeman:
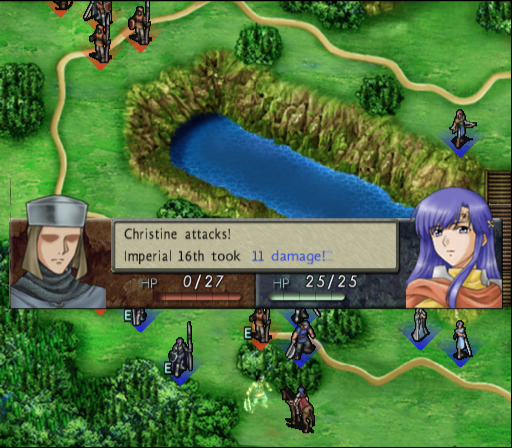
Faye kills a spearman on the second strike with her cutlass, yielding a level-up:

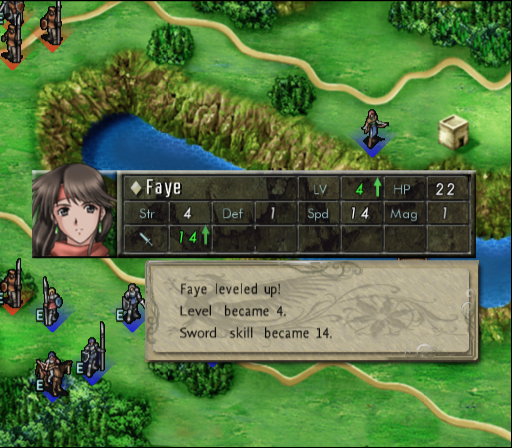
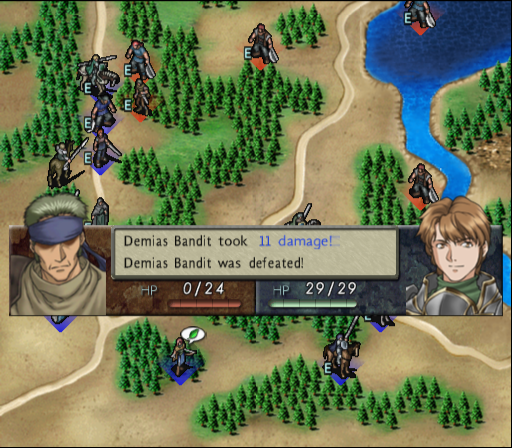
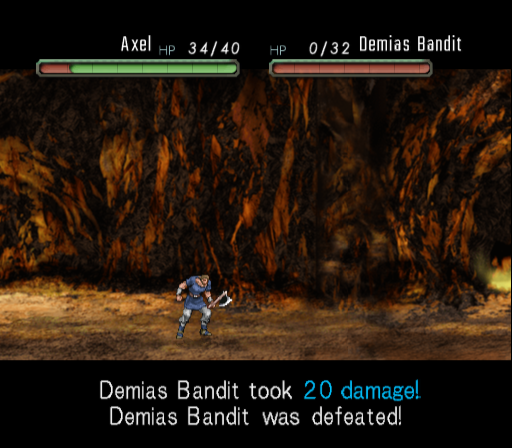
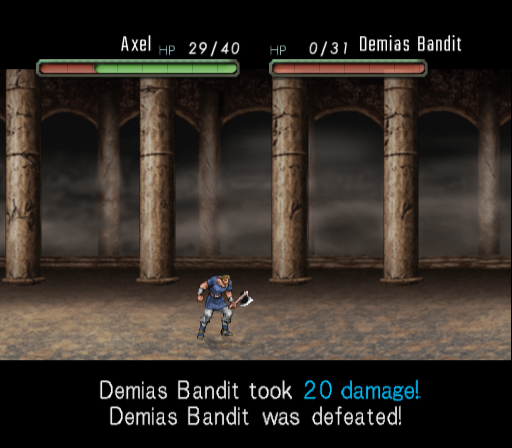
Axel makes the third soldier history.
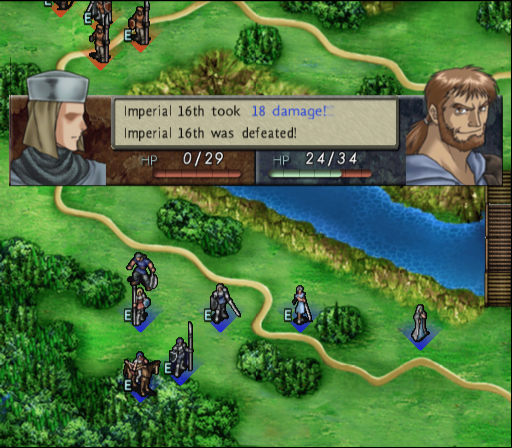
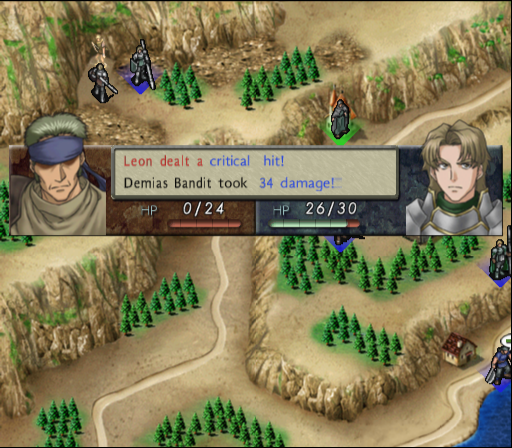
I move up with everyone, but Faye is ambushed by a crossbowman hiding in the trees. She dodges, and thanks to her high AS, is able to counterattack:
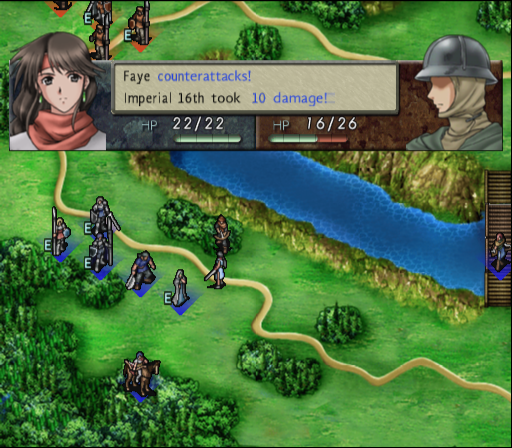
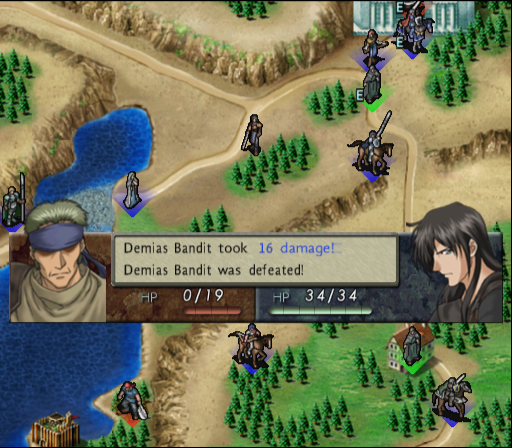
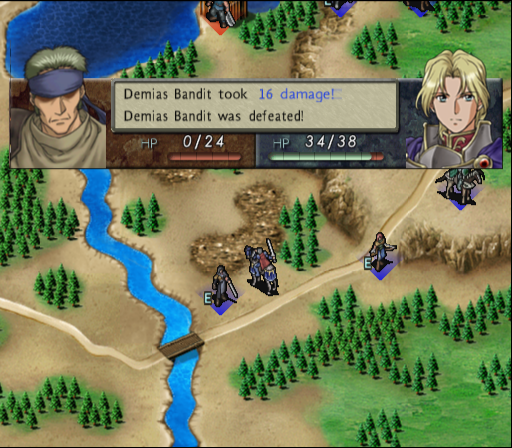
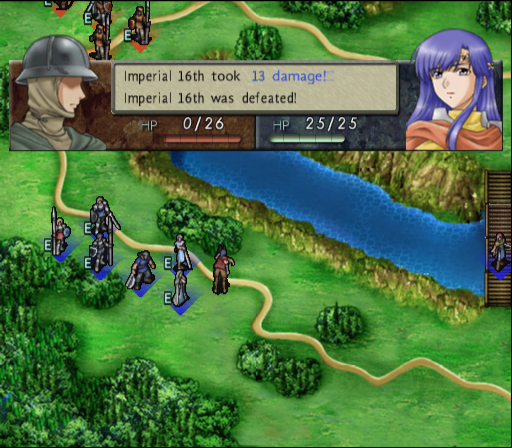
Christine finishes off the enemy:
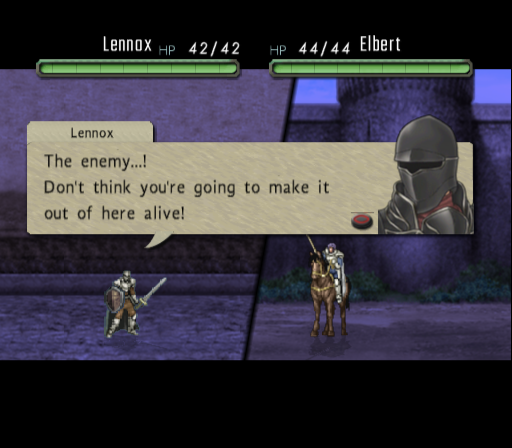
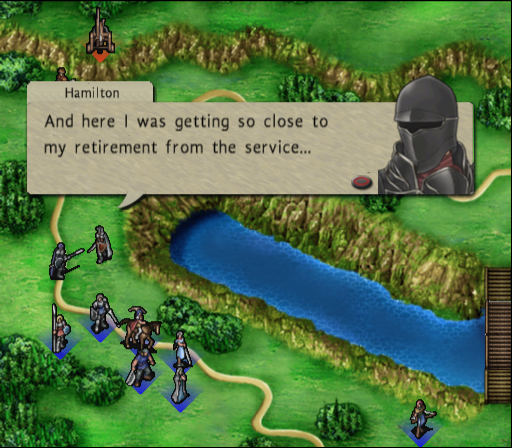
Elbert has a better chance of dodging bolts with arrowbane, so I move him into ballista range first. Hamilton leaves his position and attacks:

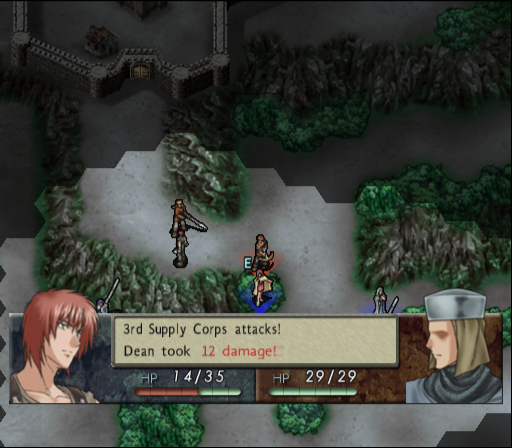
One of the spearmen also gets a hit in, which breaks Elbert's shield.
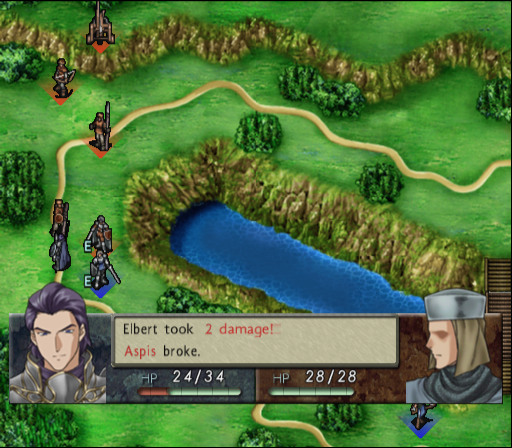
He does evade the archer courtesy of arrowbane. The ballista launches a bolt at Arthur:
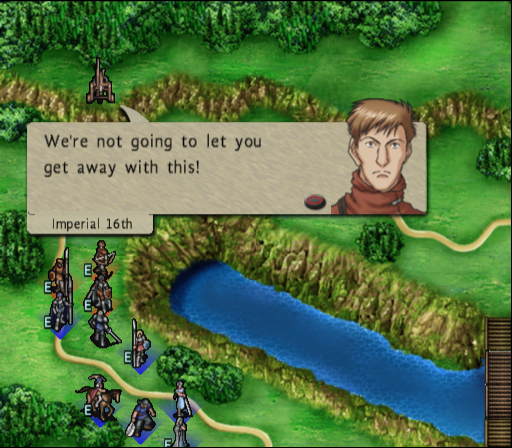
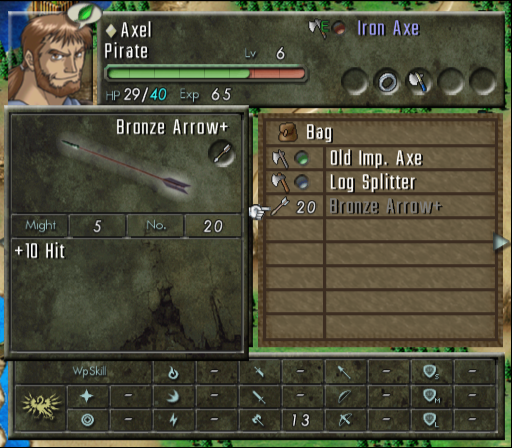
Fortunately, with only 33% hit chance, it sails over his head. Sylvis catches up and joins the fray, hitting Hamilton with a bronze arrow:
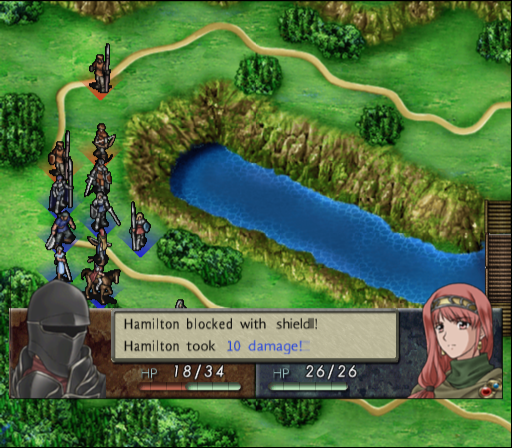
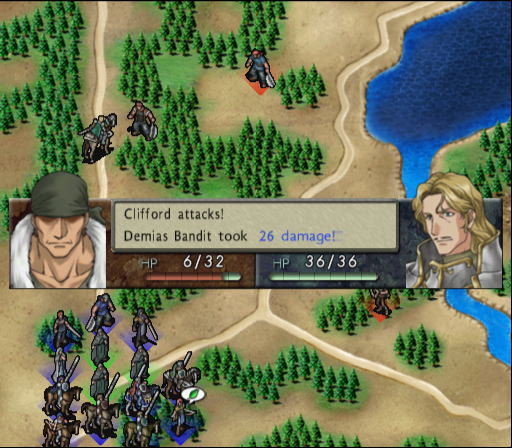
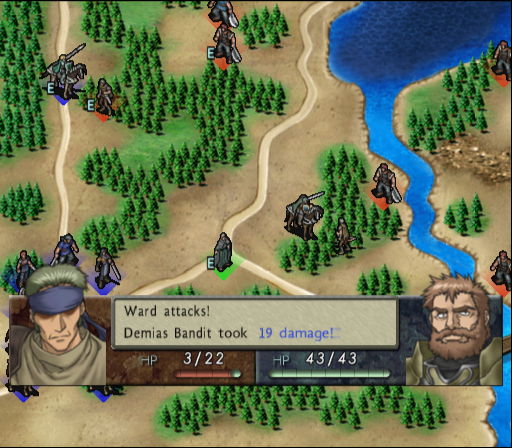
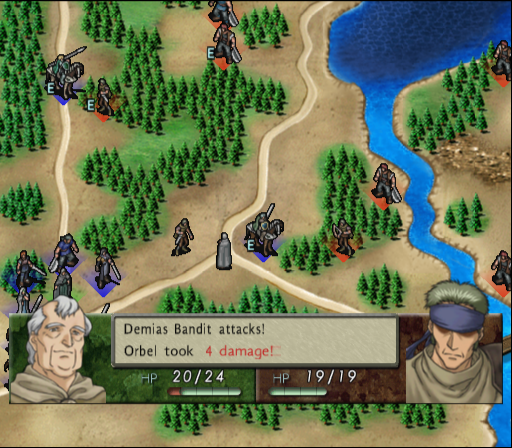
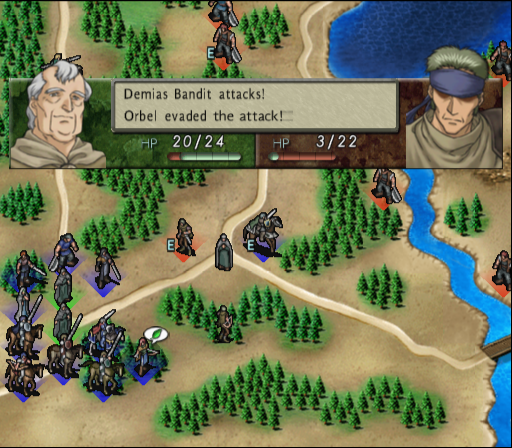
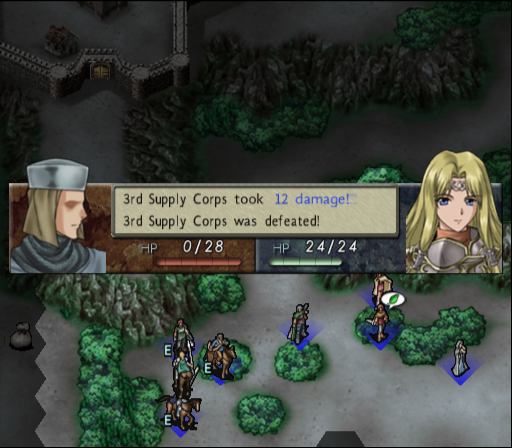
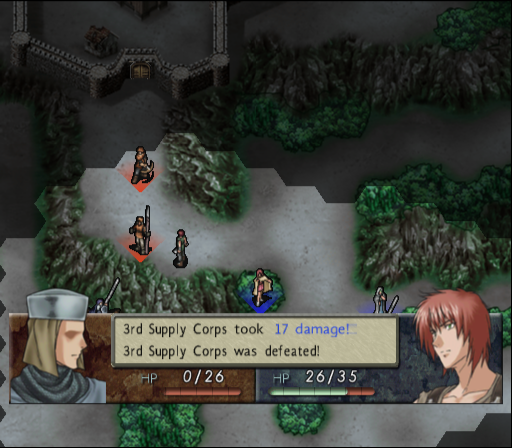
He then retreats to use a vulnerary. A failed attack by a spearman on Elbert gives him the opportunity to get another kill:

Ruby's shield is broken by an arrow.

Thanks to adept, Faye gets 3 consecutive hits, cutting down the bowman:
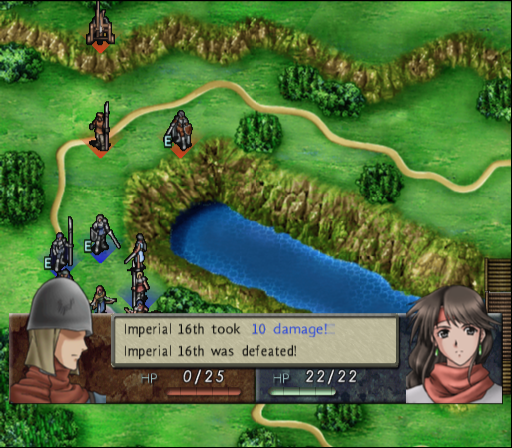
Unfortunately, a ballista bolt gets close enough to knock her down and injure her.
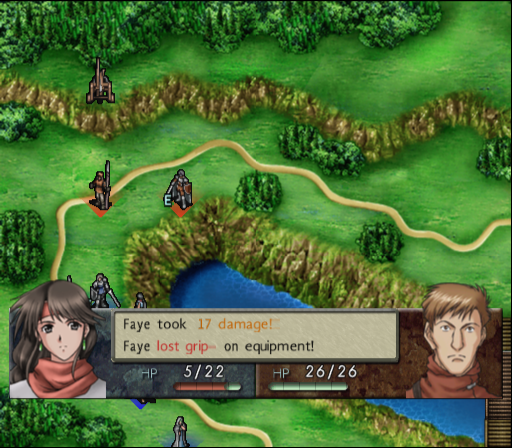
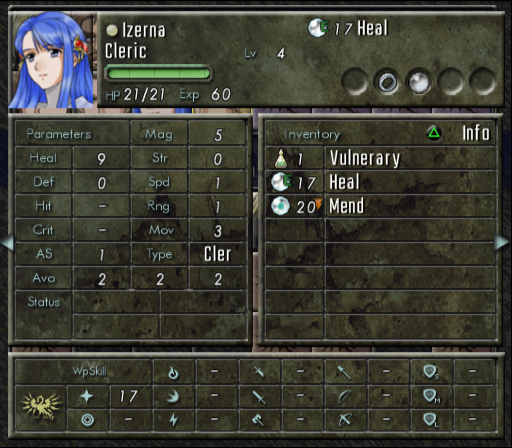
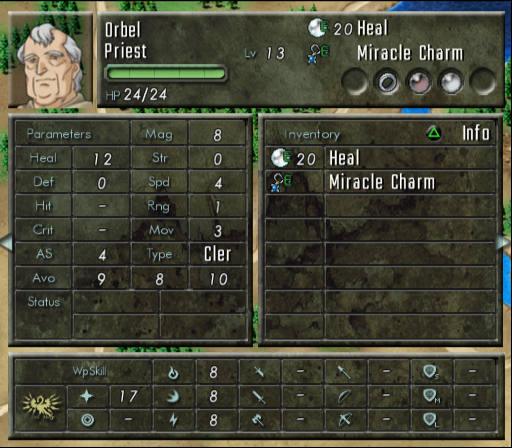
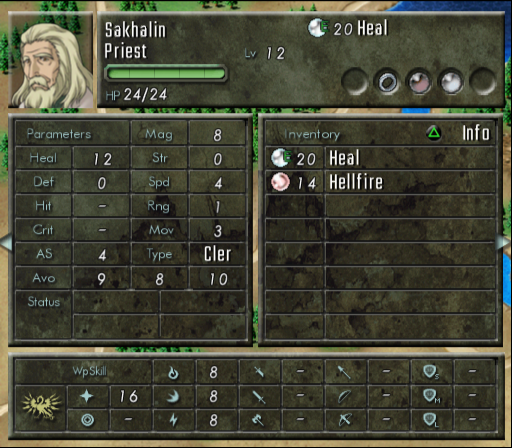
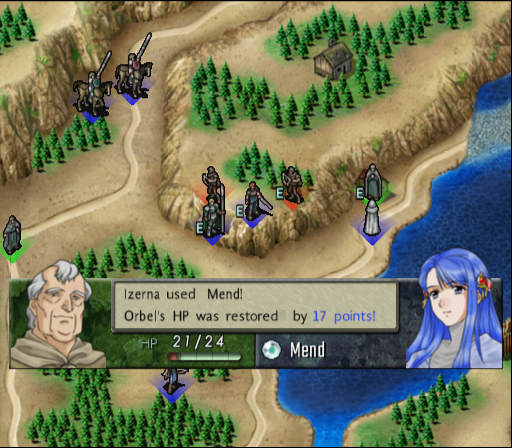
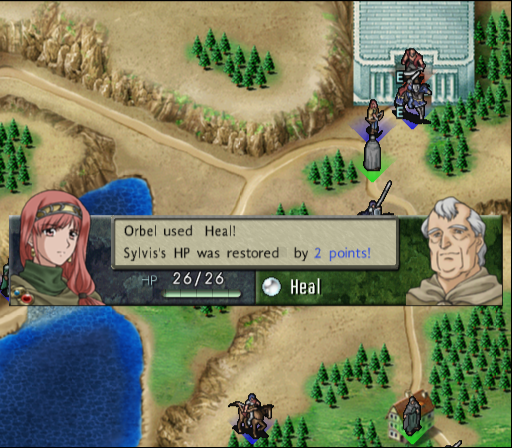
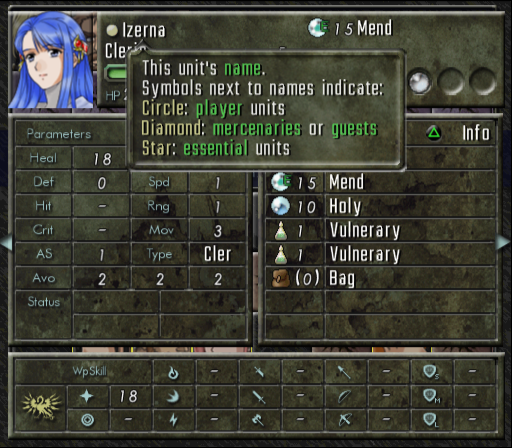
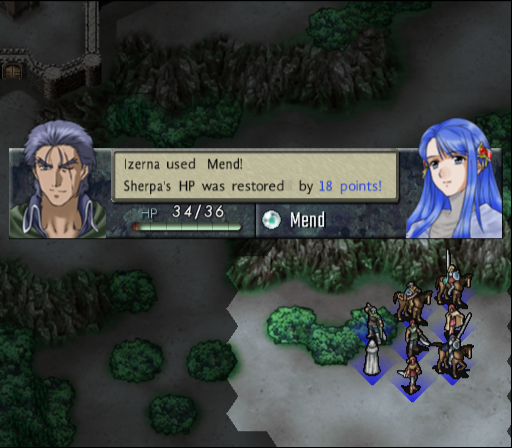
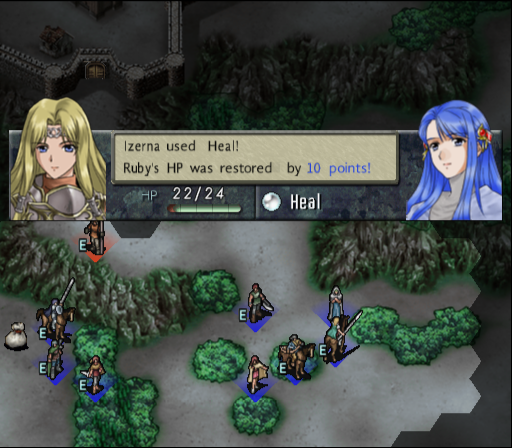
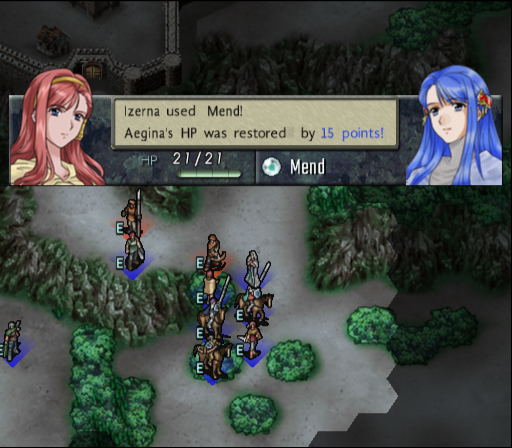
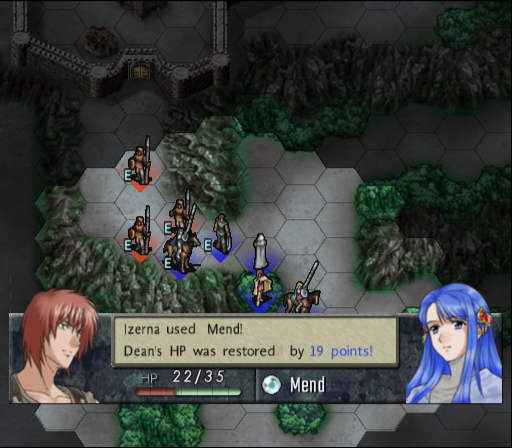
Izerna moves in to patch her up, consuming a heal orb in the process. She's been busy on this mission, her light magic skill is already up to 17. I move Faye out of range on the next turn, since she's seen enough action for now.
As Hamilton and Elbert duel, Arthur notches up another kill:
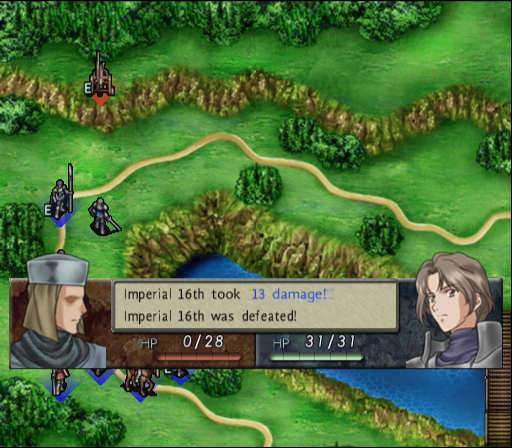
The ballista lobs a bolt at Axel, but to no effect. Christine fumbles her longbow attack, the failure chance kicking in this time. Hamilton has some choice words for us as he takes an arrow to the chest from Sylvis:
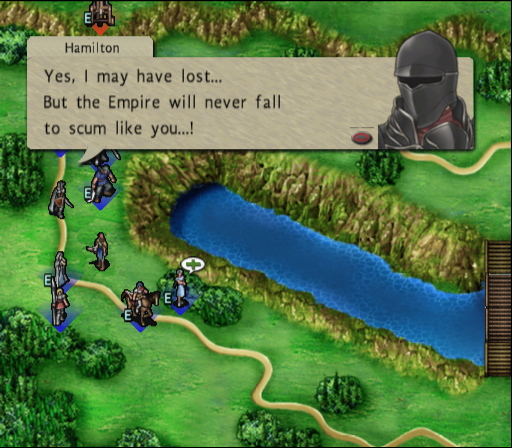
The ballista fires for what will be the final time, missing again. Arthur breaks his starting longsword attacking it, but hits from Christine and then Elbert take it out of action.
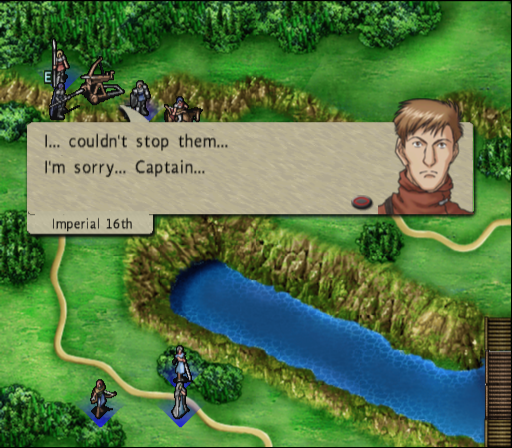
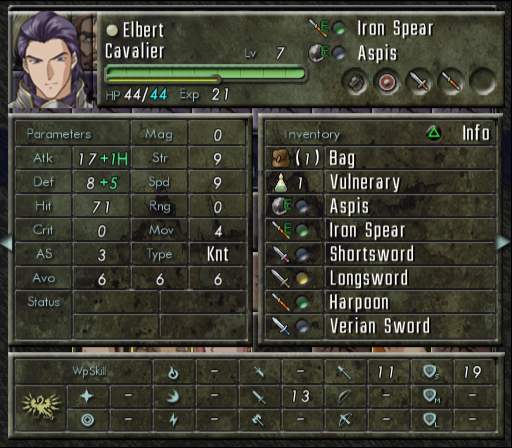
Speaking of Elbert, he's already more than halfway to promotion after that kill:
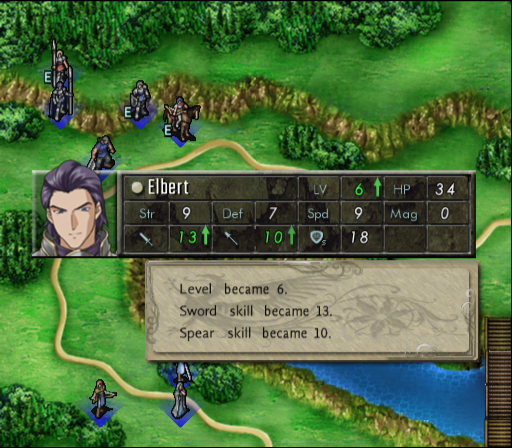
However, there is still one last enemy in the area. A hidden crossbowman on overwatch successfully ambushes Axel:
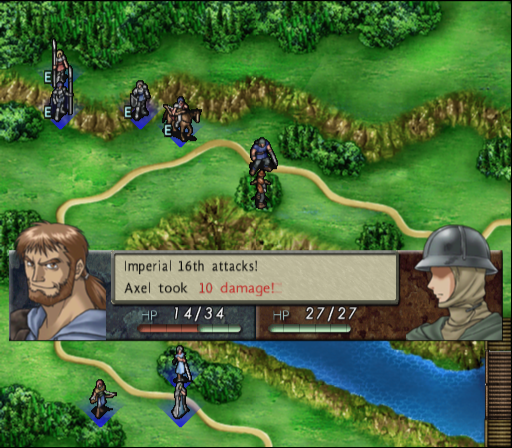
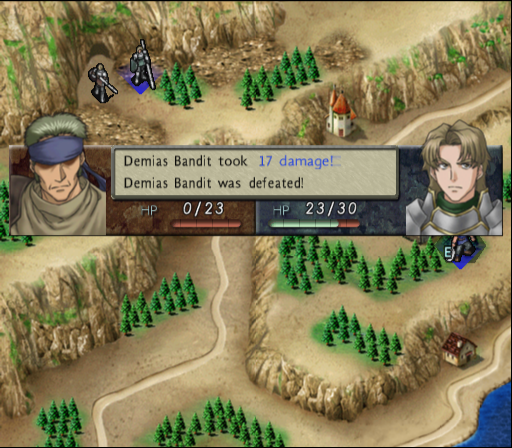
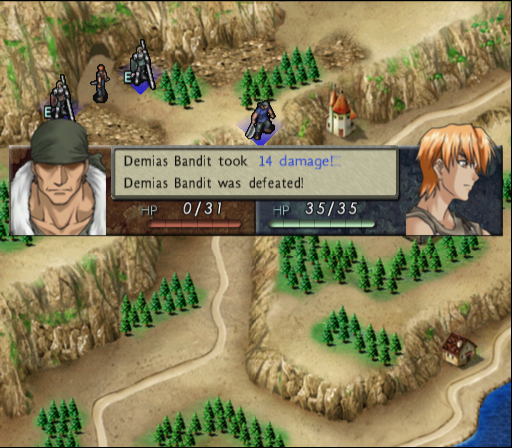
Arthur and Christine gang up on him.
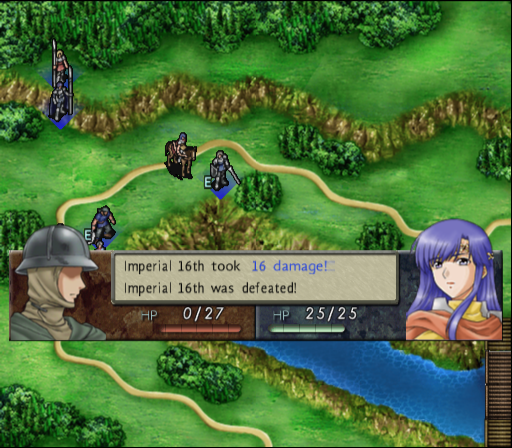
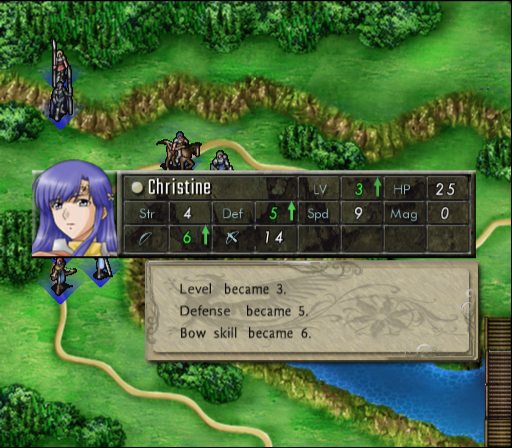
A decent level-up:
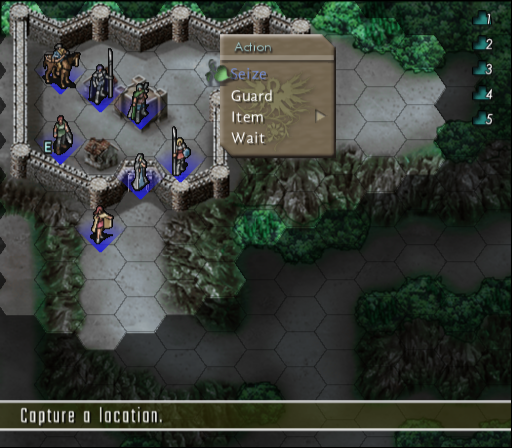
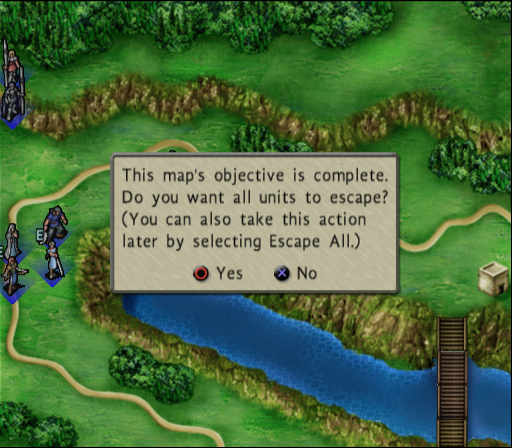
You get the option to immediately end the map after the objective is complete, since this mission doesn't have a time limit:
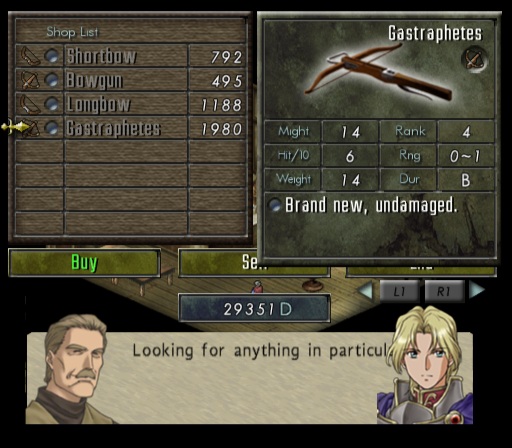
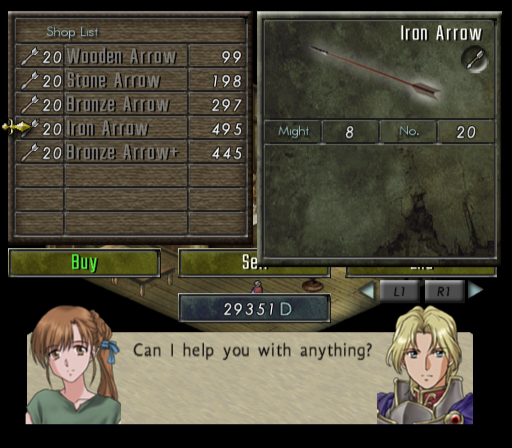
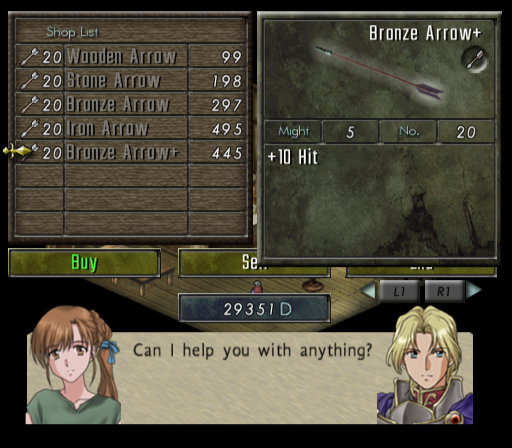
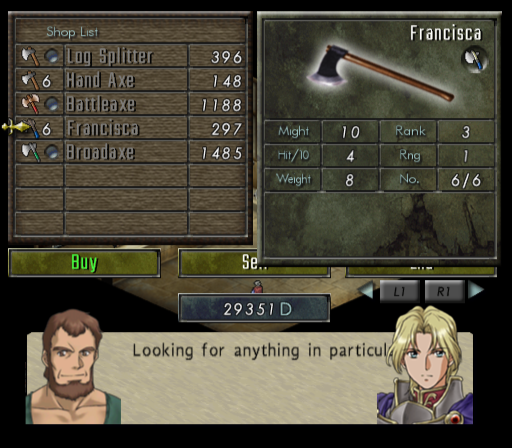
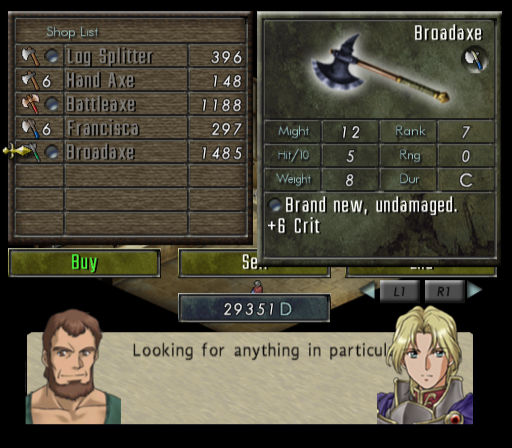
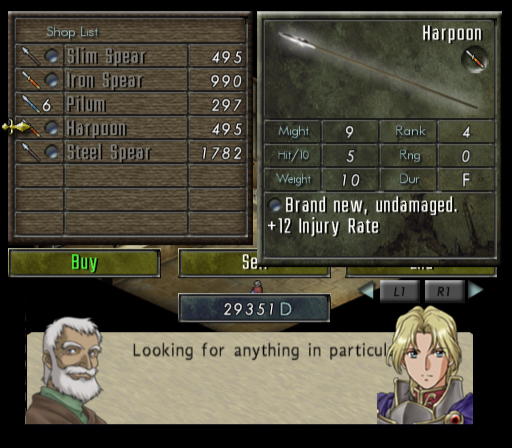
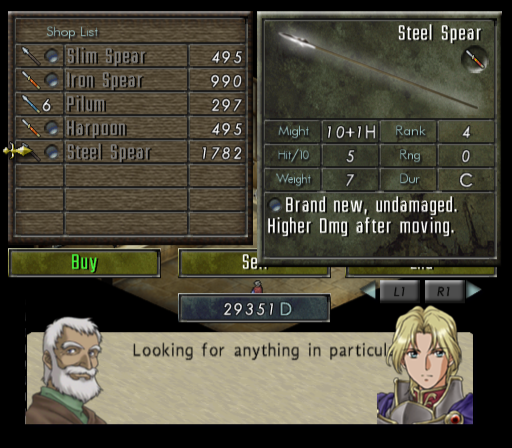
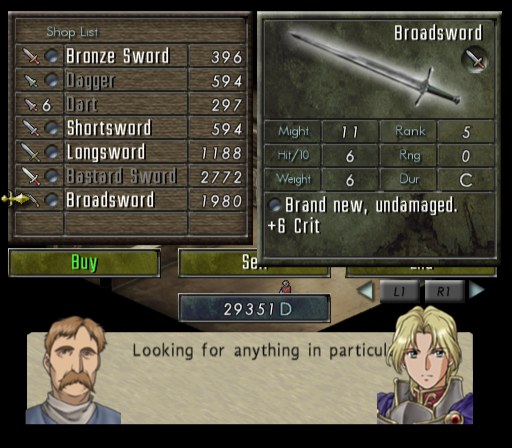
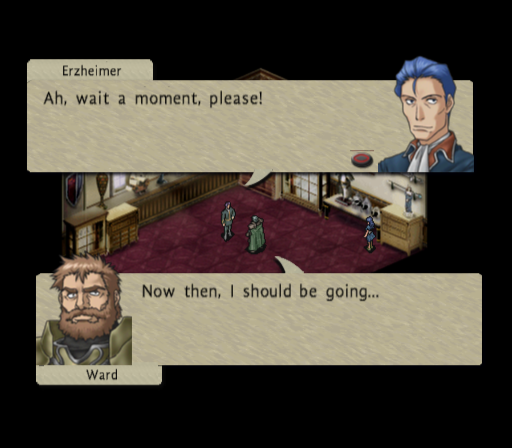
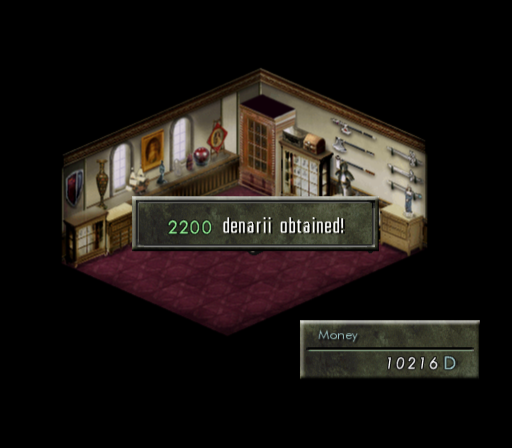
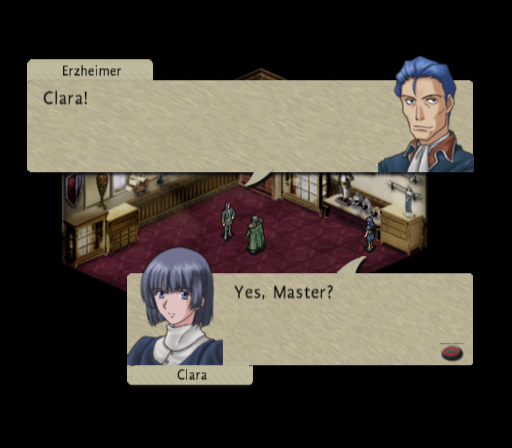
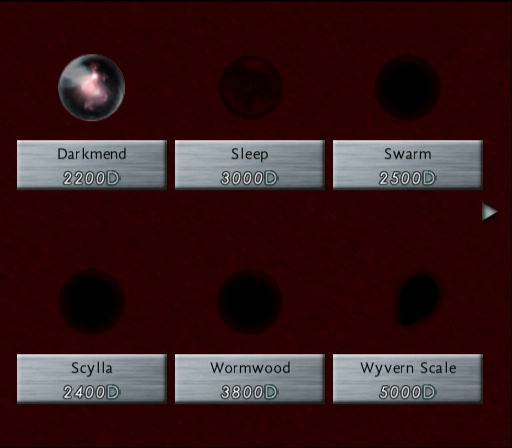
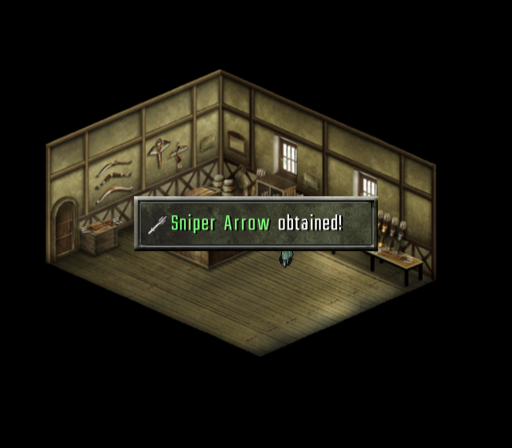
I decide to check out the armoury before leaving. As it turns out, the weapons are all sub-par.
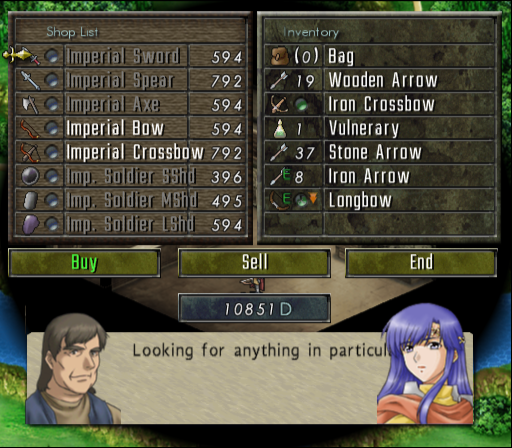
If you don't trade with the shopkeeper, you can still cancel the unit's move after they have checked a shop's inventory.
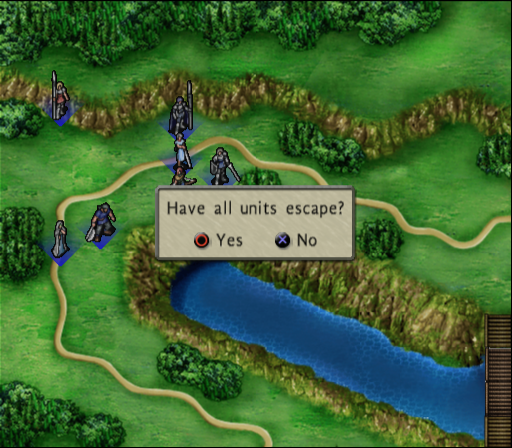
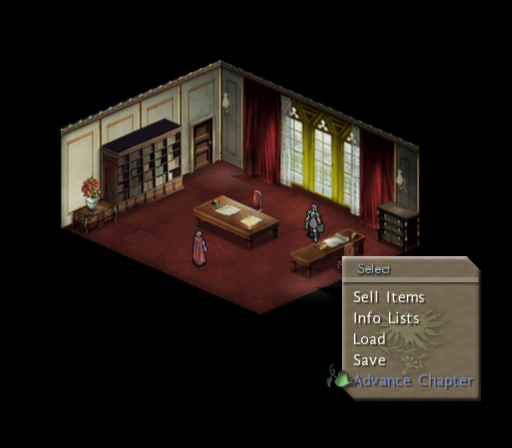
The Sinon Knights return to Navaron. Back at the office, Ward delivers the good news:
Ward: Quite well, it seems. Everyone came back in one piece.
Reese: Thank goodness...I was rather anxious about them. That'll be all for them today. Let them enjoy a well-deserved rest.
Ward: Very good, milord. I'll let them know.
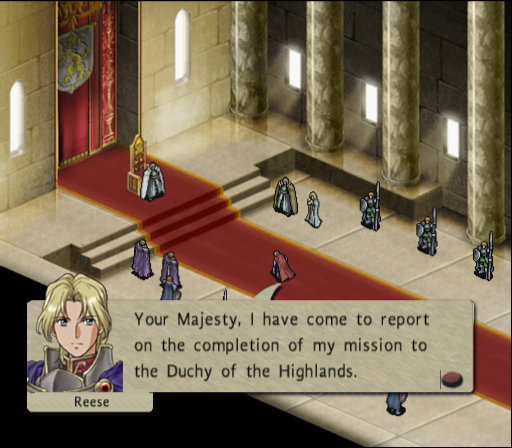
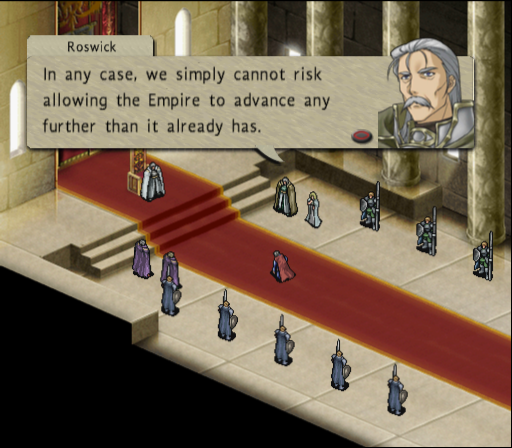
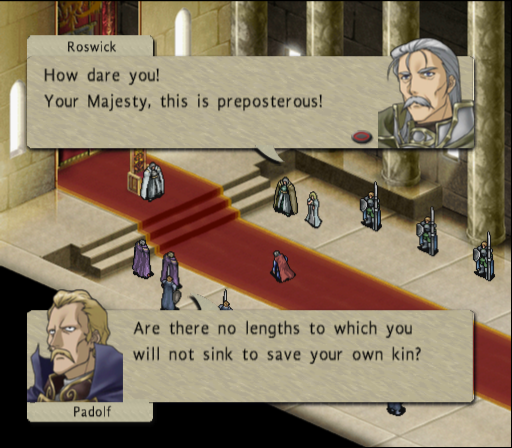
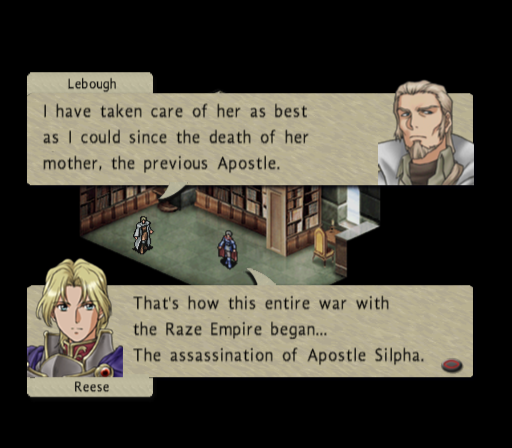
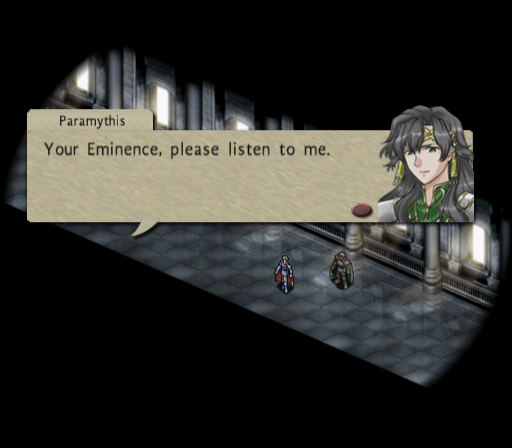
Ward leaves to do so, and Reese steps over to the window, thinking aloud:
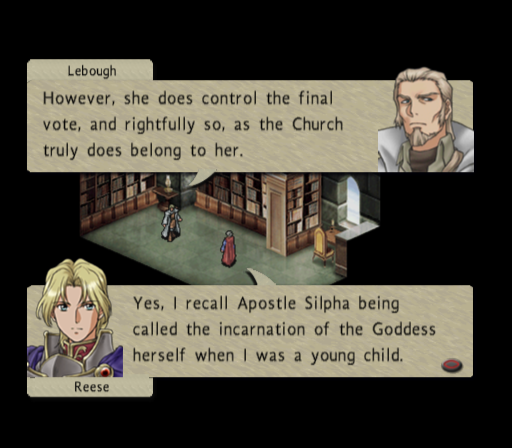
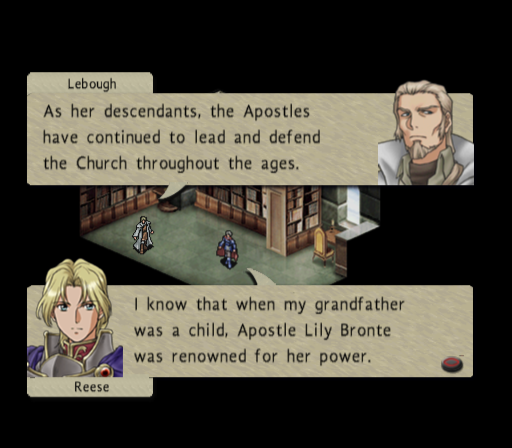
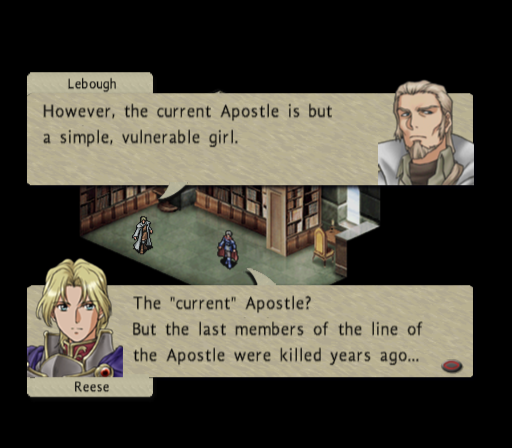
Technically, there has been on-off conflict for a few centuries. If you recall from the intro, the Raze Empire made a major breakthrough roughly 18 months before the game begins.
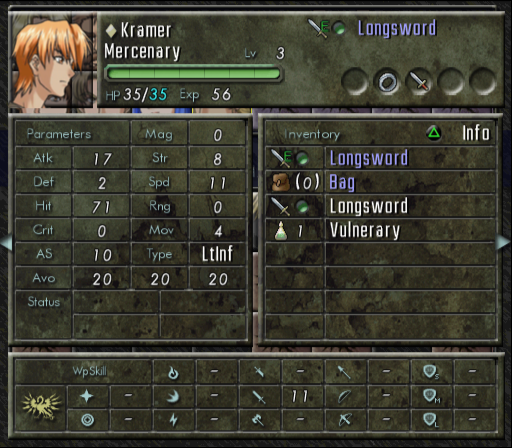
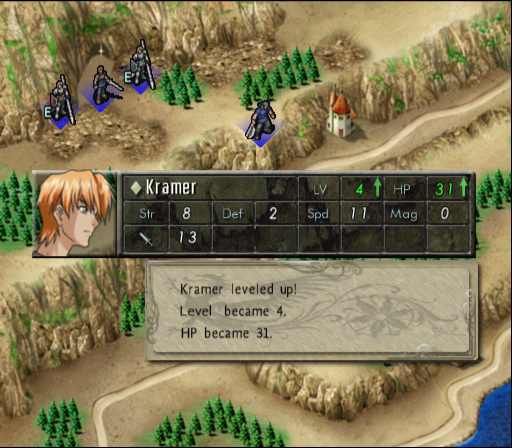
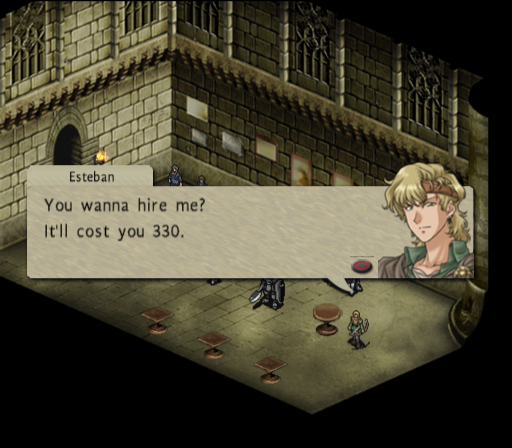
Guess I may as well hire Kramer for the 0.5 happiness points before ending the chapter:

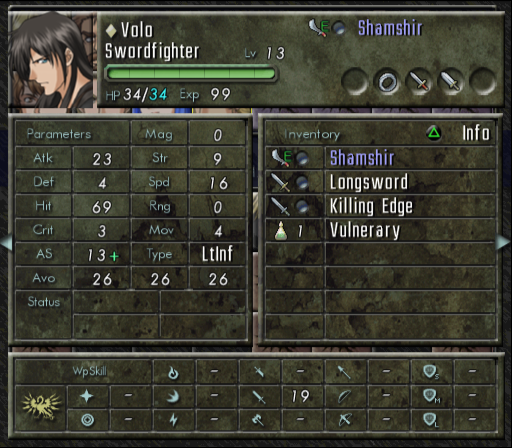
I'll probably do that with Volo as well, since he's tied for the highest happiness points needed to recruit. The money looted from the dead Imperial soldiers more than covers it.
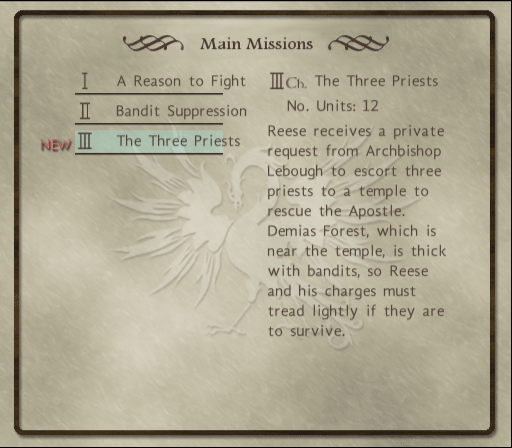
In update 15, I'll be doing some party management, discussing the new characters, and starting the chapter 3 main mission. See you there, and thanks for reading.


Reese: We need to be stronger, Ward. It pains me to say it, but we're not even close to experienced enough.
Ward: In that case, do you want to hire more mercenaries to supplement our troops' abilities?
Reese: That won't fix the issue, though. We need them to get some quality, hands-on training against the Empire. I was thinking of organising a group of soldiers for a special mission.

Reese: I just received intelligence from Duke Roswick that an Imperial supply camp was recently established north of here. It's only a half-day's ride away, and it is apparently poorly guarded at present. I personally asked the Duke to let our soldiers handle the mission of destroying this base.
Ward: Are you certain you want to entrust this vital mission to our inexperienced knights, milord?
Reese: The circumstances are not ideal, since His Majesty may also hand down additional orders to us at any time...and if that happens, we won't be able to fight at full strength for as long as our soldiers are away.

Reese: Thank you. Besides, it'd be hard to back out of this after specifically asking for it...

The limit is 8 units for this mission:

I buy a thin horse to give to Ruby, since I'm saving the good Sinon ones for chapter 3.

After some shuffling and inventory management, we're ready to depart:


Looking at the map, it's a good thing I brought Axel along:


Rather than charge headlong into the Imperial troops and ballista guarding the road, I'll have Axel swim across the river to lower the bridge for everyone else to follow. Taking out the caravans swiftly would be a good idea, because one is carrying repairstone:

The other is carrying bolts for the ballista, which currently doesn't have any ammunition:


Hamilton, the enemy commander, is a bit tougher than the other troops here:

Let's take a closer look at the heavily armoured guy:


I wonder why he has the Mercy skill...I'll keep an eye on his behaviour during the battle.
After some repositioning of units, it's time to begin the operation:

We get to listen in on a conversation at the supply base:

Clerk: That's right. I'll work on getting them loaded onto the wagon for you. It'll take me a little while, though.
(The player is told this will take 5 turns)
Imperial Porter: Guess I'll have to wait. I'll keep watch until you finish loading them.
Clerk: Oh, and take good care of this special stone!
Imperial Porter: This rock? What's so special about it?
Clerk: That's a Repairstone, a product of the alchemy they practice here in the Duchy of Narvia.
Imperial Porter: "Alchemy"? Interesting... what does this stone do?
Clerk: It's used to repair weapons and equipment. Seems to be some sort of magical technology they've invented here. Although who knows how well it actually works... I wanted to try it myself, but that was the only repairstone I could get my hands on. Hopefully this'll be able to help with the war effort.
Imperial Porter: Incredible... once we figure out how it works, it'll be an amazing leap forward! I'll make sure it gets to the homeland safely.
Clerk: Thanks. Oh, I should get back to it.
Imperial Porter: Right, right... sorry for distracting you.
Clerk: No worries. Now, let's get this stuff loaded...
Meanwhile, the troops guarding the road are also talking with each other:


Hamilton: If things stopped being quiet, then we'd be in real trouble. Or do you mean to say that you would rather be fighting alongside your brothers at the front line? If you do desire, you may submit a transfer request to the front.
Imperial 16th spearman: N-no thank you, Captain...but regarding our stations, is it wise for us not to be near the bridge?
Hamilton: With the drawbridge raised as it is, this road is the only path to camp. There's no need to have anyone at the drawbridge station if the enemy won't be able to get that far. Anyone who wants to get across the river will have to get through us first.
Imperial 16th spearman: Oh, I see. Understood, Captain!

Hamilton: You had to tempt fate, didn't you? Don't stand there like an idiot! Take up defensive positions!

Hamilton: You there, armoured boy! Derrick, wasn't it? Get your arse in gear! You may be slow, but you can at least throw yourself at the enemy to buy the others some time!


Imperial 16th spearman: Those Berwick League bastards...why would they come here, of all places?!
The soldier next to him responds:

This does seem like a lot of "average Joe" dialogue at the start of a mission, but it does a good job of giving us some insight into the soldiers on the other side of the war.

While the objective says we can just leave the map by the indicated exit point, I'm going to stick around to take out all of the Imperials. A quick note on drawbridges:

I send Axel across the river, but he'll need a second turn to reach the bridge controls. The rest of my units stack up at the bridge.

The Imperial troops have held their ground, except for Derrick:

To start off turn 2, Axel lowers the bridge.

Faye moves across first, followed by Arthur, Elbert and Christine. Izerna goes up next, while Sylvis and Ruby form a rearguard.
At the beginning of turn 3, numerous Imperial reinforcements arrive from the west and south:


I send Elbert forward to attack the supply caravan:

The caravan with the ballista bolts starts moving.

Imperial Porter: Guess I'd better get a move on. That old piece of junk's even more worthless without these bolts...
A nearby crossbowman goes after Elbert:

He fails to hit. However, the spearman does manage to inflict some damage:

Christine is tasked to attack the caravan on the cliff with a longbow, but is unsuccessful.

An axeman in the south goes after Ruby, but misses, as does her counterattack. Sylvis takes aim at him:

More of the Imperials move towards the southern end of the bridge. Arthur finishes off the axeman with the help of the desperation skill:

I send Ruby to help deal with the caravan in the northeast. Axel joins in, but his axe does not connect with the enemy:

Situation at the beginning of turn 4:

Faye attacks first, landing hits on the crossbowman:

Most of the incoming Imperial soldiers miss their attacks, although a spearman does hit Ruby. Arthur dodges a spear and counterattacks:

He then blocks a crossbow shot with the help of his shield.

Sylvis takes a chunk out of the crossbowman, falling just short of killing him. A spearman in the northwest charges at Christine and hits, so I'll have to deal with a third front now. I'll have to factor in the ballista as well, since the caravan with the bolts hasn't been hit once yet.
Elbert kills the porter and takes the repairstone:

Arthur dismounts and eliminates another soldier via use of desperation, taking a hit in the process:

Ruby cuts down a crossbowman with her longsword.

The level-up doesn't give much:

On turn 5, Christine is ordered to fire at the ballista bolt transporter again, this time striking the target. I retreat her to the bridge since she's taken a few hits. The caravan is now out of reach, so I'll have to deal with the ballista next turn.

Sylvis notches up another kill:

Arthur continues to hold the southern end of the bridge, although an axeman knocks away his shield. I have him use desperation to attack the crossbowman, but he misses the first strike and gets hit without blocking. The second finds its mark, but he's now critically low on health:

My units on the northern side of the bridge move in to form a protective line ahead of Izerna and Christine. Some blows are exchanged, but only Ruby takes some slight damage from a spearman, who is then felled by Elbert:

On turn 6, Arthur goes up first to heal with a vulnerary:

The Imperial ballista is now ready to fire.

Sylvis takes aim at one of the axemen harassing Arthur, and hits. Which prompts him to move next, retreating to heal with a vulnerary. Christine makes a hit-and-run attack on the second axeman, doing nominal damage as he blocks with his shield.

As it happens, he's carrying a crafting material. Faye kills the remaining spearman near the bridge controls.

To start turn 7, Arthur breaks an axeman's shield. As the first enemy to move, said axeman attacks Arthur but misses, allowing the counterattack that fells him.

The axeman that healed last turn comes back to the bridge to take a swing at Arthur, breaking the latter's shield:

However, since Arthur fully blocked the attack, he can counter and gets a hit in. The forces guarding the curve in the road haven't moved from their positions, and the ballista fully covers the approach:

Derrick leaves the battlefield.

Since the caravan is moving back after delivering the ballista bolts, I have Sylvis fire at it:

She gains a level:

Arthur finishes off the last axeman at the bridge, also getting a level.


Izerna joins the level-up brigade:

If you recall from earlier updates, luck is not a hard stat, but a consumable resource spent to protect the unit from harm.
I decide to approach the ballista and defenders from the south, where there is more space. Elbert successfully lures in 3 Imperial soldiers, taking minimal damage:

Turn 10 now, and Christine puts down the enemy axeman:

Faye kills a spearman on the second strike with her cutlass, yielding a level-up:


Axel makes the third soldier history.

I move up with everyone, but Faye is ambushed by a crossbowman hiding in the trees. She dodges, and thanks to her high AS, is able to counterattack:

Christine finishes off the enemy:

Elbert has a better chance of dodging bolts with arrowbane, so I move him into ballista range first. Hamilton leaves his position and attacks:


One of the spearmen also gets a hit in, which breaks Elbert's shield.

He does evade the archer courtesy of arrowbane. The ballista launches a bolt at Arthur:

Fortunately, with only 33% hit chance, it sails over his head. Sylvis catches up and joins the fray, hitting Hamilton with a bronze arrow:

He then retreats to use a vulnerary. A failed attack by a spearman on Elbert gives him the opportunity to get another kill:

Ruby's shield is broken by an arrow.

Thanks to adept, Faye gets 3 consecutive hits, cutting down the bowman:

Unfortunately, a ballista bolt gets close enough to knock her down and injure her.

Izerna moves in to patch her up, consuming a heal orb in the process. She's been busy on this mission, her light magic skill is already up to 17. I move Faye out of range on the next turn, since she's seen enough action for now.
As Hamilton and Elbert duel, Arthur notches up another kill:

The ballista lobs a bolt at Axel, but to no effect. Christine fumbles her longbow attack, the failure chance kicking in this time. Hamilton has some choice words for us as he takes an arrow to the chest from Sylvis:

The ballista fires for what will be the final time, missing again. Arthur breaks his starting longsword attacking it, but hits from Christine and then Elbert take it out of action.

Speaking of Elbert, he's already more than halfway to promotion after that kill:

However, there is still one last enemy in the area. A hidden crossbowman on overwatch successfully ambushes Axel:

Arthur and Christine gang up on him.

A decent level-up:

You get the option to immediately end the map after the objective is complete, since this mission doesn't have a time limit:

I decide to check out the armoury before leaving. As it turns out, the weapons are all sub-par.

If you don't trade with the shopkeeper, you can still cancel the unit's move after they have checked a shop's inventory.

The Sinon Knights return to Navaron. Back at the office, Ward delivers the good news:

Ward: Quite well, it seems. Everyone came back in one piece.
Reese: Thank goodness...I was rather anxious about them. That'll be all for them today. Let them enjoy a well-deserved rest.
Ward: Very good, milord. I'll let them know.
Ward leaves to do so, and Reese steps over to the window, thinking aloud:

Technically, there has been on-off conflict for a few centuries. If you recall from the intro, the Raze Empire made a major breakthrough roughly 18 months before the game begins.
Guess I may as well hire Kramer for the 0.5 happiness points before ending the chapter:

I'll probably do that with Volo as well, since he's tied for the highest happiness points needed to recruit. The money looted from the dead Imperial soldiers more than covers it.
In update 15, I'll be doing some party management, discussing the new characters, and starting the chapter 3 main mission. See you there, and thanks for reading.
Last edited:


