Chapter 14 - Trivialities
My esteemed readers pretty much tied between A and C so I decided to do that which would give us the most battles possible: option C. That is, we say we help the elves, get them killed in their first mission, and then continue the game on the B path. Why is this a good thing to do? Experience and gold mostly. Now, for gold we have precious little use at this stage of the game, and that is not considering the fact we are drowning in it already. However, experience points will greatly enhance the performance of our army as a whole.
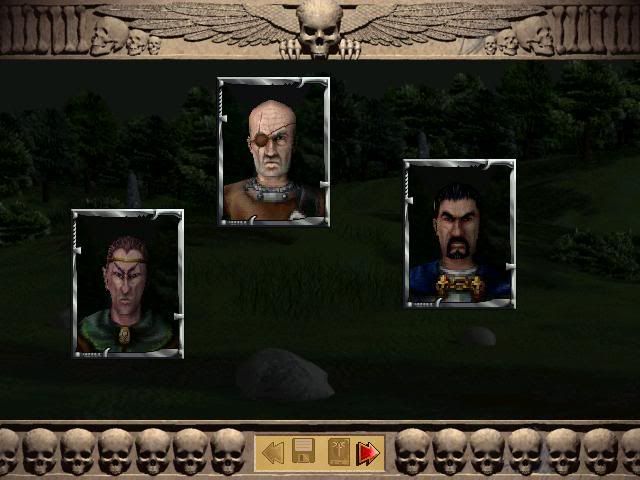
So it is settled: we tell Elrod we wish to help him. On the road to King's Glade, however...

[Elrod, elf.] Commander, there is a silent evil in the night. I can feel it in my spirit.

[Klaus] Look up ahead! It's a legion of living dead closing in on our position.
:evil: [Commander Bernhardt] We will part cold flesh with cold steel. Prepare to engage!
Battle 21 - Sacrifice
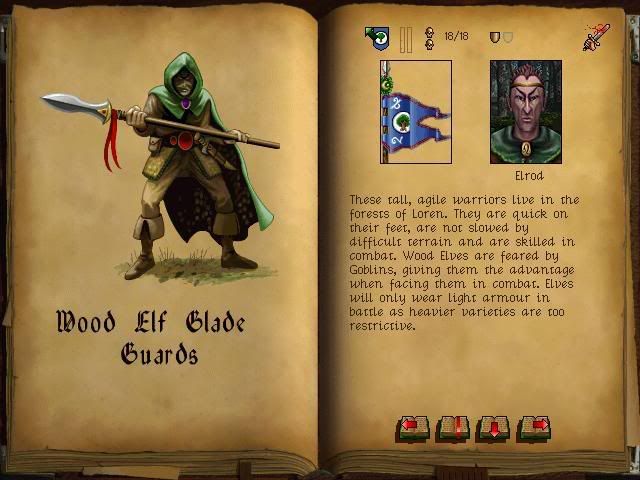
Elrod and his men will assist us this battle. Do not trouble yourselves with getting used to this regiment.
Our objectives this mission:
* Destroy or chase off all undead
* Terminate Elrod's unit entirely
* Do not lose any men that are not temporary.
Temporary units are the Grail Knights and Elrod's men.
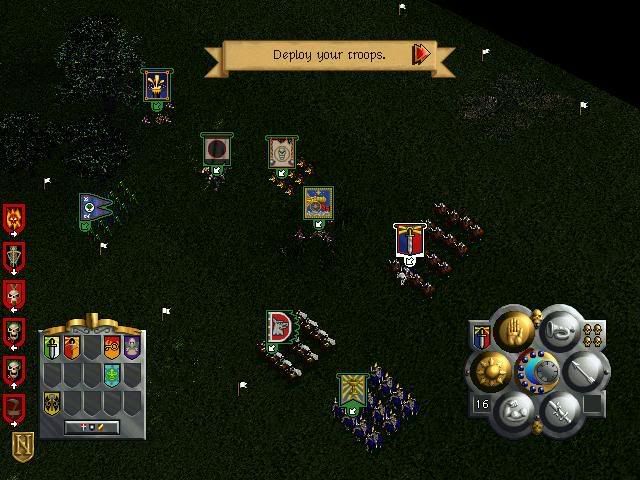
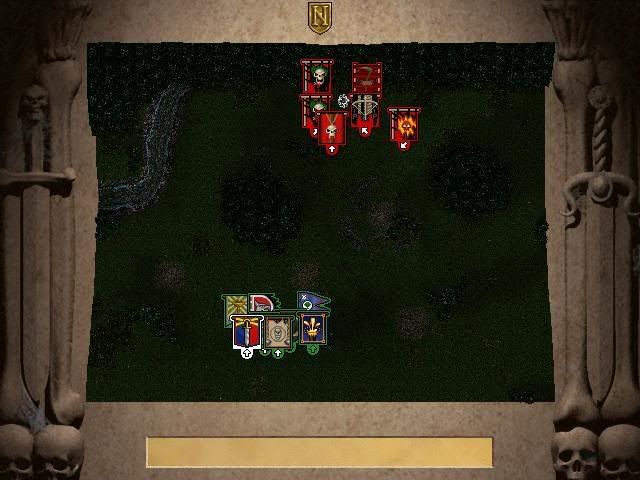
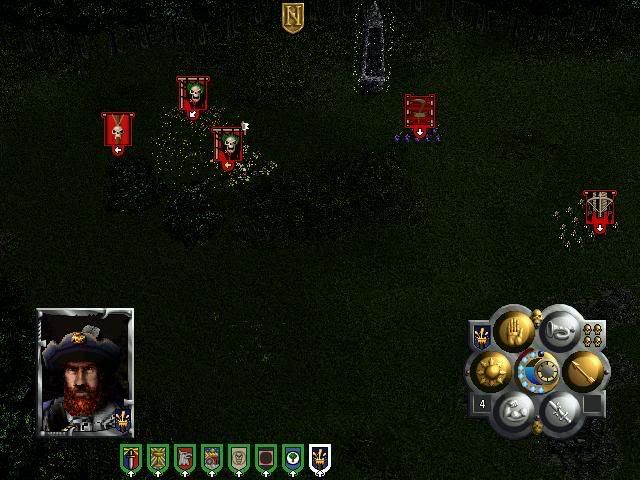
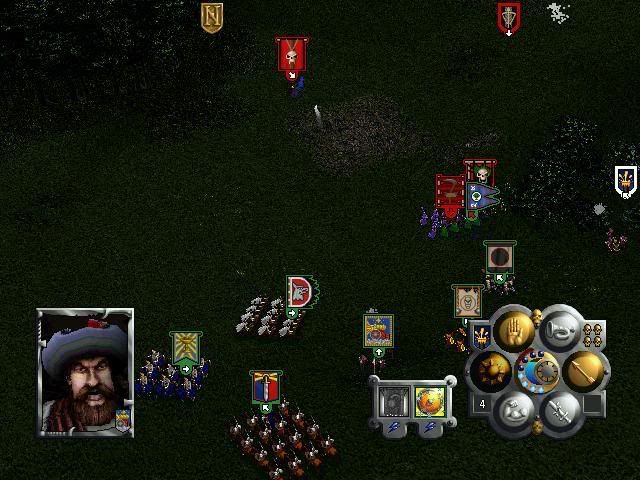
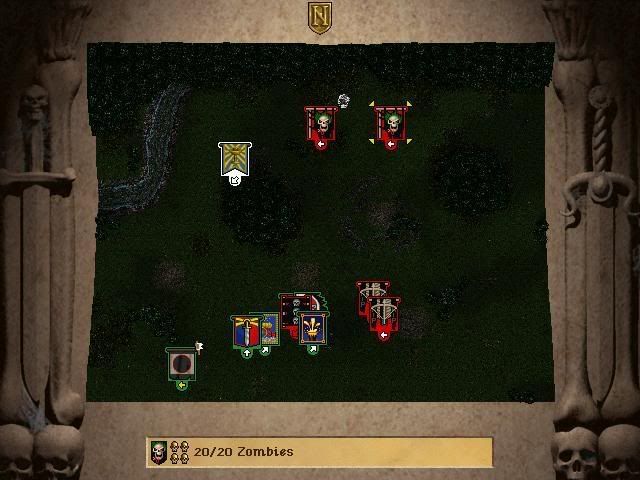
As usual I deploy very few units since I feel more in control then. The map of this battle is very small and I could not use my mages to great effect, so they stay at home. Note how our troops are atop of a ramp of sorts, having the benefits of altitude on their sight. Also note how the mortar is invisible to the enemy since it is hidden behind trees, yet we can still fire it as long as we have an unit to spot enemies for them.
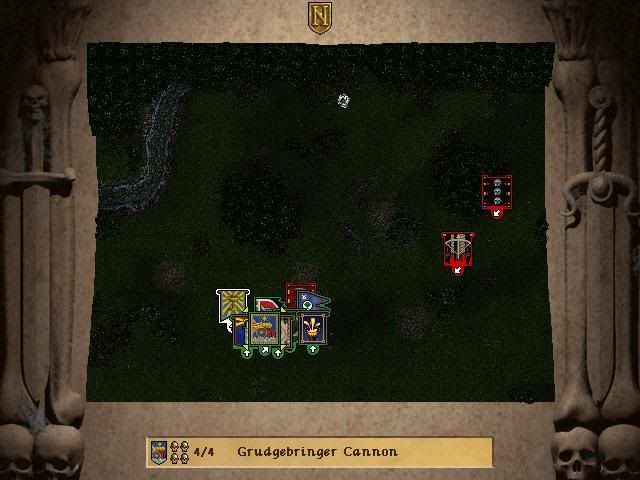
This is the initial configuration of undead we have to face. Note the catapult. If we do so much as leave our deployment zone we will be in range of it.
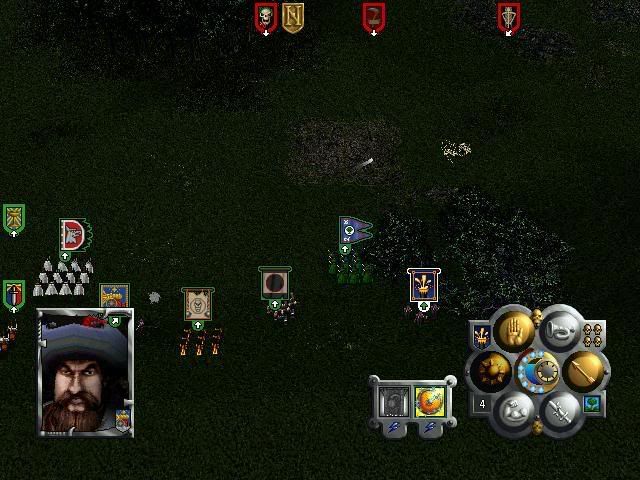
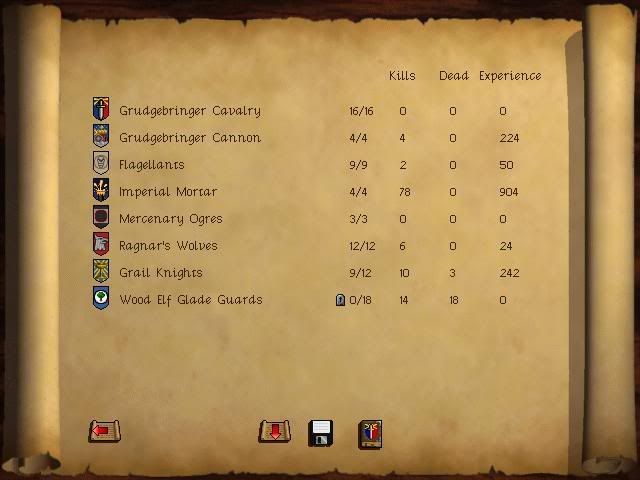
Take note of how the Grudgebringers are to the very bottom. Since they have hit maximum level I do not plan to use them for anything but sounding the Horn of Urgok each turn. Why? Because even though most undead are immune to fear, zombies, necromancers and ghouls are, in fact, not. Better still, if you manage to make zombies flee they automatically die completely.
The battle begins. The necromancer sproadically uses his spells against the monolith, a sacred stone to the elves. Apparently you lose the mission if it gets destroyed. I never managed to do this, though, so you can safely ignore this false urge of having to hurry.
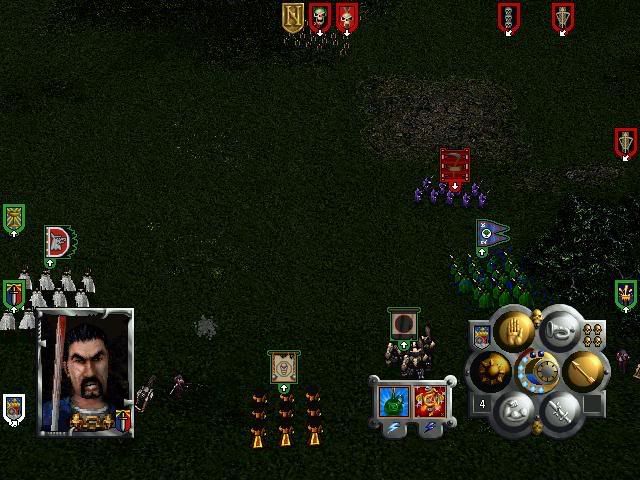
Since our mortar and cannon are on higher ground they also have higher range. In practice this means we can destroy the visible skull screamer catapult very safely.
The catapult destroyed, we target the necromancer to disrupt his ritual. He amazingly enough survives a direct mortar shell to the head.
Our cannon hits a regiment of zombies, causing them to flee. Remember, zombies die completely once they flee!
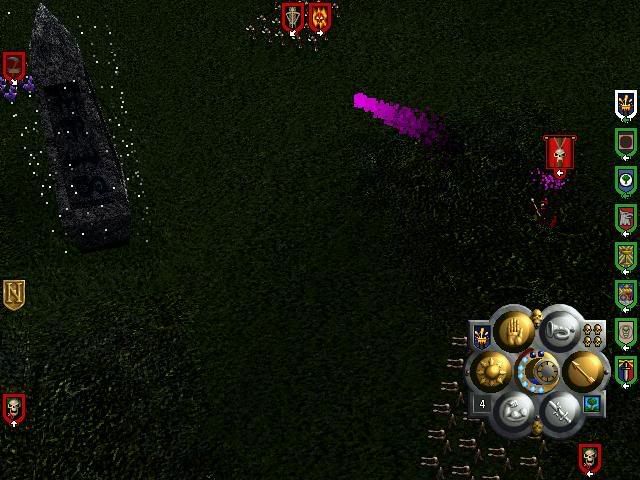
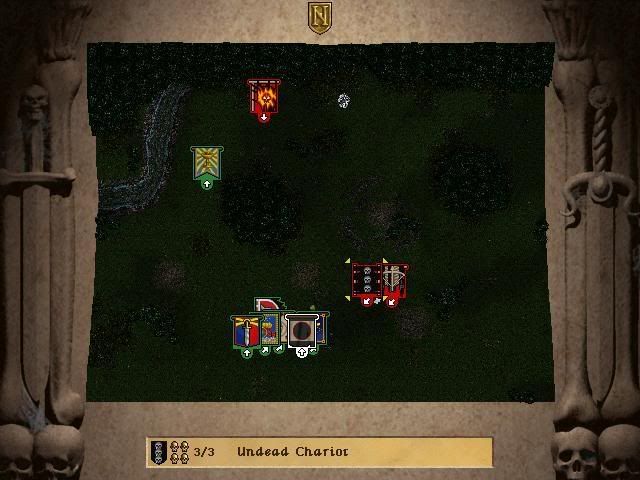
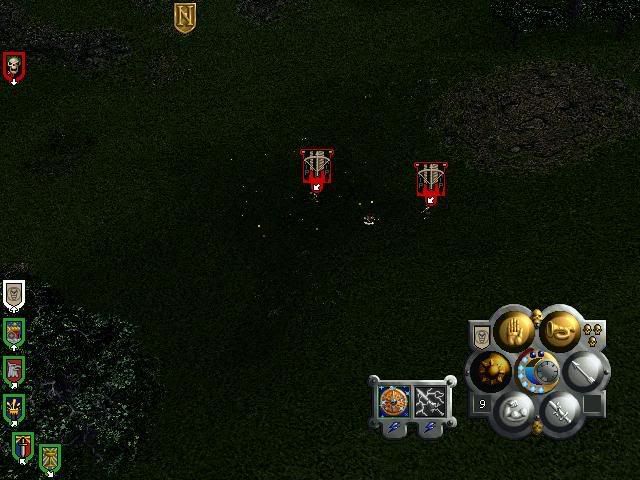
At last the undead forces decide to attack us. A chariot suddenly appears from north-east of our position to aid them!
Much to my surprise a single hit by the cannon along with an use of the Banner of Wrath is enough to dispatch it! This will make the battle a whole lot easier.
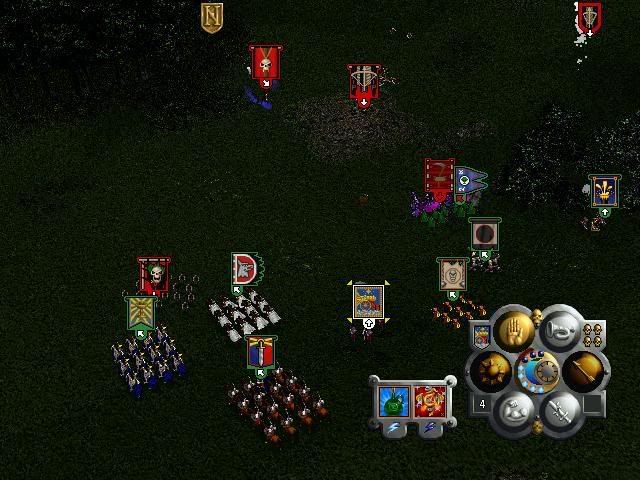
Wraiths approach. Remember, they may only be hit with magical weapons. Thing is, the elves don't know that. :twisted:
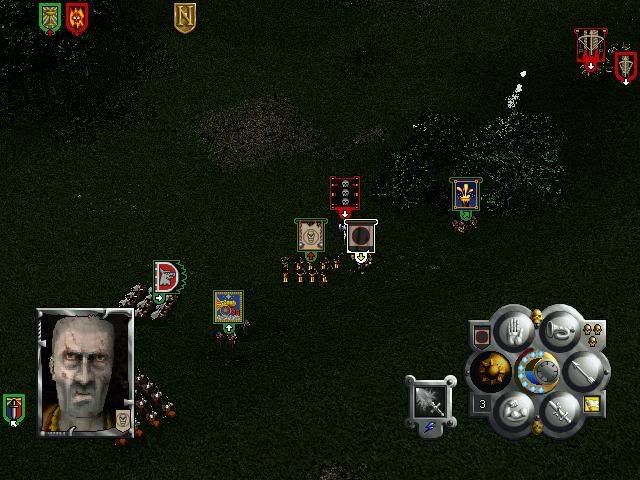
Zombie hordes approach while the elves get slaughtered. I mean, while the elves tactically delay the enemy's approach.
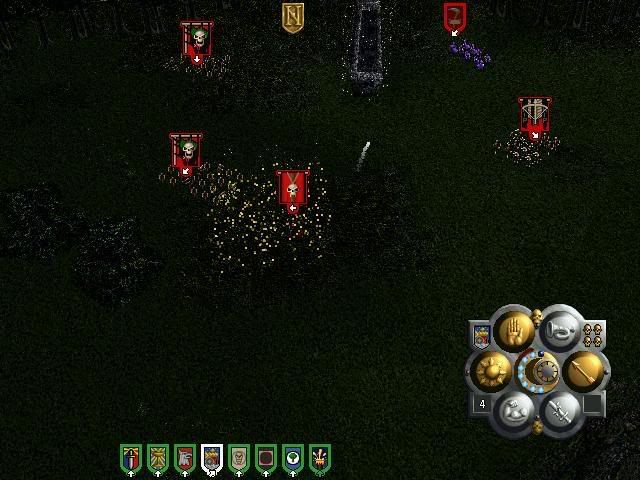
The feisty necromancer receives a cannonball into the face and stops moving for good. Meanwhile we use the Horn of Urgok to make tons of zombies flee (and thus be destroyed). Zombies not pictured.
The elves fight valiantly against the wraiths, but they are summarily slaughtered one by one since their weapons are unable to harm the enemy. They fall quietly, the elves...
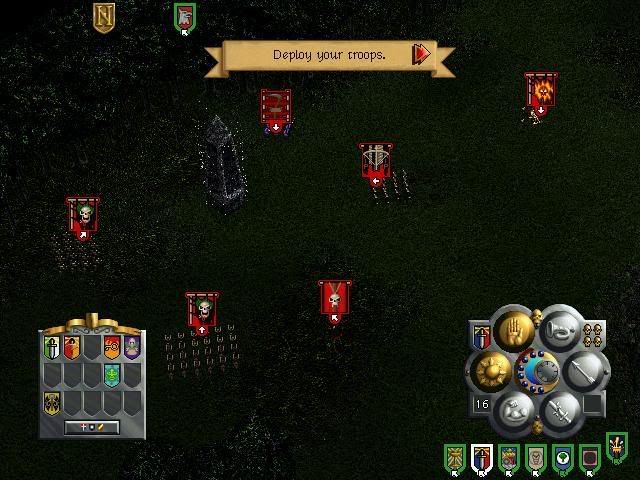
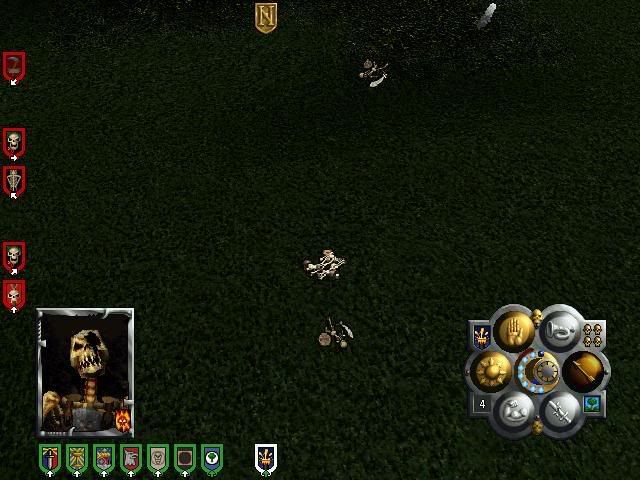
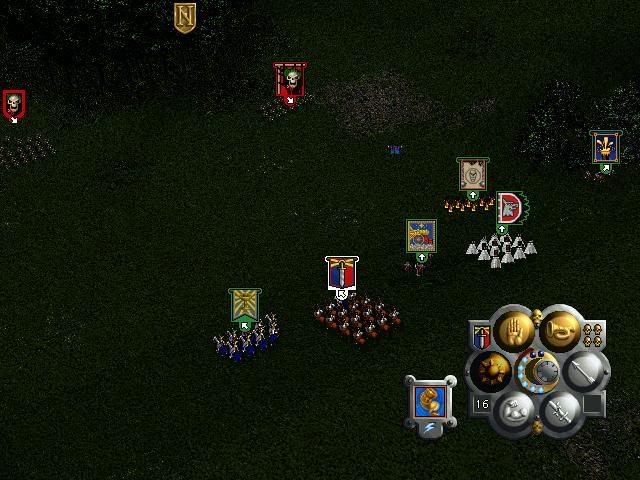
It had to be done. With the elves dead, we must be more tactical in order to minimize our losses. First, we send the our Grail Knights (a cavalry unit more powerful than the Grudgebringers, but sadly only temporary) due north to see if there's any undead in hiding. And indeed, turns out they had another catapult! Also, another chariot and more archers.
Both are dealt with relatively easily. The flagellants have little trouble fighting the chariot, even though the ogres were less brave. They fled the battle as soon as the chariot charged in! Meanwhile, the mortar fires at the undead archers that try to harm it, but fail. Being in cover pays off! Thank you, trees.
Our Grail Knights spot more zombies. We order them to return to the deployment zone so we have more time to deal with them.
Meanwhile, the mortar rapes the shit out of those undead archers.
I am going to do something very stupid. Can you guess what?
Yep! I sound the Horn of Urgok, destroying both those zombie-units at once. Why was this stupid? Well, had we killed them traditionally, it would have been free XP, and XP is better than gold. Ah well. Those were the last enemies.
Elrod's dead. We will never find our way through the Loren forest. It's pointless to go on.
:evil: You are right. Let's turn back!
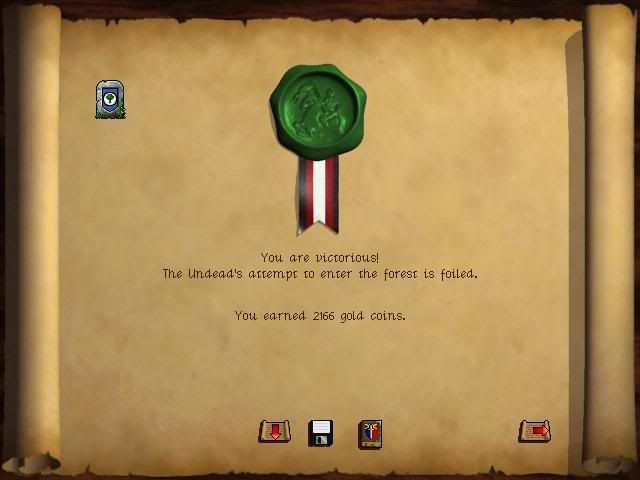
That's it this update. We made lots of gold this battle, but could have done better by farming more XP. However, we did not lose a single unit that was not temporary so I suppose it was at least worth the time because I could show off.


")